Designing an interactive user flow in Adobe XD is essential for creating intuitive digital experiences. With Adobe XD, designers can effortlessly map and test the interactions in their prototypes, ensuring a smooth user journey. This platform empowers designers to set up multiple flows, add triggers, and see their designs come to life interactively.
Creating user flow diagrams can be challenging without the right tools. Adobe XD simplifies the process with features like auto-animation and interactive components. With plugins like Overflow, designers can enhance their prototypes and visualize user paths clearly.
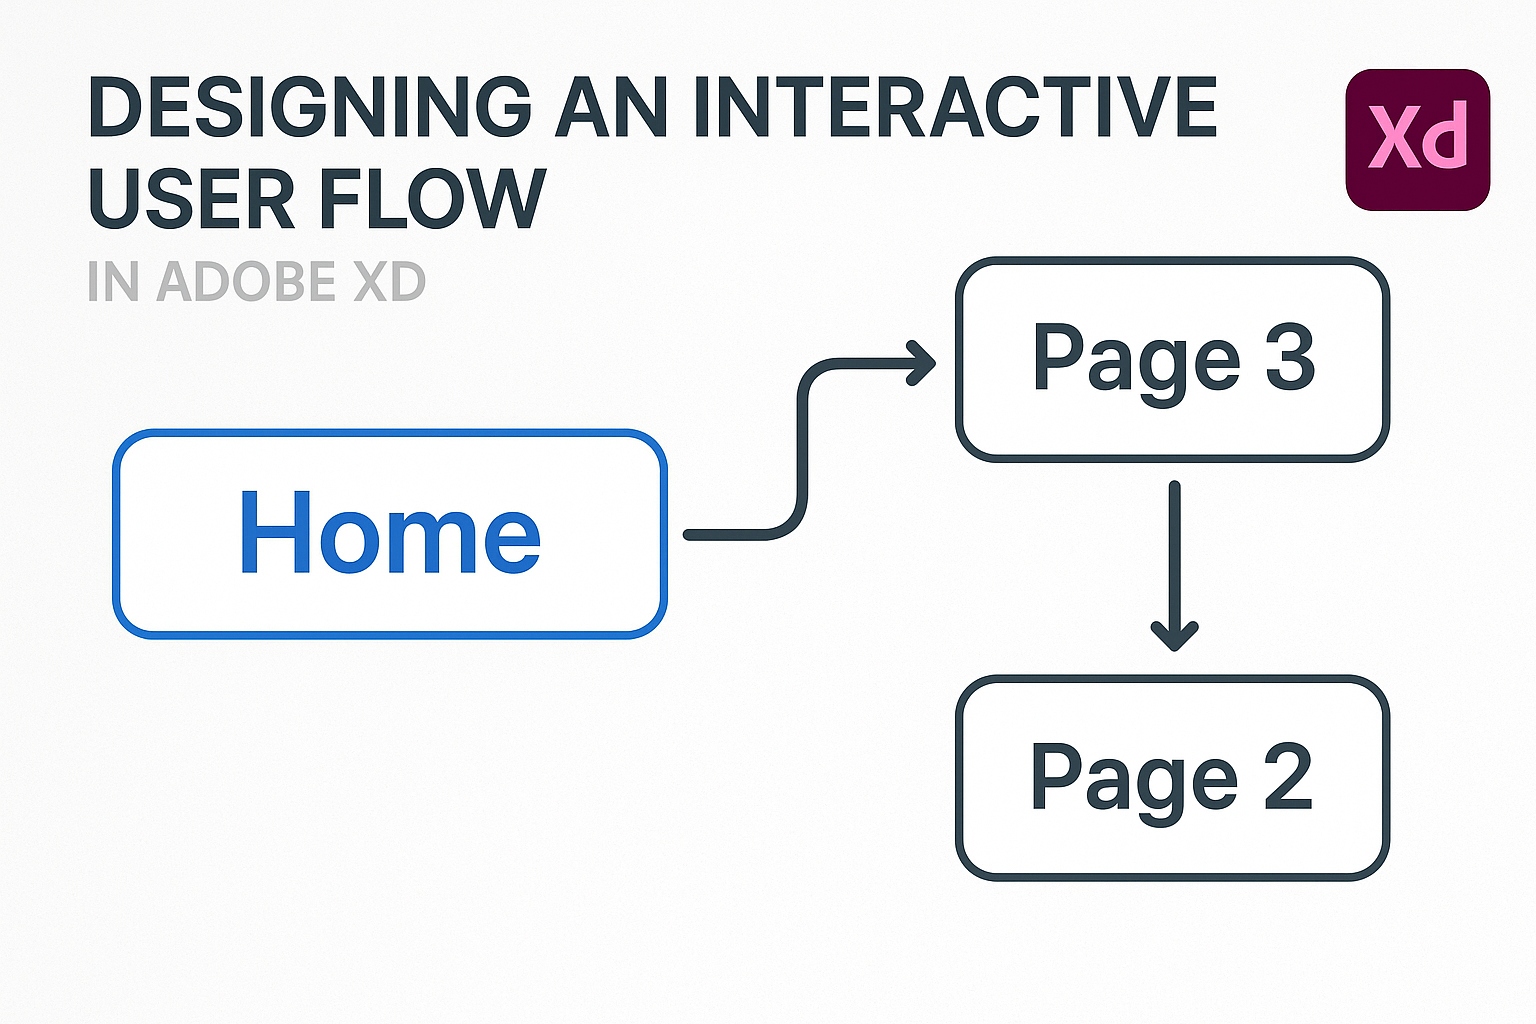
Interactive user flows are vital for understanding how users will navigate through an app or website. By using plugins such as XD Auto Flow, designers can create comprehensive diagrams that highlight each step of the user journey. This approach not only improves the user experience but also makes it easier to communicate designs to stakeholders.
Understanding User Flow
User flow is essential in designing interactive experiences in Adobe XD. It helps designers map out how users will interact with a product, ensuring a seamless journey from start to finish. This involves planning each step to make sure that users can easily achieve their goals.
The Basics of User Flow
User flow refers to the path taken by a user to complete a task within an application or website. It outlines each interaction point, such as menus and buttons. By visualizing these steps, designers can better understand how a user navigates through the interface. Typically, user flows start with an entry point and end with the successful completion of a task. It’s important to make these flows intuitive, minimizing any frustration for the user. Tools like Adobe XD provide features to create and edit user flow diagrams, allowing for easy adjustments during the design process. You can also utilize resources like the Auto Flow plugin for Adobe XD to streamline this creation process.
Importance in User Experience
User flow is crucial in building an effective user experience. Well-designed flows ensure that users can achieve their objectives effortlessly, increasing their satisfaction and engagement. When a user flow is clear and logical, it can reduce confusion, leading to better usability. This directly impacts metrics like user retention and task completion rates. By focusing on user-centric design, companies can enhance their products and maintain a loyal user base. For more insights into enhancing user flows, 10 practical tips can provide valuable guidance.
Setting Up Adobe XD
To start designing user flows effectively in Adobe XD, you need to install the software and become familiar with its interface. This helps you get the most out of its tools and features.
Installing Adobe XD
Adobe XD can be downloaded from the Adobe Creative Cloud website. You must have an Adobe account. It’s essential to check if the computer meets the system requirements for the software to ensure smooth operation.
Once registered, navigate to the Creative Cloud desktop app. Search for Adobe XD, click “Install,” and wait for the download to complete. Depending on internet speed, this may take a few minutes. Always keep software updated for access to the latest features and fixes.
Navigating the Interface
Upon opening Adobe XD, users will see a clean and organized workspace. The left-hand panel contains tools for selection, drawing, and text. Familiarize yourself with these to create shapes and designs with ease.
The top bar provides access to settings like grid views and layers, which help in organizing your work. On the right, the Properties Panel adjusts elements like color and size.
The canvas is where designs are crafted. You can add artboards to represent different screens, making it easy to design and edit multiple parts of a project.
Planning Your Interactive User Flow
Creating an engaging user flow in Adobe XD requires careful planning. It’s essential to set clear goals, understand the users, and chart their pathways effectively. This part of the design process ensures that the final product meets user needs and offers a seamless experience.
Defining Goals and Objectives
Before starting, it’s important to establish clear goals for the project. Goals guide the overall design strategy and help in making informed decisions during development. Objectives should be specific and measurable, focusing on what the user flow intends to achieve.
For instance, if designing a shopping app, a goal might be to simplify the checkout process. Objectives could include reducing the number of steps in checkout or increasing the conversion rate by a specific percentage. Identifying these elements helps in creating a focused and purposeful user flow.
Creating User Personas
Understanding who will use the product is crucial. User personas represent real users and are an effective tool in user flow planning. They include details like demographics, goals, needs, and challenges, providing a snapshot of typical users.
Personas help designers empathize with users and tailor the user flow to meet specific needs. By considering different personas, designers can plan for various scenarios and ensure the flow accommodates a wide range of users. This step helps prevent missing critical aspects of the user experience.
Mapping Out User Journeys
After defining goals and understanding users, it’s time to map out user journeys. This involves detailing the steps users take to achieve their goals. A clear user journey map outlines each interaction, including touchpoints and potential user actions.
Using Adobe XD, designers can visualize these journeys with artboards, connecting them to form a complete map. Tools such as Multiple Flows in XD allow for testing different versions, ensuring that the design meets user needs effectively. By planning detailed journeys, designers can identify and remove obstacles, creating a smoother experience for users.
Designing the User Flow
Designing an interactive user flow involves creating clear, intuitive paths for users within an application. This process includes wireframing to outline structure, utilizing design elements to enhance usability, and developing a coherent visual language that ensures consistency.
Wireframing Basics
Wireframing is the first step in designing a user flow. It focuses on mapping out the structure of each screen. Wireframes serve as blueprints for the design, helping to clarify where buttons, text, and images will go.
They are often created in grayscale to emphasize layout over aesthetics. Using a tool like Adobe XD allows designers to quickly sketch out and adjust wireframes.
The simplicity of wireframes makes it easy to test different ideas and refine the user journey. It’s important to involve team members in this stage to gather diverse feedback and considerations. The goal is to ensure that users can navigate the app successfully.
Utilizing Design Elements
Incorporating design elements elevates a user’s interaction with an application. These elements include buttons, icons, and typography, which guide the user through different functionalities. Tools like Adobe XD provide features such as Auto Animate to create engaging transitions.
Careful consideration of each element’s size, color, and placement ensures they complement and enhance the overall user journey. Designers need to maintain balance by not overcrowding screens with too many elements.
This balance is crucial for usability, helping users focus on important tasks without feeling overwhelmed. By aligning visual and functional design, the flow becomes seamless and intuitive.
Creating a Coherent Visual Language
A coherent visual language binds the user experience together, making the application feel unified. This involves color schemes, typography, and imagery that consistently reflect the brand’s identity. Utilizing Multiple Flows in Adobe XD can help designers explore various styles before settling on one.
Consistency in visual language reduces cognitive load, allowing users to navigate with ease. They become familiar with patterns, knowing where to find information or how to perform actions. It’s about repetition and predictability, ensuring that once users learn an action, they can apply it across screens.
Creating style guides within Adobe XD helps maintain this consistency, aligning UI design with brand values.
Building Interactivity
In Adobe XD, building interactivity involves using components, animating transitions, and adding voice commands. Each element enhances user experience by making designs more engaging and interactive.
Working with Components
Components in Adobe XD allow designers to create reusable design elements across different screens and projects. This feature helps maintain consistency in design. When a component is updated, it automatically updates across all instances, saving time and effort.
Designers can create a main component and then use instances of it in different places. Instances can be modified without affecting the main component, offering flexibility. Designers can also create component states to simulate how an element changes when users interact with it.
Animating Transitions
Animating transitions in Adobe XD brings designs to life by making them dynamic and engaging. By using the Auto Animate feature, designers can create smooth animations between artboards with ease. Auto Animate compares the properties of elements on different artboards and automatically animates changes.
Designers can set triggers such as taps or swipes to initiate the transitions. Adjusting easing and duration settings fine-tunes the animation’s look and feel. This makes the user experience more engaging and intuitive, drawing users into the design.
Integrating Voice Commands
Integrating voice commands in Adobe XD allows users to interact with prototypes using voice. This feature can enhance accessibility and provide a hands-free way to navigate apps or websites. Designers can set up voice triggers to replace or complement traditional input methods.
Incorporating voice commands involves recording phrases that users might say and linking them to specific actions or transitions within the prototype. This creates a more interactive and modern experience. By doing so, designers can simulate voice interfaces, helping in scenarios where voice interactions are preferred or necessary.
Prototyping and Testing
Prototyping and testing in Adobe XD involve crafting interactive designs and getting valuable feedback from users. These steps help refine user experiences efficiently.
Creating Prototypes
Adobe XD makes it simple to build prototypes by connecting artboards. Users can add interactive features like buttons and transitions that mimic real app navigation. This helps designers see how their ideas work in practice.
There are options to share prototypes with team members and stakeholders. This enables them to review the design and suggest improvements or changes. By sharing these prototypes, designers can get important insights into how to improve the design before the final version is developed.
The use of features like creating interactive prototypes can make the user experience smooth and intuitive.
Conducting Usability Testing
Usability testing in Adobe XD helps identify any issues users may face when interacting with a design. By conducting these tests, designers can better understand user behavior and preferences.
Adobe XD offers plugins that facilitate quick testing. For instance, plugins like UserTesting help in setting up tests at different design stages. This way, feedback can be gathered efficiently without using extensive research resources.
Testing can be as simple as observing user interactions or as involved as conducting structured tests. These insights ensure the design meets user expectations, enhancing both functionality and user satisfaction.
Iterating Based on Feedback
After gathering feedback from usability testing, designers can refine their prototypes, ensuring the final product satisfies user needs. Adobe XD allows for easy adjustments, so making changes based on feedback is straightforward.
Feedback can mean making small tweaks or larger shifts in design direction. The goal is to improve the user experience continuously. Adobe XD offers the flexibility to make these changes without starting from scratch.
Finalizing and Sharing
In the final stage of designing in Adobe XD, users focus on exporting assets, sharing prototypes, and collaborating effectively with developers. These steps are crucial for bringing designs to life and ensuring smooth transitions from ideas to implementation.
Exporting Assets
Exporting assets in Adobe XD is an easy step to prepare elements for use in development. The process involves selecting the objects to export and choosing the correct format. Adobe XD supports formats like PNG, SVG, and PDF.
Designers might need to adjust the scale of these exports depending on their use, such as for different screen sizes. They should pay attention to exporting assets in both @1x and @2x sizes for high-resolution displays.
Properly naming layers and using consistent file naming conventions simplifies this process. It also ensures that assets are organized and easy to find when needed. Additionally, it’s beneficial to keep the export settings handy for future design projects, making the workflow smoother.
Sharing Your Prototype
Sharing prototypes in Adobe XD involves creating links that stakeholders, clients, or team members can view. Designers can generate a public or private link that showcases the interactive features of the design.
Sharing options allow viewers to comment directly on the design, making feedback collection straightforward. Adobe XD provides viewing modes such as full-screen presentation, design specs, and development handoff, catering to different audience needs.
Export options include design specs for more detailed insights. It’s essential to inform viewers how to navigate the prototype and access the features. This helps in gathering valuable feedback effectively, which in turn aids in refining the design for final production.
Collaborating with Developers
Collaboration with developers is vital for ensuring that design concepts translate accurately into functional products. Adobe XD’s design specs are a powerful tool, providing detailed CSS snippets that developers use to implement designs.
Designers should ensure all components and styles are clear and that necessary information like hex codes, margins, and fonts are included. This minimizes miscommunication and reduces rounds of revisions.
Regular communication, possibly via integrated tools like Slack or Microsoft Teams, further enhances this collaborative process. By facilitating open channels for questions and clarifications, design and development teams can work synchronously, resulting in efficient and accurate project completion.
Adobe XD Tips and Tricks
When enhancing user flows in Adobe XD, using wireframes is a great starting point. They help map out the basic structure of the design before adding details. This step is essential for visualizing the flow of the application.
Co-editing features in Adobe XD are another valuable tool. Multiple designers can collaborate in real-time, making it easier to share ideas and feedback. This fosters a more creative and efficient design process.
Utilizing the auto-animation feature can add smooth transitions to the design. This feature enhances user interactions and makes navigation feel more intuitive.
Regularly updating and managing assets using the assets panel can save a lot of time. Designers can keep track of colors, fonts, and other elements, ensuring consistency throughout the project.
For those working on various versions of a design, using multiple flows allows the sharing of different iterations without having to redo settings. Each flow retains its set of wires and properties.
Using mockups is another helpful technique. It allows designers to see how their designs will look like in real context, giving them the opportunity to make necessary adjustments early.