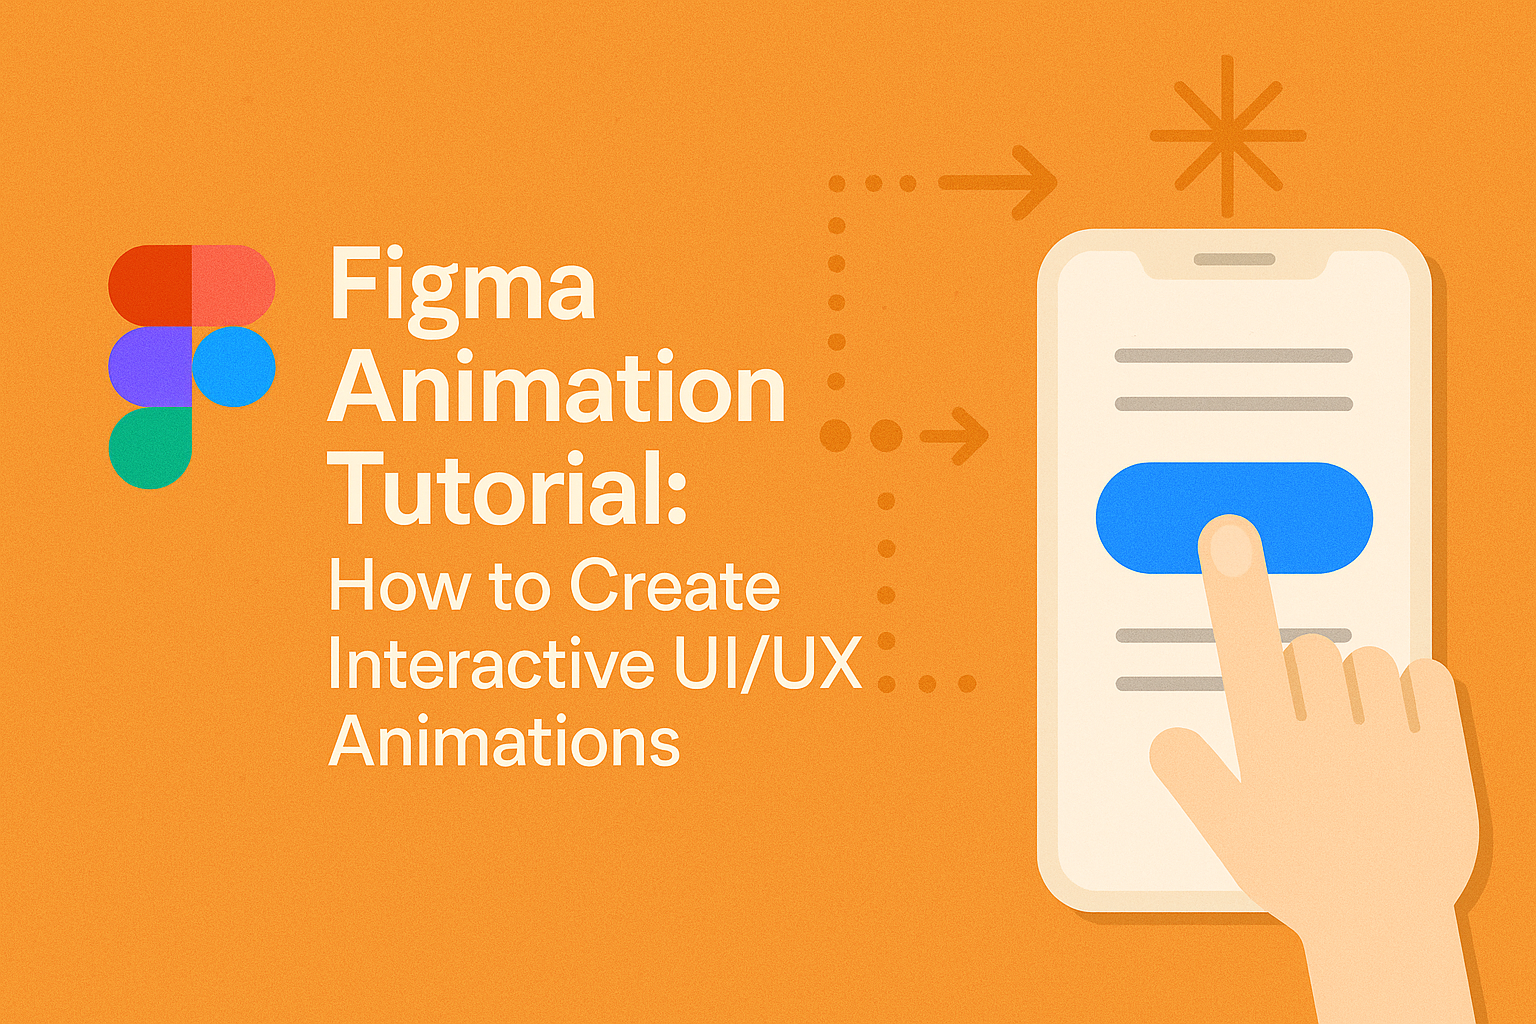
Creating interactive animations in Figma is an exciting way to enhance user experience. By adding movement to UI elements, designers can guide users through applications smoothly and efficiently. As a powerful design tool, Figma allows designers to craft highly engaging animations without needing extensive coding skills.
Figma’s Smart Animate feature provides seamless animation transitions, helping in designing fluid and captivating interfaces. With the right techniques, anyone can bring static designs to life, making them more visually appealing. Whether it’s simple page transitions or more complex elements, Figma offers the versatility needed for various projects.
Understanding how to use these animations can transform a project from ordinary to exceptional. This tutorial aims to show how to create animations that not only look great but also improve usability. Get ready to explore the possibilities and discover the benefits these animations can bring to your design work.
Getting Started with Figma
This section will guide you through the initial steps to begin your Figma journey. You will learn how to set up your first project, navigate the interface, and use essential plugins to enhance your design workflow.
Setting Up Your Project
He or she should start by creating a new project in Figma. After logging in, click on the “New File” button. This opens a blank canvas where the design work begins. Naming and organizing the file structure are important for easy access later.
Using folders and clear labels helps team members find and collaborate on projects. It’s also crucial to understand frames in Figma, as they act like canvases where designs are arranged. Frames also allow for prototyping interactions.
Sharing projects is easy. Simply click on the “Share” button, which lets you invite team members to view or edit your design. Setting proper permissions ensures the right level of access.
Exploring The Figma Interface
Understanding Figma’s interface is essential for getting comfortable with design tools. On the left are the layers panel and assets, which help manage design elements. Knowing how to search through them effectively speeds up the design process.
The right side contains properties, where users can adjust settings for selected items, like color or font. At the top, tools such as the move tool and shape tool reside. This toolbar is used to create and manipulate design elements.
Figma’s intuitive interface includes shortcuts that greatly enhance efficiency. Users might spend some time familiarizing themselves with these shortcuts to improve their workflow.
Introduction to Figma Plugins
Figma has various plugins that expand its features and streamline the design process. These plugins can automate repetitive tasks, like exporting files, or add new functionalities, such as creating charts or stock photos.
He or she can access plugins in the menu under “Plugins” and search the Figma Community for popular choices. Plugins like Figmotion for animations and Unsplash for images are very handy.
Installing and managing plugins is simple and can make a significant difference in productivity. Users enjoy a more customized Figma experience by choosing tools that best suit their needs.
Fundamentals of UI/UX Design
UI/UX design is crucial for ensuring user-friendly and enjoyable digital experiences. Key aspects include design principles for animations and understanding user interaction, which are vital in creating engaging interfaces.
Design Principles for Animations
Animations in UI/UX design should enhance user experience, not distract from it. They help guide users and provide feedback for their actions. Important principles include consistency, where animations maintain uniform design language across the application, and purpose, ensuring each animation serves a clear function.
Animations should be smooth and responsive to avoid delays or interruptions for users. They must offer visual cues to communicate changes and next steps, making interfaces intuitive. Designing with these principles creates a cohesive and accessible experience.
Understanding User Interaction
User interaction is about how users engage with an interface and perform tasks. Designers need to focus on usability and accessibility, ensuring the interface is easy to navigate.
Interactive elements should be clear and predictable, making them recognizable through familiar patterns and icons. Feedback, such as changes in color or motion when a button is pressed, informs users about their actions. Additionally, animations can help illustrate these interactions, making the process more intuitive.
Creating a seamless flow from one action to the next keeps users engaged and satisfied, enhancing the overall experience.
Creating Your First Animation
When starting with Figma animations, beginners should focus on drawing and organizing their design elements. This involves using Smart Animate for smooth transitions and fine-tuning animations by managing delays and timing effects. This approach builds a solid foundation for creating engaging user interfaces.
Drawing and Staging Elements
To begin, create clear and organized design elements. It’s essential to arrange them thoughtfully on separate frames. Use clear names for layers and objects to streamline your workflow.
When staging elements, maintain consistency in size and position. This helps in creating seamless transitions between frames. Aligning elements properly is key to ensuring animations appear fluid.
Grouping elements that will move together is also important. When similar objects are grouped, it simplifies animations and enhances clarity.
Animating Objects with Smart Animate
Smart Animate recognizes changes in an object’s position, size, and opacity. By setting start and end positions on different frames, Figma smoothly animates these elements. Use Smart Animate to make components appear or disappear by adjusting opacity between keyframes.
Layer naming should remain consistent. Smart Animate relies on accurate layer names to identify changes. As a result, animations can transition naturally from one frame to the next.
This tool is particularly useful for complex UI transformations. Instead of creating each step manually, Smart Animate automates transitions, saving both time and effort for designers.
Adding Delays and Timing Effects
Timing is crucial in animation to create a realistic experience. By introducing delays, users can control the pace of the animation. Use the prototype settings to adjust these delays for a natural flow.
Timing effects add another layer of sophistication. By varying the timing function (ease-in, ease-out), animations become more dynamic. Adjusting these effects ensures that specific parts of the animation stand out.
Experimenting with different durations and delays can highlight important interactions. This approach captures the viewer’s attention effectively.
Advanced Animation Techniques
Advanced animation in Figma includes using variants for component states, making components interactive, and creating complex animation sequences. These techniques can help designers create engaging and dynamic user interfaces, enhancing the overall user experience.
Using Figma Variants
Variants in Figma allow designers to create different states of a component, such as buttons or toggles. This can help in maintaining consistency and efficiency throughout the design process.
By using variants, a designer can easily switch between variations without duplicating efforts. For instance, a button can have multiple states like hover, active, or disabled, which can all be managed under one component.
To set up variants, components can be grouped together and linked with conditions. This makes the design process cleaner and more organized. Variants also support quick prototyping, which can be beneficial for testing multiple interactions without creating entirely new components.
Interactive Components
Interactive components allow users to engage directly with UI elements like buttons, sliders, and menus. Figma supports these by letting designers define interactions such as clicks and hovers. This makes the prototype more realistic and engaging.
Creating interactive components involves setting up triggers and actions that define how users will interact with them. For example, a button could change its color when hovered over to indicate interactivity. This improves user feedback and provides a more immersive experience for testing designs.
Figma’s interactive component feature also makes it easy to share and gather feedback on designs. Designers can quickly showcase how specific actions work within an interface, allowing for more efficient collaboration with team members and stakeholders.
Complex Sequencing
Complex sequencing involves setting up animations with multiple steps and transitions to create smooth and fluid movements. Keyframes define the starting and ending states, allowing for detailed control of animations.
In Figma, designers can sequence events by linking different states with transitions. This helps in creating more sophisticated animations, such as sliding menus or button animations that are not just basic movements.
Using Figma’s tools, designers can adjust timing and easing to perfect the flow of animations. This creates an engaging experience where movements feel natural. Tools such as keyframe animation can help achieve this level of complexity, allowing animations to tell a story or guide the user through a process.
Prototyping and Presentation
Figma’s prototyping tools allow users to bring their designs to life with interactive animations and transitions. By creating realistic prototypes, designers can better communicate their ideas and gather valuable feedback from others.
Crafting a Prototype
Creating a prototype in Figma involves setting up a flow to represent the user’s journey. To start, select a starting frame and choose a flow starting point. This defines how users will navigate through the design.
Adding interactions like transitions and animations can enhance the prototype. Figma offers tools such as Smart Animate to apply motion effects. These features help simulate real-life behavior, making the prototype more engaging.
Prototyping isn’t just about individual screens. It involves thinking about how users move between screens. Consider the complete user journey to ensure a seamless experience. For more tips, look at the Guide to prototyping in Figma.
Sharing Your Animation for Feedback
Once your prototype is ready, sharing it for feedback is crucial. Figma makes this process straightforward. Use the share button to distribute your prototype link. This allows others to view and test your design within their browsers.
Feedback can be collected directly in Figma. Collaborators can leave comments and suggestions, which appear in real-time. This feature helps teams iterate quickly, refining designs based on input.
To make presentations more engaging, consider using interactive components. These create deeper involvement during demonstrations. For additional insights, learn from resources like Creating Figma prototypes with interactions and animations.
Workflow Tips and Tricks
Creating smooth animations in Figma can transform any design. By using Auto-Layout and focusing on performance, users can make efficient and eye-catching UI/UX animations.
Efficient Use of Auto-Layout
Auto-Layout in Figma makes creating responsive designs much easier. It helps maintain consistent spacing and alignment automatically. Users can stack elements vertically or horizontally and set whether they should resize or stay fixed. This feature saves time by reducing manual adjustments.
When working with animations, Auto-Layout ensures elements adjust seamlessly without overlapping. For interactive animations, components can be set to resize based on content changes, keeping the design fluid. Designers can also add padding and margins, making sure that animations look polished across different screen sizes.
Optimizing Animation Performance
Performance is key for animations to feel smooth. Using Figma’s features smartly can enhance performance. Limiting animation duration and easing can prevent heavy lags. Simpler animations often work better, so consider using fewer layers and effects.
Another strategy is to work with vector shapes instead of raster images. Vectors scale better and usually load faster. Avoid using too many images or effects in a single frame. Testing animations on different devices can also help identify performance issues. Keeping file sizes small and organized can ensure smooth playback across platforms.
Integrating with Other Tools
Animations in Figma can be enhanced by connecting with other tools and platforms. This integration ensures a smooth workflow, enabling developers and designers to work more efficiently.
Exporting Assets for Developers
Designers often need to export assets like images, icons, or animations for developers. Figma’s export settings allow for various formats, such as PNG, SVG, and JPG, which helps in maintaining image quality. It’s important for designers to understand the specific requirements of developers for each project. Sometimes, additional plugins can aid in exporting animations. For example, the Anima plugin helps in embedding code directly into Figma prototypes, simplifying the handoff process. Designers and developers should communicate effectively to ensure assets are exported correctly and promptly, minimizing potential issues during the project development phase.
Animation Handoff
Handoff refers to the period when designers share their work with developers for implementation. Using Figma, designers can create detailed prototypes and specify animations to make the handoff process smoother. Figma’s interactive component feature allows designers to demonstrate how components should behave. Including precise action details, such as triggers and animations, can help developers understand the intended user interaction. Providing developers with a clear view of how the final design should look and function is crucial. This transparency avoids miscommunication and helps ensure that the end product matches the designer’s vision.
These integrations facilitate a seamless workflow, improving collaboration between designers and developers during the creation of lively and interactive UI/UX animations.