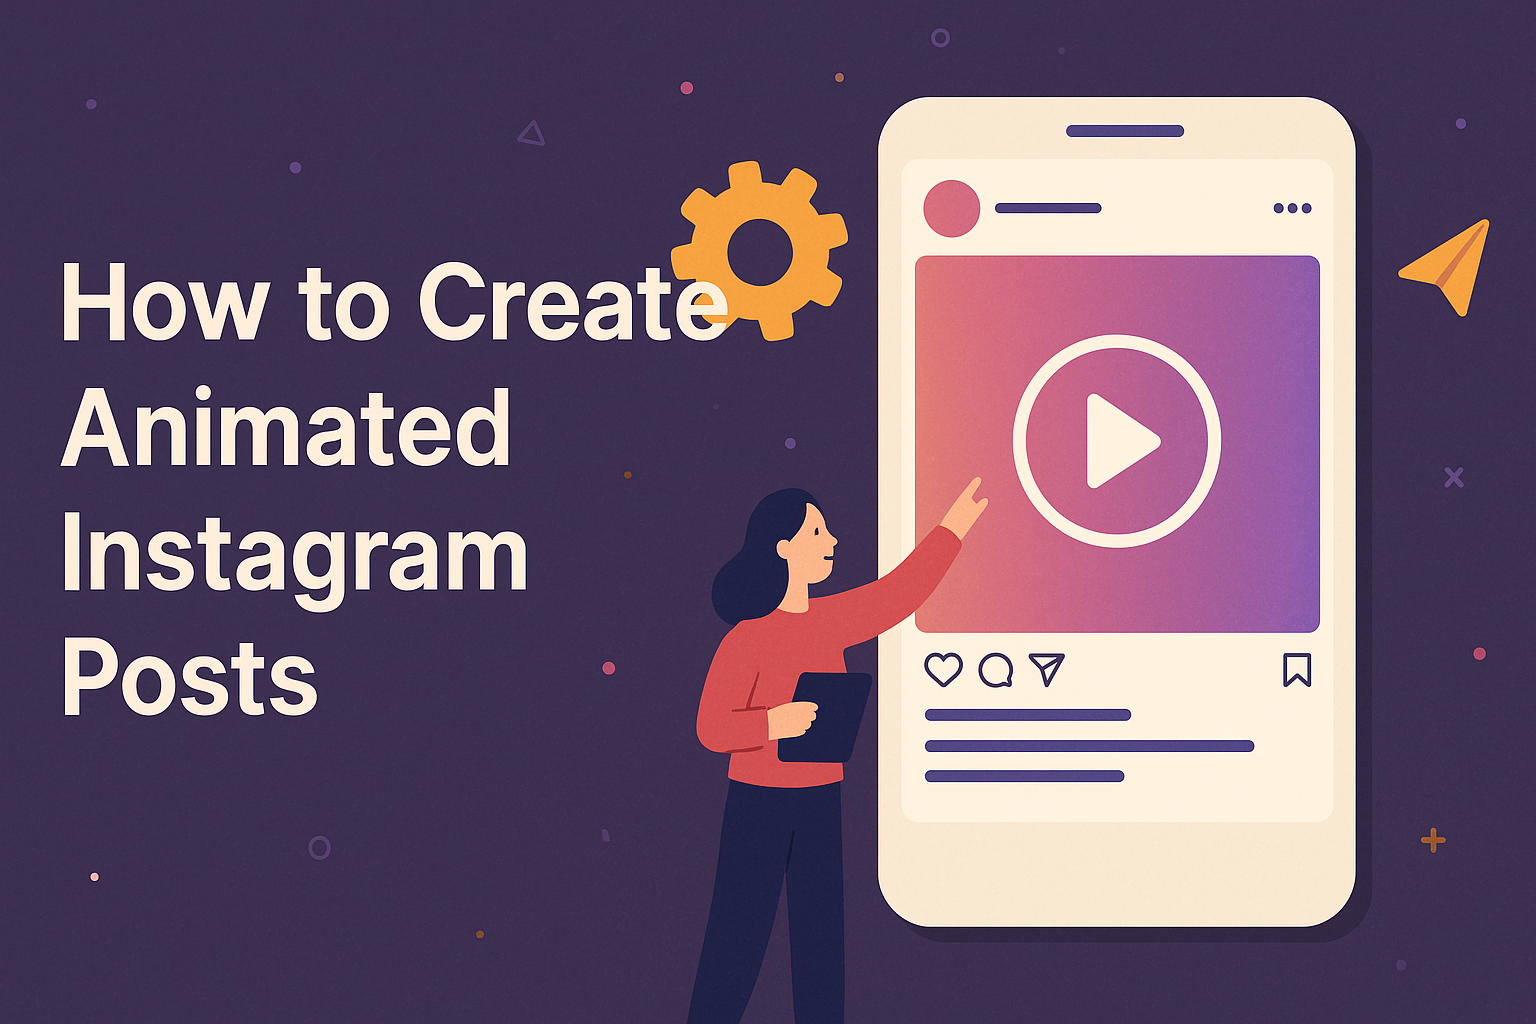
Creating animated Instagram posts is a fantastic way to catch your followers’ attention and add some personality to your content. With tools like Canva and Adobe Express, making these posts is easier than ever. Start by selecting a template or designing from scratch, and let your creativity shine.
The right animation can make your post stand out in the crowded Instagram feed. By adding movement and flair, your posts become more engaging for your audience. Fun and eye-catching animations can lead to more interactions and connections with followers.
For anyone unsure about getting started, helpful tutorials are available online. Check out free resources like YouTube guides on how to use Canva and Adobe tools to make your posts pop. Whether you’re a beginner or experienced, the process can be quick and enjoyable.
Understanding Instagram Animation Basics
Creating animated content for Instagram can make posts more engaging and capture viewers’ attention more effectively than static images. Understanding the role of animation, the types available, and technical specifications helps in making more impactful designs.
The Importance of Animated Content
Animated content can significantly boost engagement metrics on Instagram. Attention spans are short, so it’s important to grab viewers quickly. Animations add a dynamic element that can stand out in a static feed.
People are more likely to engage with content that catches their eye. Brands use animation to tell stories, highlight features, or create an emotional connection. These elements can encourage users to like, comment, or share the post, extending its reach and impact.
Types of Animation for Instagram
Different types of animations cater to varied creative needs. GIFs and short looping videos are quick ways to share animated content. They are usually concise and can easily express a thought or promotion.
Motion graphics can be used for more detailed storytelling. They often include text or icons that move in creative ways to make complex ideas easier to digest. Stop-motion is another engaging technique, combining multiple images to create the appearance of movement.
Animation Dimensions and Specifications
Instagram has specific dimensions and formats to ensure content displays correctly. The typical recommended size for a square post is 1080×1080 pixels. Vertical content should measure 1080×1920 pixels.
For ads and stories, these vertical dimensions help ensure consistent quality. Supported file types for animation include MP4, MOV, and GIF. Videos should not exceed 4GB in size and can range up to 60 seconds in length.
By aligning animations with these specs, creators can avoid cropping or quality loss when their content is viewed.
Getting Started with Instagram Animation
Creating animated Instagram posts is a fun and engaging way to enhance your online presence. This guide will help you organize your workspace and choose the best tools for crafting captivating animations.
Setting Up Your Animation Workspace
A well-organized workspace makes animation creation smoother and more enjoyable. Start by ensuring your computer or device meets the technical requirements for animation software. It’s crucial to have enough memory and processing power for smooth performance.
Next, organize your desktop or physical workspace. Keep essential tools like a stylus or drawing tablet nearby, and create a folder on your computer for saving projects. Include subfolders for images, audio, and completed animations.
Ergonomics matter too. Make sure your chair and desk are comfortable. Good lighting helps reduce eye strain. Consider using two monitors to multitask effectively, with one display for resources and the other for your animation project.
Choosing the Right Tools and Software
The right software is key to producing quality animations. Canva is a popular online tool that offers user-friendly features for beginners. It’s great for simple animations and quick tasks. Try Flicker for vectors and detailed animations.
If you prefer more advanced options, Adobe After Effects provides greater control but might have a steeper learning curve. Flixier is another option, offering easy media imports and a simple drag-and-drop interface.
Explore each tool’s features to find one that fits your skills and project needs. Consider any limitations, such as access to certain effects or the ease of exporting your post to Instagram.
Planning Your Animated Post
Creating an animated Instagram post involves thoughtful planning. This includes developing a clear concept, mapping out a storyboard, and drafting a compelling script. Each step is crucial to ensure the final result is engaging and visually appealing.
Developing a Concept
The first step in planning an animated post is to develop a strong concept. It’s essential to begin with a clear idea of the message or story. Thinking about what the audience might find interesting or entertaining helps guide this process.
A concept should be simple enough to convey quickly but interesting enough to capture attention. Brainstorming ideas with team members or researching trending topics can spark inspiration. Using a mind map, they can organize and refine these ideas, focusing on the most effective narrative.
Storyboarding Your Idea
Storyboarding translates the concept into a visual plan. This process involves sketching key scenes or frames that will make up the animation. Each drawing should represent a moment in the post’s timeline.
He or she can start by laying out the sequence of events, ensuring the story flows smoothly. It’s a good practice to include notes about timing and effects for each scene. Storyboards can be as simple as stick figures or more detailed, depending on preference.
Creating a Compelling Script
A well-crafted script provides the backbone of the animated post. It should outline the dialogue and any text that will appear on the screen. Writing in a conversational tone can make the message feel more relatable and friendly.
They should ensure the script supports the visual elements without overwhelming them. Timing is crucial, so reading the script aloud helps check the pacing. It’s advisable to keep sentences short and direct. If necessary, include bullet points or bold key phrases to emphasize important information.
Designing Animation Elements
Creating animated Instagram posts involves understanding key principles of animation design and crafting visually appealing assets. By focusing on the basics, one can produce engaging and memorable animations.
Key Principles of Animation Design
Understanding motion is crucial in animation design. Elements like timing, spacing, and rhythm determine how animations flow. Artists often rely on the principle of “squash and stretch” to give a sense of fluidity and life. This technique adds realism by emphasizing speed and impact.
Next comes anticipation, which prepares users for the action to follow. It might be a slight hesitation before a movement or a subtle visual cue. Anticipation makes animations feel natural and draws viewers in, enhancing their engagement and interest.
Consistency is also essential. A coherent style, whether minimalistic or elaborate, creates a unified look across animations. Designers should keep element sizes, colors, and styles uniform, ensuring animations feel harmonious and intentional.
Crafting Visual Assets for Animation
Designers start by selecting the right tools. Platforms like Canva and Adobe offer templates that simplify asset creation. Choosing an appropriate style aligns with the intended message, whether playful, professional, or artistic.
Detailed attention goes into designing characters and other visual elements. Setting a color scheme and using consistent typography helps maintain visual harmony. For more complex animations, including vectors and illustrations can add depth and interest.
Text animations also play a role, capturing attention with movement and highlighting key messages. These are often used to emphasize calls to action or important announcements, ensuring the content is not only visually appealing but effectively communicated to the audience.
Animation Techniques
Creating animated Instagram posts can involve a variety of techniques. Understanding different animation styles allows creators to choose the best method for their designs.
Frame-by-Frame Animation
Frame-by-frame animation is a classic technique where each image or frame is drawn individually. This method gives creators full control over the movement and timing of the animation. It’s like flipbook animation, where each frame builds upon the last to create movement. While it can be time-consuming, it allows for detailed and nuanced animations. Artists often use software like Adobe Animate to streamline this process. This technique is particularly useful for character animations or when intricate movement details are needed.
Motion Graphics
Motion graphics focus on animating text and graphic elements, often used in digital media to convey messages or highlight important information. This technique is more about moving shapes and typography rather than creating lifelike characters. Programs like Adobe After Effects are popular for making motion graphics. This approach is perfect for promotional posts, where text needs to grab attention quickly. It allows for dynamic changes, like sliding or spinning text, that keeps viewers engaged. The use of motion graphics can turn static text and logos into eye-catching animated elements.
Using Filters and Effects
Using filters and effects is one of the simplest ways to add motion to Instagram posts. Apps like Canva offer ready-made filters and effects that can animate images or text without requiring advanced skills. These tools enable creators to apply movements such as fades, pans, or zooms with just a few clicks. This method is ideal for beginners or those looking to quickly animate content. Effects can help add personality to posts, drawing in viewers with minimal effort. It’s a handy option for enhancing everyday posts or when time constraints prevent more complex animations.
Animating Your Content
Creating animated Instagram posts involves understanding the basics of animation, such as timelines, keyframes, movement, transitions, and syncing audio with visuals. Mastery of these elements can help in designing eye-catching content for Instagram.
Timeline and Keyframing
The timeline is essential in any animation project. It helps in organizing the sequence of animations. When animating, keyframes come into play by marking important points where animation transitions happen.
By adjusting keyframes on the timeline, one can control aspects like position, scale, and rotation over time. For beginners, apps like Mojo can simplify this process with pre-made templates.
Experimenting with various settings and previewing the results helps in getting the desired effect. Fine-tuning the timing between keyframes can transform a static post into a dynamic animation.
Adding Movement and Transitions
Movement adds life to static designs. By implementing shifts such as slides, bounces, or fades, static elements gain interest. Tools like Adobe Express offer features to animate objects in different directions.
Transitions help in making animations smoother. These are added between scenes or elements to make the movement feel seamless. Helpful effects include crossfades, zoom-in transitions, and rotating elements.
A variety of movements and transitions keeps the audience engaged. Trying out different combinations allows one to see what resonates with their brand style.
Syncing Audio with Visuals
Audio can greatly enhance animated posts. Syncing music or sound effects with visuals adds an immersive element. It’s important to choose audio that complements the animation.
Apps like Canva provide options to add licensed soundtracks. To sync audio perfectly, line up sounds with actions on the timeline to reinforce the impact of movements.
Testing different audio tracks to see how they align with the visuals can enhance the overall effect of the post. Properly synced audio and visuals create a more engaging experience for the viewers, leaving a lasting impression.
Fine-Tuning and Editing
Fine-tuning animated Instagram posts involves enhancing clarity and ensuring the visuals stand out. Editing for clarity improves the message, while color correction adds vibrancy and consistency.
Editing for Clarity and Impact
Editing for clarity ensures the message is easily understood. Begin by checking the text for spelling and grammar errors. Clear text makes the post more professional and credible.
Next, review the animation’s pace. Adjust the speed so that viewers can absorb the content without feeling rushed. Consider the timing of transitions and effects. They should enhance, not overwhelm the message.
Incorporating visual cues like arrows or highlights can direct attention to key points. Also, maintaining a logical sequence helps audiences follow along effortlessly. This involves ensuring each element flows naturally to the next.
Consistency across the animation is critical. Keep fonts and styles uniform to avoid distractions. This cohesiveness ensures that each animation aligns with the brand’s look and feel.
Color Correction and Grading
Color correction and grading transform a bland animation into a visually engaging piece. Start by adjusting brightness and contrast to enhance visibility. Balancing these settings prevents the animation from appearing washed out or too dark.
Think about the color palette. Use colors that evoke the intended mood and align with the brand’s identity. For example, vibrant colors can add energy, while muted tones might create a calming effect.
Grading involves ensuring the colors are consistent across frames. This helps maintain a professional appearance. Tools such as Adobe have features for achieving precise color correction and grading.
Testing is crucial. Viewing the animation on different devices and lighting conditions ensures the colors remain true and appealing.
Optimizing for Engagement
Creating animated Instagram posts can capture attention, but optimizing for engagement is key. Two crucial strategies involve posting at the right times and actively interacting with followers. These ensure maximum visibility and build a stronger connection with your audience.
Best Times to Post on Instagram
Timing can make a big difference in how a post performs. Research shows that Instagram users are most active during certain hours. Generally, posting in the late morning to early afternoon during weekdays can lead to better reach.
Consider the time zones of your target audience. If your followers are international, think about using Instagram’s insights tool to identify when they are most active.
Experiment with different times to see what works best. Tracking performance data can help refine the posting schedule for optimal engagement.
Engaging with Your Audience
Interacting with your audience goes a long way. Responding quickly to comments can increase the visibility of your posts and foster a sense of community. This encourages more interaction from your followers.
Use Instagram Stories to ask questions or run polls. This invites followers to engage directly and gives valuable feedback.
Consider using hashtags and location tags—these make posts searchable and potentially more discoverable, increasing engagement by appearing on the feeds of users who have shown interest in those topics.
Publishing Your Animated Post
Once you’ve created your animated Instagram post, the next steps involve uploading and getting it noticed by your audience. It’s crucial to both share at the right time and use strategic hashtags to reach more people.
Uploading and Scheduling
Uploading your animated post to Instagram is straightforward. Start by using the Instagram app or web platform to upload the finished animation. Ensure the format is compatible—usually MP4 or GIF works best.
To maximize engagement, think about scheduling. Apps like Later or Buffer can help stagger your posts at high-engagement times. This means figuring out when your audience is most active. It might be during lunch breaks or evenings.
Consider setting reminders for when to post if you prefer doing it manually. Also, double-check the quality of your post before it goes live, ensuring it looks crisp and clear on all device screens.
Using Hashtags Effectively
Hashtags expand the reach of your animated post to users beyond your followers. Use a mix of popular and niche hashtags. For example, blend broad tags like #animation or #instagood with specific ones related to your content.
Keep an eye on trending hashtags but make sure they’re relevant to your post. Limit yourself to around 10 to 15 well-chosen hashtags to avoid clutter.
Tools like Hashtagify or All Hashtag can help find relevant tags. Regularly update your list of hashtags based on performance to optimize reach and engagement continuously. Checking insights on Instagram will show which hashtags are working best for you.