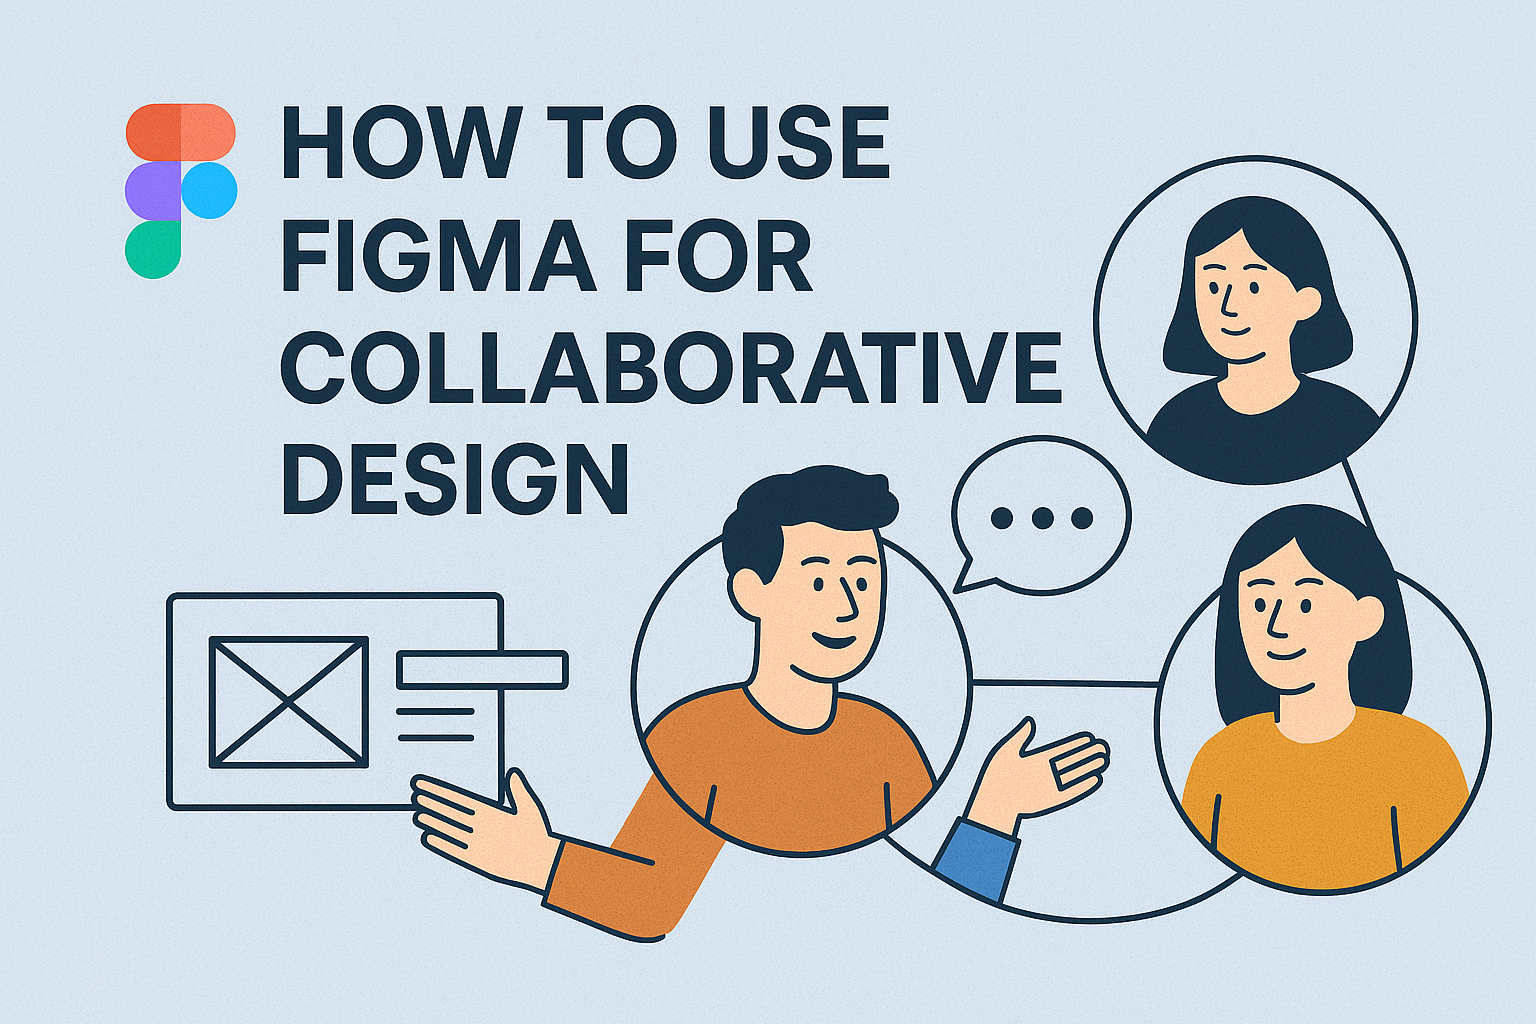
Collaborative design has never been easier, thanks to tools like Figma that connect team members from anywhere in the world. Using Figma for collaboration allows teams to work together in real-time, streamlining the design process. This platform provides tools that not only enhance creativity but also improve communication among team members.
Teams can set up clear roles and use its features to assign responsibilities, making the workflow more efficient. With different permission settings, like open and closed options, Figma allows you to control who can join and contribute to your project. This ensures that the right people have access, whether the goal is an open design culture or more restricted updates to a project.
In addition, Figma acts as a central hub for design work with features like Project Pages for easy navigation. These pages help teams stay organized and keep everyone on the same page. Whether your team operates remotely or in the same office, Figma brings everyone together and keeps projects moving smoothly.
Getting Started with Figma
Figma is a powerful tool that makes it easy for teams to collaborate on design projects. This section will guide users on how to create files, navigate the interface, and set up team workspaces.
Creating Your First File
To begin using Figma, users should first create a file. This can be done by logging into Figma and selecting the option to create a new file from the dashboard. Here, they can start a fresh design or explore available templates. Templates can help beginners understand the various elements they can incorporate.
While working on a new file, it’s possible to use layers to organize different components. This keeps the design neat and helps in editing specific parts without affecting the entire project. Layers appear on the left, offering a clear view of the project.
A good naming convention for layers and components is important. This can make the design process more efficient and enhances collaboration as it allows team members to locate parts of the design quickly.
Understanding the Interface
The Figma interface is user-friendly and designed for easy navigation. On the left, users find the Layers panel, where all parts of the design are listed, making it simple to manage elements. The right side contains the Properties panel, allowing changes to text, colors, and other attributes.
The top toolbar includes essential tools like the selection tool, shapes, and the pen tool. These are used frequently to create and refine designs. Users can also access features like libraries and prototyping tools from here.
Figma supports real-time collaboration, allowing multiple users to work on the same file simultaneously. This feature makes it possible to watch changes as they happen, fostering teamwork and ensuring everyone stays updated.
Setting Up a Team Workspace
Creating a team workspace is essential for collaborative projects. Users can do this by navigating to the “Create New Team” option in their Figma dashboard. This feature organizes designs and keeps files accessible to all team members.
In a team setup, it’s beneficial to integrate Figma with communication platforms like Slack, as suggested by the Ultimate Guide on Figma Collaboration. This ensures efficient communication and timely updates.
Team workspaces allow assigning roles to members, delivering a structured environment where duties are clear. Users can create channels for different projects within the team workspace, making collaboration even more seamless.
Collaboration Fundamentals
Collaboration in Figma involves inviting team members, setting proper roles and permissions, and using real-time editing for effective communication. These elements help teams work seamlessly and achieve their design goals.
Inviting Team Members
Inviting team members to a Figma project is easy and promotes a collaborative environment. Team leaders can send invitations via email to new contributors. Once invited, team members can access shared design files and contribute their ideas. It’s important to ensure that everyone has the correct access. This practice helps in avoiding accidental deletions or edits.
A streamlined invitation process makes onboarding new members efficient. Inviting the right people ensures that the team can leverage diverse skill sets, leading to enriched creative outcomes.
Roles and Permissions
Setting roles and permissions is key to managing a collaborative project in Figma. Each team member can be assigned a specific role, such as editor, viewer, or admin. This control helps maintain focus and organization within the project.
Admins can manage file accessibility and decide who can view or edit content. By clearly defining roles, teams can prevent unauthorized changes and enhance security. It also ensures that everyone knows their responsibilities.
Well-defined roles encourage accountability and streamline the design process. This organization helps teams work efficiently and reduces the chance of errors.
Real-Time Editing and Communication
Real-time editing is one of Figma’s standout features. It allows multiple team members to work on the same project simultaneously. Each person can make instant updates, ensuring that everyone sees changes as they happen. This feature speeds up the design process and fosters instant feedback.
Communication tools within Figma, like comments and notes, enhance collaboration. Team members can interact directly on the design canvas, making discussions precise and context-specific.
These tools help in addressing design issues quickly and efficiently. Real-time editing combined with direct communication ensures that teams stay aligned and productive.
Design Consistency
Design consistency is crucial for creating a seamless experience in collaborative design projects. It involves using and creating components, shared libraries, and establishing clear style guidelines. These elements ensure that everyone on the design team builds cohesive and pleasing interfaces.
Using and Creating Components
Components are reusable elements that designers can use across various parts of a project. They save time and ensure uniform design standards. By using a designated component, changes made are automatically updated wherever that component is used. This approach enhances productivity and ensures that updates reach all related parts of the design without missing anything important. Creating components starts with identifying common elements like buttons or icons. Once identified, these elements are converted into components and stored for future use. Clear labeling and organization help the entire team find and use components efficiently.
Shared Libraries
Shared libraries are essential for teams aiming for consistency in their design. They allow team members to access a centralized collection of design assets such as icons, text styles, and colors. Through a shared library, designers ensure that everyone uses the same elements, preventing mismatches. This also helps new team members quickly adapt to existing design styles. Teams using Figma, for instance, can utilize shared libraries to manage assets across projects effectively. Updates made to these libraries automatically reflect in the designs where they are used. This saves time on manual updates and keeps the design consistent across the board.
Style Guidelines
Style guidelines provide the rules for how design elements should appear and behave. They cover everything from typography to color schemes and spacing. By setting clear style guidelines, teams create a uniform look and feel. These guidelines are essential for keeping every piece in sync and ensuring a smooth user experience. When designers follow established style guidelines, it eliminates the guesswork in design decisions. The guidelines should be documented and easily accessible to all team members. Clear presentation and examples within the guidelines help designers understand and implement them correctly. Organizations can then build coherent and intuitive designs that are easily recognized and stand out in their field.
Efficient Workflow
Creating an efficient workflow in Figma can save time and enhance team collaboration. Key aspects include utilizing templates and plugins, managing version history meticulously, and ensuring a smooth design handoff to implementation.
Using Templates and Plugins
Templates and plugins serve as powerful tools in streamlining design processes. Templates allow teams to maintain consistency across projects by providing a standardized starting point. This helps designers focus on creativity instead of building from scratch each time. Plugins, on the other hand, enhance Figma’s native features. They offer functionalities like color management, layout guides, and automatic asset generation.
By integrating plugins, designers can automate repetitive tasks. This not only boosts efficiency but also reduces the risk of errors. It’s important for teams to regularly review and update their templates and plugins to align with evolving project needs.
Version History and Iterations
Maintaining an organized version history is crucial for efficient teamwork. Figma provides a feature to track changes, enabling designers to review past versions easily. This is particularly helpful during feedback sessions and iterative design processes. Every adjustment is automatically saved, making it easier to revert to previous designs if needed.
Organizing versions with clear labels and notes can save time. It helps in identifying the purpose of each iteration. This practice enhances communication among team members and ensures everyone is on the same page regarding design changes.
Design Handoff and Implementation
A seamless design handoff is essential for smooth project execution. Figma’s design handoff tools are built to facilitate this process. Features like detailed design specs, asset exports, and code integration enable developers to understand design intentions clearly. Using these tools can bridge the gap between design and development teams.
For effective handoff, maintaining clear documentation and annotations is key. Designers should provide enough context and guidance for developers to implement designs accurately. Leveraging real-time collaboration features can further enhance this process, enabling instant feedback and reducing misinterpretations. Proper preparation during handoff can minimize back-and-forth, saving time and resources.
Feedback and Testing
Using Figma for feedback and testing is essential for creating successful designs. The platform offers easy-to-use tools for commenting and annotations, as well as efficient ways to run prototyping and user testing sessions.
Commenting and Annotations
Figma makes it easy for team members to add feedback directly on the design. They can use the commenting feature to leave notes on specific elements. This allows for clear communication among all team members.
Annotations can be added as well. These annotations serve as clear guidelines or notes for designers. The @mention feature helps in directing the feedback to specific team members, ensuring everyone stays in the loop.
Figma also allows for real-time updates. This means that any changes made are visible immediately to everyone involved. It makes conversations about design more effective. Team members can quickly respond and adjust designs based on ongoing discussions.
Prototyping and User Testing
Figma simplifies the process of creating prototypes, making it easier for teams to visualize their designs in action. With the prototyping tool, users can build interactive models by linking frames. This tool enables the team to simulate how a design would function once fully developed.
After creating prototypes, user testing becomes the next step. Teams can share their prototypes with users and gather feedback on usability. This can be done through Figma’s sharing feature, allowing users to test the design and provide input.
Teams benefit from testing by gaining insights into how users interact with the design. This data helps to refine and improve the product, ensuring it meets user expectations and needs. Regular testing ensures the final product is both functional and user-friendly.
Project Management
In the realm of collaborative design, effective project management ensures smooth workflows and keeps the team aligned. Key aspects include tracking progress and deadlines while also integrating Figma with other tools for enhanced functionality.
Tracking Progress and Deadlines
Tracking progress in Figma requires a clear plan. Teams often create project timelines to set expectations and deadlines. These timelines help everyone know when tasks need to be completed.
Using Figma’s project pages, teams can pin important files and notes that show key milestones. This helps in prioritizing tasks and aligning the team’s focus. For more efficient workflows, teams might also assign roles for each task, ensuring accountability and clarity among team members.
Figma’s collaboration features make it easy to see who is responsible for each part of the project. Team members can leave comments directly on designs, allowing for seamless feedback and updates throughout the project lifecycle.
Integrations with Other Tools
Integrating Figma with other tools is crucial for enhanced project management. Popular tools like Slack and Trello can be linked to Figma for streamlined communication and task management.
For example, by integrating Trello, teams can easily turn design tasks into Trello cards, keeping everyone updated on progress.
Slack integrations enable instant updates and notifications whenever changes are made in Figma. This keeps all team members in the loop without needing to check Figma constantly.
For development teams, integrating with tools like Zeplin can be beneficial. This integration allows designers and developers to share specifications and assets effortlessly, ensuring that everyone has the resources they need for smooth project execution.