For anyone working with InDesign, exporting a print-ready document can seem tricky, especially when it comes to including crop marks and bleed. With the right steps, anyone can easily create a professional-looking PDF that meets printing standards.
This process is essential for ensuring that the final print product looks exactly as intended.
Many designers may find themselves unsure about the settings and options available when exporting their files. Luckily, there are clear guidelines that can help simplify this task.
By following precise methods to set up bleed and add crop marks, one can achieve the desired output for any project.
Whether preparing a brochure, flyer, or book, knowing how to properly export can save time and prevent costly mistakes.
Readers will find practical tips and insights that make this process straightforward and efficient, allowing for a smooth transition from digital design to tangible print.
Getting Started with InDesign
To begin working with InDesign for print-ready documents, it’s essential to set up the document correctly. This includes defining the dimensions and understanding bleed and safe zones, which are crucial for printing.
Setting Up Your Document Dimensions
When starting a new document in InDesign, users should open the program and select “File” > “New” > “Document.”
In the dialogue box, they must specify the dimensions required for the final print size.
For example, a typical brochure might measure 8.5 x 11 inches. It’s important to consider if the document will be a single-sided or double-sided print.
Choosing the page orientation, margins, and number of pages is also essential.
Ensuring all these settings are correct from the beginning will save time later on and help avoid errors during export.
Understanding Bleed, Trim, and Safety Zones
Bleed is the area that extends beyond the document edges. It prevents any white space from appearing at the edges of printed materials. Typically, a bleed of 0.125 inches (1/8 inch) is standard.
Trim is the final size of the document after printing and cutting. It’s essential to know this size, as it helps set proper margins to keep important content within the safe zone.
Safety zones ensure that text and images don’t get cut off during the trimming process.
Users should keep essential elements at least 0.25 inches from the trim line. This way, they avoid accidental loss of important details in the final print.
Preparing Your Design for Export
Before exporting a document for print, preparing the design is essential. This ensures that colors are consistent and all elements are organized for a smooth printing process. Key areas to focus on include color profiles and the arrangement of graphic elements.
Working with Color Profiles and Settings
Color accuracy is crucial in print design. Using the correct color profile helps achieve the right look. For most print projects, CMYK is the preferred color mode, as it aligns with standard printing processes.
When setting up a document in InDesign, choose a color profile that matches your printer’s specifications.
To do this, navigate to the Edit menu, select Color Settings, and adjust according to your needs.
Also, ensure that images are high resolution—ideally 300 DPI (dots per inch). This helps maintain quality when printed.
Regularly check color settings to avoid unexpected surprises during printing.
Organizing Layers and Graphics Elements
Keeping layers and graphic elements organized plays a significant role in the export process. It simplifies making adjustments before exporting.
Group related items together and use clear naming conventions for layers.
Utilize the Layers panel to show or hide elements easily. This makes it simpler to manage complex designs.
Remember to check for any overlapping text or graphics that might affect the final print.
Ensure that all graphic elements are within the safe zone to avoid being cut off.
Proper organization not only saves time but also enhances the overall quality of the printed piece.
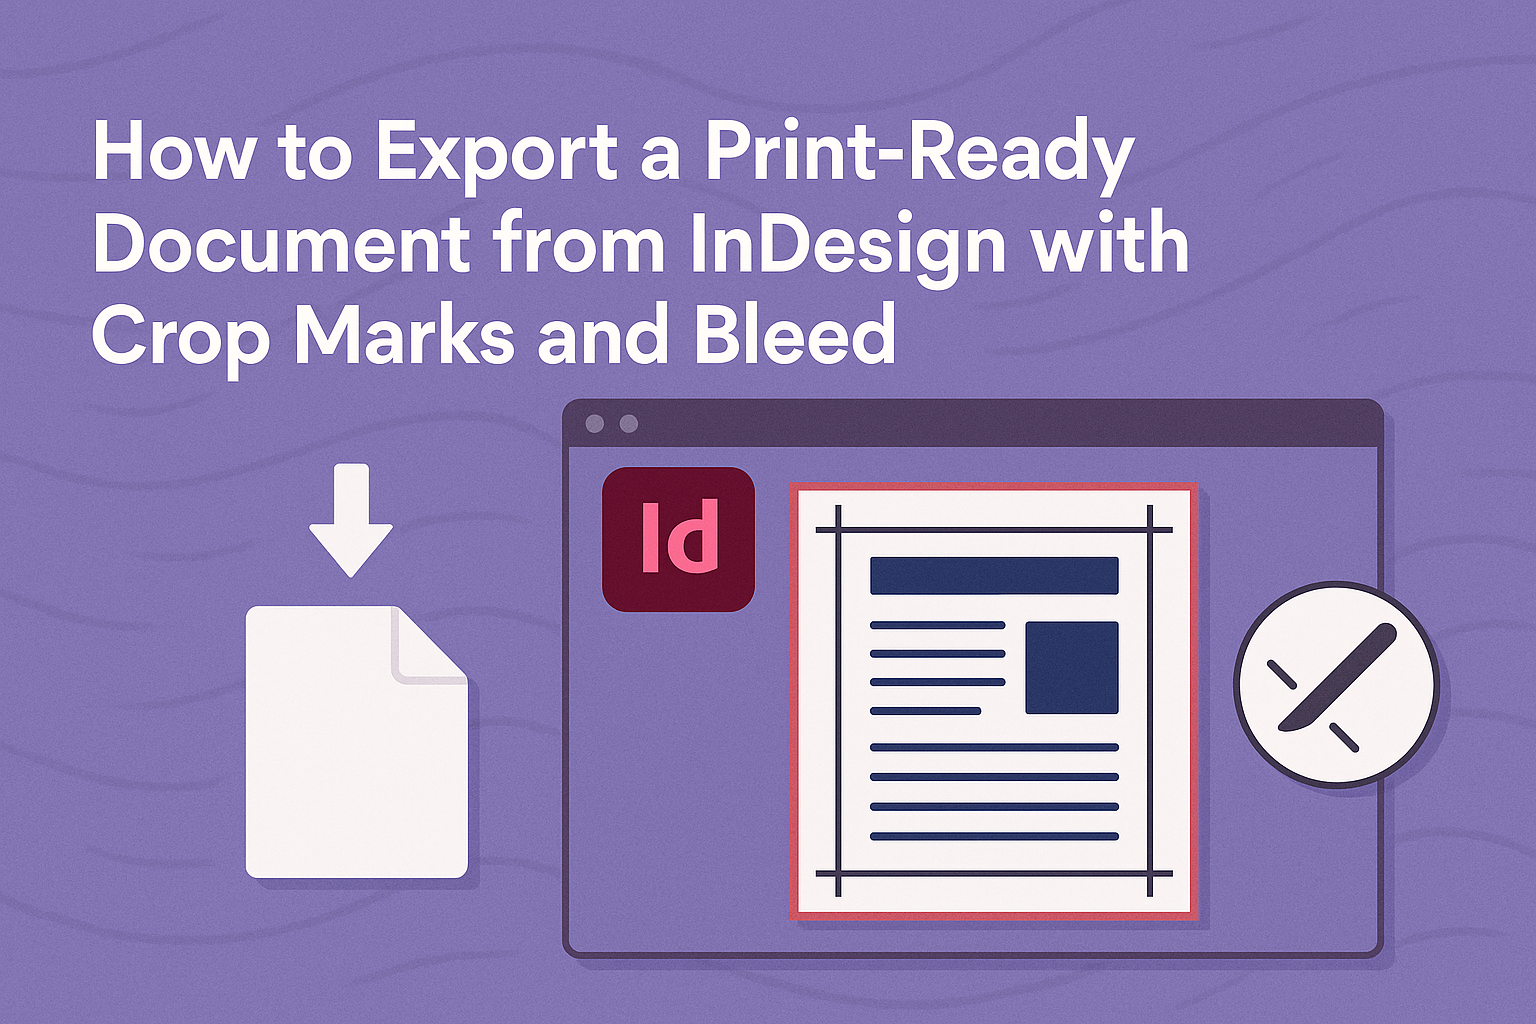
Adding Crop Marks and Bleed
When preparing a document for print, adding crop marks and setting the bleed is essential. This ensures that the design extends to the edge of the paper and that printers know where to cut.
Using InDesign’s Mark-Up Features
InDesign offers built-in features for adding crop marks. To start, go to File > Print. In the Print dialog, click on Marks and Bleed.
Here, users can choose All Printer’s Marks or just Crop Marks.
To apply these features, simply check the desired options. Crop marks indicate where the print should be trimmed. This helps ensure the design is printed accurately.
Additionally, using the PDF export options allows for easy inclusion of these marks.
Adobe provides straightforward tutorials for beginners to master these features through video guides.
Setting the Correct Bleed Values
Setting the bleed is crucial for a polished look. Bleed refers to the area extending beyond the document’s edge, preventing any white space from showing after cutting.
In InDesign, access the Document Setup via File > Document Setup.
In the dialog box, find the Bleed and Slug section. Enter values typically ranging from 0.125 to 0.25 inches for your bleed.
This ensures that images or designs extend far enough so that nothing important is cut off.
Always check the Use Document Bleed Settings option to apply these values effectively before exporting. This helps achieve a clean, professional result every time.
Exporting Your Document
When it comes to exporting a document from InDesign, selecting the right format is crucial. Paying attention to the settings will ensure the document is print-ready, including the necessary crop marks and bleed.
Choosing the Right File Format
To export a print-ready document, the recommended format is Adobe PDF (Print). This option is designed specifically for high-quality prints.
- Initiate Export: Go to
File > Export. - Select Format: Choose
Adobe PDF (Print)from the dropdown list. - Name Your File: Give the file a clear name for easy identification.
- Preset Selection: Opt for a preset like “PDF/X-1a:2001” which simplifies the process by converting RGB colors to CMYK.
This ensures images are appropriately formatted and transparency is flattened, making it printer-friendly.
Final Check and Export Settings
Before hitting the export button, it’s key to check the settings thoroughly.
- Bleed Settings: Ensure that bleed is set up correctly.
In the “Marks and Bleeds” section, check the box for “Use Document Bleed Settings.” This is important for ensuring there is no white space after trimming.
-
Crop Marks: Enable crop marks by checking the “Crop Marks” option.
-
Quality Check: For the best print quality, select “Press Quality.”
After confirming these settings, it’s safe to click “Export.”
The document will be prepared for optimal printing, incorporating all needed elements.