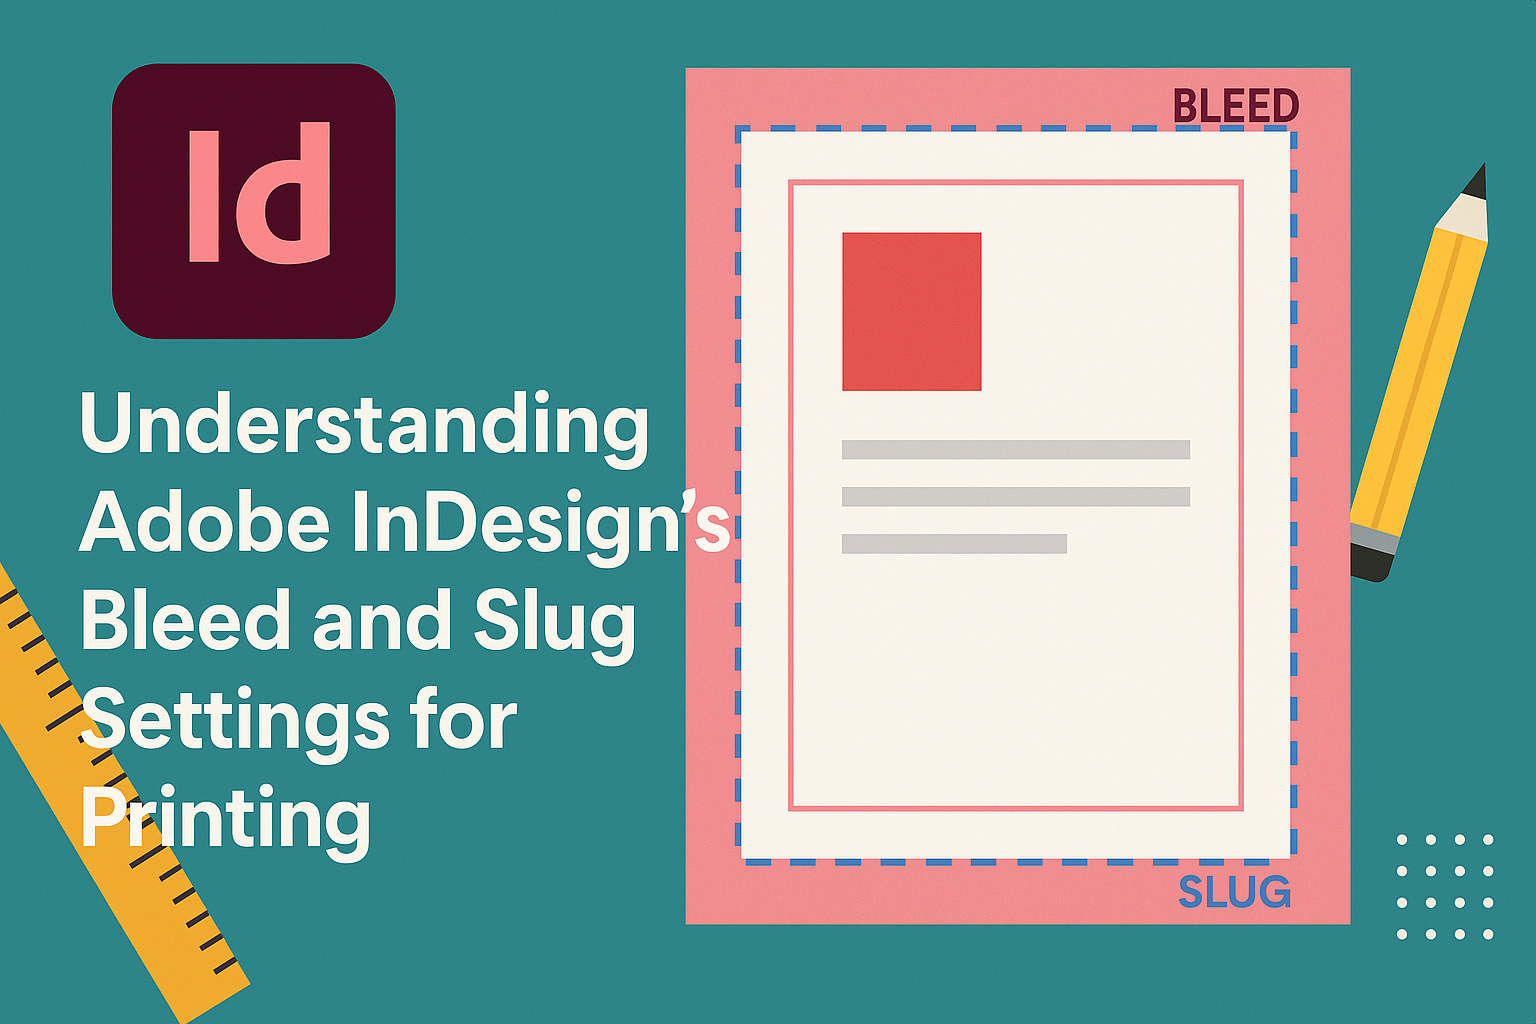
Navigating Adobe InDesign’s features can seem daunting, but mastering bleed and slug settings is crucial for ensuring polished and professional print materials. Bleed is the extra area around your document that ensures the ink reaches the edges after trimming, preventing unwanted white borders. The slug area, meanwhile, often contains information about the document, like instructions for the printer, but doesn’t appear in the final product.
The importance of bleed and slug is often overlooked, yet they play a vital role in the printing process. By setting up these guides correctly, designers can avoid costly mistakes and ensure their work is print-ready. Those curious about the technical aspects can find guidance on how to set bleed and slug guides for printing.
This skill not only enhances the quality of prints but also boosts confidence in any designer’s work. Knowing how to manage bleed and slug settings will help avoid setbacks and surprises once the designs go to print.
Basics of Page Design
Page design involves setting up margins, bleeds, and slug areas to ensure printed materials look professional. These elements help avoid unwanted white spaces and ensure information is printed accurately.
Understanding Margins
Margins are the spaces between the content and the edges of a page. They are essential for readability and framing the content neatly. Proper margin sizes prevent text and images from being cut off. Margins also allow for binding, especially in books or magazines.
For most designs, margins are set in the document setup stage. Margins can be adjusted later, but starting with the right settings saves time. A good rule of thumb is to have consistent margins throughout the document for balance and harmony.
Importance of Bleed in Printing
A bleed ensures that images or colors fill the entire page without white borders. It provides a margin of error during the trimming process. Typically, a bleed is set to extend images or backgrounds beyond the page’s edge by about 0.125 inches. This ensures everything is covered after printing and trimming.
To set up a bleed in Adobe InDesign, it’s best to specify it while setting up a new document. This way, it applies to every page consistently. Proper bleed settings guarantee designs print without gaps, even with slight trimming errors. Learn more about bleeds in Adobe InDesign.
The Role of Slug Area
The slug area is a space outside the page’s printed area used for notes, instructions, or other information useful to printers. It often contains information like project details, date, and version number. While it doesn’t appear on the final product, it’s crucial during the printing process for reference.
Setting a slug area in InDesign is done through the document setup menu. Although optional, using a slug can help maintain organization in complex projects. Once printing is complete, the slug area is trimmed away, leaving a clean finish. Understanding its use is vital for anyone preparing detailed print projects.
Setting Up Your Document
Setting up a document in Adobe InDesign involves several key steps. These include creating a new document, adjusting the size, configuring margins and bleed, and adding slug. Each of these steps is essential for ensuring your printed design turns out as expected.
Creating a New Document
To start a project, opening Adobe InDesign and selecting “New Document” is the first step. Users can choose whether the document will be for print, web, or other purposes. It’s important to decide on the intent because it affects the units, color mode, and other settings.
Once the intent is chosen, input the number of pages. For projects like books or magazines, ensure facing pages are selected to mimic a spread. This layout helps visualize how the printed pages will appear next to each other. Consider framing the project using the right primary text frame, helpful if text-heavy content is expected.
Adjusting Document Size
Once the document is created, adjusting its size is crucial. Click on “Document Setup” under the File menu. Here, the width and height of the pages can be set manually. Selecting a standard paper size, like A4 or letter, can make the printing process smoother. Ensure the chosen size matches the printer’s capabilities.
When dealing with bespoke designs, manually entering precise dimensions becomes necessary. This ensures your content fits perfectly without unexpected cutoffs. Double-check these settings before diving deeper into your design to save time and stress later.
Configuring Margins and Bleed
Margins help define safe areas where content won’t get cut off. They can be set in the Document Setup or Margin options. Set these based on the needs of the project. More detailed or important content may require larger margins to ensure clarity. The bleed area extends beyond the page’s edge to prevent white lines after trimming.
To set a bleed, extend the design elements slightly past the document’s boundaries. This accounts for any trimming inaccuracies in print. An industry-standard bleed size is 0.125 inches, but always confirm with the printer for their preferences. These settings can be entered in the same Document Setup window where the margins are configured.
Understanding and Adding Slug
A slug is an area outside the main document that can include important information such as notes, instructions, or specific marks for printers. It won’t be visible on the final printed piece but provides guidance during the printing process.
To add a slug, navigate to the Document Setup and locate the slug settings. Enter the desired size. Adding details like project name, print settings, or version numbers in this area can enhance communication with the printing team. This feature is particularly useful in complex projects with multiple stakeholders.
Working with Bleed Settings
When preparing a document for print in Adobe InDesign, setting bleed values is crucial for ensuring that images and colors reach the edge of the page without leaving unwanted white spaces. This section explains what bleed means in InDesign, how to set the bleed values, and how to use bleed guides effectively.
What is Bleed in InDesign
Bleed in InDesign is an area outside the document’s trim size that allows for minor errors during printing and trimming. It helps ensure that images and colors run to the edge of the finished piece, eliminating white edges. If a document has a bleed, it extends past the format’s borders, usually by about 0.125 inches or 3 mm on all sides.
The bleed area is essential for any document with a background image, a color, or graphics that should reach the edge. It acts as a safety margin for the print job. Without it, there could be visible gaps or uneven edges, which affect the visual quality and professional appearance.
How to Set Bleed Values
To set bleed values in InDesign, users can go to the File menu and choose Document Setup. Here, the bleed and slug options are visible. Enter the desired bleed measurements to extend beyond the trim line. Many designers use 0.125 inches or 3 mm, which is standard.
When exporting a finished document, pay attention to bleed settings in the export options. This ensures that the bleed area is included in the final PDF. Selecting Adobe PDF (Print) and confirming bleed settings under Marks and Bleeds is vital for accurate printing.
Working with Bleed Guides
Bleed guides in InDesign help visualize how much extra space you have beyond the trim line. They appear as red lines around the edge of your document. These guides can be customized in the settings to fit the needs of specific projects.
Using these guides effectively can minimize mistakes. They remind designers where images or backgrounds should extend to maintain a seamless finish. It is important to check these guides while designing to ensure all elements extend properly into the bleed area.
Working with Slug Settings
Slug settings in Adobe InDesign are crucial for adding non-printing information to your document. Slug areas can be used to include instructions or notes that will not appear in the final printed piece. This section will explore what slugs are, how to add them, and ways to use them for communicating printer instructions.
What is Slug in InDesign
In Adobe InDesign, a slug is a designated space outside the page and bleed area. It’s used to include information like job notes, specifications, or proofing instructions. The slug area does not print with the main document, making it perfect for details that designers or printers need to see but aren’t part of the finished product.
Understanding slugs can help streamline communication between designers and printers. Slugs are especially useful in projects where additional instructions are necessary for accurate printing. Keeping all your print instructions in one area reduces the risk of errors. Using slugs can enhance professionalism by clearly outlining project requirements.
How to Add Slug to Your Document
Adding a slug in InDesign is straightforward. When setting up a new document, you’ll find options to enter slug dimensions. If you need to add a slug to an existing document, go to File > Document Setup and enter values in the slug fields. This way, you can customize the size and position of the slug area based on your needs.
You can also use exact measurements for a precise layout. Designers often use guides to ensure all elements align correctly within the slug space. Testing your setup with a draft print can reveal if slug information appears where you want it.
Using Slug for Printer Instructions
Slug areas are great for providing detailed printer instructions. This can include settings like color standards or paper type. Adding these notes helps ensure everyone involved in the printing process has clear guidance. Including print specifications can prevent mistakes that lead to reprints.
Some designers include a checklist in the slug for quick reference. You can use bullet points to outline essential steps or reminders. Collaborating closely with your printer and using the slug area effectively can streamline the printing process, saving both time and resources.
Preparing for Print
Getting your Adobe InDesign document ready for printing involves important steps like setting bleed and slug, adjusting print settings, and coordinating with your printer. These steps ensure that your final print matches your design intentions and meets professional production standards.
Exporting with Bleed and Slug
When exporting an InDesign file, it’s essential to include bleed and slug settings. These help ensure designs extend to the edge of the page without cutting out crucial elements. In the export options, choose ‘Adobe PDF (Print)’ and access the ‘Marks and Bleeds’ tab.
Set the bleed value, usually 0.125 inches or 3 mm, to keep consistency. Make sure these settings are applied to all sides of the document. By doing this, any slight shifts during printing won’t show a white margin. Additionally, include slug information for any important notes or print instructions. It assists the printer with extra guidance.
Print Settings for Bleed and Slug
Print settings play a crucial role in maintaining the document’s integrity and quality. When setting up the print profile, select high-quality or press-quality settings. This choice ensures crisp and clear results. Activate the crop marks and registration marks to help align pages correctly after printing.
Ensure that color settings are set to CMYK if printing in color, as most professional printers require this mode. Check that the resolution is at least 300 DPI, which helps in achieving sharp images and text. These adjustments in settings provide a polished finish, reflecting the original design accurately.
Communicating with Your Printer
Effective communication with the printing service improves the printing process and outcomes. Provide them with clear files and indicate if any special instructions are needed. Ensure all files are properly labeled to avoid confusion. Discuss deadlines to ensure timely delivery.
Ask your printer if they have specific requirements for the files. Some may have specific preferences around bleed, slug, or file formats. Request a proof before the final run for a quick check and make any necessary adjustments. Keeping an open dialogue with the printer helps manage expectations and produce top-quality results.
Advanced Tips and Techniques
InDesign offers many tools to optimize your use of bleeds and slugs for complex layouts. These advanced techniques involve using master pages, customizing settings for different pages, and managing intricate document structures effectively.
Using Master Pages for Bleed and Slug
Master pages in Adobe InDesign are a powerful feature that can help maintain consistency across your document. By setting bleed and slug options on master pages, users can ensure that every page follows the same printing guidelines without needing individual adjustments.
This technique saves time and reduces the risk of errors. Users often apply bleed settings on master pages to make sure important information extends beyond the trim edge. Slug areas can also be set on master pages for content like notes or instructions that won’t print.
For documents with repeating elements like headers, footers, or page numbers, master pages are invaluable. They keep design elements consistent, helping to maintain a professional look throughout the entire file.
Custom Bleed and Slug for Different Pages
Sometimes, different pages in a document require unique bleed and slug settings. This is useful for sections with varied content or special print requirements. To customize bleed and slug settings, adjust them in the “File” menu under “Document Setup.”
For single pages, go to “File” > “Print,” and uncheck “Use Document Bleed Settings” to enter new values. You can set these custom bleed settings from 0 to 6 inches, depending on the layout needs.
Each page’s needs can differ, especially in documents like magazines or brochures with varying visual sections. Personalizing bleed and slug settings allows flexibility while maintaining print quality for diverse designs.
Handling Complex Document Layouts
Complex layouts involve multiple elements and colors requiring precise bleed and slug adjustments to ensure accurate printing. InDesign provides tools that help manage these elements effectively.
When working with complex documents, users should ensure all visual components extend into the bleed area to avoid unprinted edges. They should leverage slug areas for metadata, proofing marks, or instructions.
Using templates and guides further simplifies the arrangement of intricate layouts. This can prevent overlapping text and images, ensuring a polished final product. Proper management of these features helps produce professional-quality printed materials.
Troubleshooting Common Issues
When working with Adobe InDesign, you may encounter a few common problems with bleed and slug settings. These issues can range from incorrect settings during printing to elements missing from your bleed area. It is crucial to understand how to adjust slug settings to match specific printer requirements.
Incorrect Bleed or Slug During Print
Sometimes, the bleed or slug settings appear incorrect when a document is printed. This can create unwanted white edges or misalignment. Before printing, users should double-check that they have defined the correct bleed and slug measures in InDesign’s “File – Document Setup” menu. Correctly setting these values ensures the design prints without errors.
It’s also helpful to preview the document. InDesign offers the option to check the bleed through “View – Screen Mode – Bleed.” This allows users to see how the setting will appear when printed. Adjustments can be made if anything looks wrong, ensuring accuracy before sending the document to print.
Reliable printing is essential, so double-check printer settings to match your InDesign setup. It’s wise to use print-proof settings provided by the Adobe Support Community.
Elements Missing from Bleed Area
Occasionally, design elements can disappear from the bleed area upon printing. This often happens when items aren’t extended past the trim edge. Ensuring all elements meant to bleed are placed slightly over the page boundary is vital. Setting a standard bleed of about 0.125 inches is common practice to avoid issues.
Before finalizing a document, recheck all components in the InDesign Bleeds Explained guide. You can prevent this by utilizing InDesign’s preview features. This ensures elements meant to bleed appear correctly, avoiding missing parts in the final print.
Ensure that image resolution is high enough to accommodate the extra area. If images or graphics are low resolution, they might not print clearly. Never scale up low-res images to fit the bleed as this reduces quality. Keep images consistent with their required DPI.
Adjusting Slug for Specific Printer Requirements
Certain printers might have unique slug requirements, demanding adjustments to ensure the final print is accurate. It may be necessary to consult with your print service provider to know the exact specifications they need. Adjust the slug area accordingly in InDesign’s document setup.
Define this in the “Slug” field in Adobe’s guidelines to incorporate essential details like trim lines and registration marks. This helps maintain clear communication with the print service and includes all necessary information outside the printed area.
Using specific guides from Adobe ensures slugs are tailored to precise needs. Double-check that even minor alterations synchronize with the printer settings.