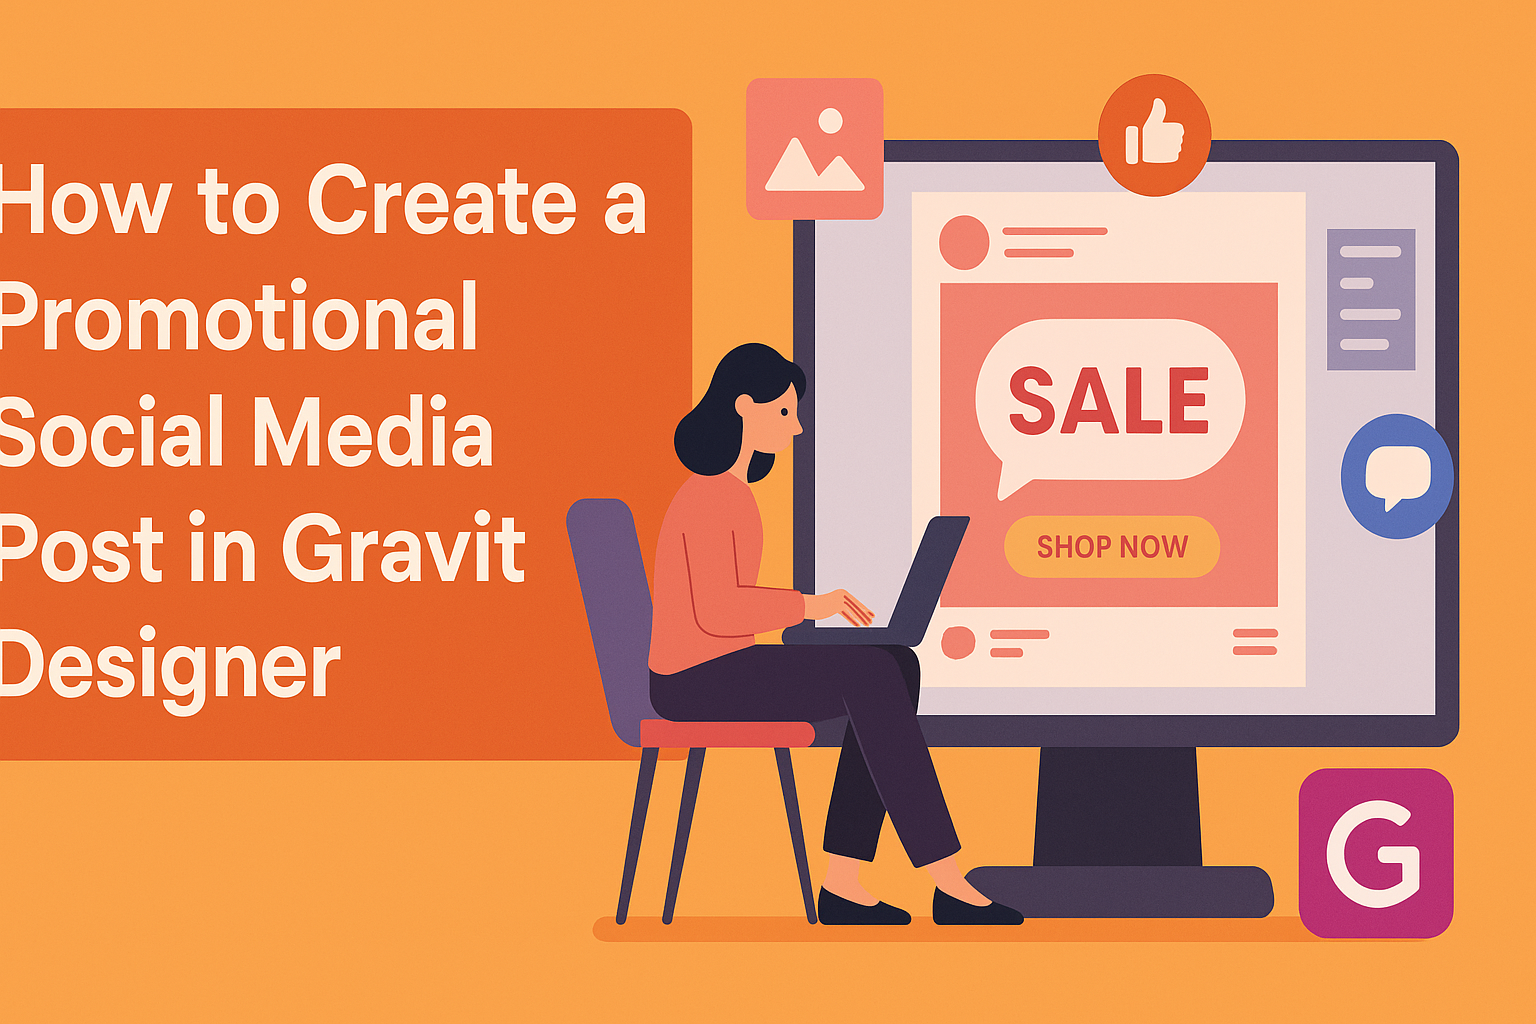
Creating an eye-catching promotional social media post can be a fun and rewarding task. Using Gravit Designer, anyone can bring vibrant ideas to life and attract more attention on social media platforms.
People are looking for engaging content, and a well-designed post can make a significant impact.
With its user-friendly interface and powerful tools, Gravit Designer allows users to craft professional-looking graphics easily.
By starting with a template or building from scratch, individuals can showcase their brand and message in a way that speaks to their audience. The process is not only simple but also encourages creativity and personalization.
In this blog post, readers will discover step-by-step instructions on making effective promotional posts that stand out. From selecting colors and fonts to adding images and finishing touches, every detail plays a role in the final product. By the end, they will feel confident in their ability to create stunning social media graphics.
Getting Started with Gravit Designer
Gravit Designer is a powerful tool for creating stunning graphics. Users can easily download, install, and navigate the software to start designing. Understanding the interface and setting up the canvas are essential parts of the process.
Downloading and Installing
To begin, users need to download Gravit Designer. It is available for Windows, macOS, and Linux, making it accessible for most systems.
- Visit the Gravit Designer website to get started.
- Click on the “Download” button for the appropriate operating system.
- After the download completes, open the installer and follow the prompts to install.
Once installed, users can launch Gravit Designer and start exploring its features right away.
Exploring the Interface
When Gravit Designer opens, users are greeted with a clean and intuitive interface. Key components include the toolbar on the left, the properties panel on the right, and the main canvas in the center.
- The toolbar contains tools for selecting, drawing shapes, and adding text.
- The properties panel allows users to adjust colors, styles, and effects.
- The canvas is where all design work takes place.
Familiarizing oneself with these elements helps streamline the design process. Users can also access templates and resources to assist them.
Setting Up Your Canvas
Once you are ready to create, setting up your canvas is next. Users can choose from various sizes or create a custom canvas.
- Open the “New Document” option within the File menu.
- Select a preset size, such as for social media posts, or enter custom dimensions.
- Set the background color if desired.
Choosing the right canvas size is crucial, especially for social media graphics. Users should keep in mind the specific dimensions for each platform to ensure their posts look great on all devices.
Designing Your Post
Creating an engaging promotional social media post involves careful attention to various design elements. By choosing the right template, working with text and fonts, incorporating appealing images, and using colors effectively, a designer can craft a visually stunning post.
Choosing the Right Template
A great design starts with selecting the right template. Gravit Designer offers various templates tailored for different platforms, such as Instagram and Facebook.
When choosing a template, consider the target audience. A youthful audience may respond better to vibrant and trendy designs. In contrast, a corporate audience might prefer a clean and professional look.
Also, think about the message. The template should facilitate the communication of the brand’s message, whether it’s promoting a product or an event. Choosing wisely sets the foundation for the entire post.
Working with Text and Fonts
Text plays a crucial role in any promotional post. Gravit Designer provides numerous font choices. It’s essential to choose fonts that are easy to read and align with the brand’s identity.
Stick to a few fonts to maintain coherence. For example, use one for the headline and another for the body text. This creates contrast while ensuring readability.
Additionally, pay attention to font size and spacing. Larger text grabs attention, while adequate spacing helps to avoid a cluttered look. It’s important to make sure the message is clear and engaging.
Incorporating Images and Graphics
Images and graphics enhance visual appeal and can make the post more relatable. Gravit Designer allows users to upload images or choose from a library.
When selecting images, opt for high-quality visuals that resonate with the message. For instance, if promoting a fitness class, use images of active, happy people to inspire engagement.
Graphic elements can also complement the message. Icons or subtle illustrations can add personality without overwhelming the design. Balance is key to ensure focus remains on the main message.
Using Colors and Gradients Effectively
Color choice can significantly impact the audience’s emotions and responses. In Gravit Designer, a wide range of colors and gradient options are available.
Pick a color palette that reflects the brand’s identity. For example, a vibrant palette might work for a youth-oriented brand, while softer tones suit a more traditional audience.
Gradients can add depth and interest. Applying a subtle gradient can make backgrounds pop without distracting from text or images. Always ensure the colors chosen enhance rather than hinder the overall design.
Advanced Features
Gravit Designer offers powerful tools that can enhance the quality of promotional social media posts. Focusing on Layer Management and applying Filters and Effects can elevate designs and make them stand out.
Layer Management
Gravit Designer has a user-friendly layer management system. This feature allows designers to organize elements easily.
Users can create new layers, group them, or even lock certain layers to prevent accidental changes.
By using the layer panel, individuals can adjust the order of layers with simple drag-and-drop motions. It also allows visibility toggling, which is useful for focusing on specific parts of the design. This management makes it easier to work with complex designs without getting overwhelmed. They should also use color codes or names for layers to maintain clarity.
Applying Filters and Effects
Applying filters and effects in Gravit Designer adds depth and visual interest to designs. Users can select from various options, including blur, shadow, and gradient effects.
To apply a filter, users can click on an object and select the desired effect from the options menu. This process is simple and allows for instant previews.
Adjustments can be made in real time, making it easy to see how changes affect the overall design.
Experimenting with different effects can lead to unique and eye-catching promotional materials. It’s important for designers to find the right balance so the information remains clear while enhancing the aesthetics.
Finalizing and Sharing
At this stage, it’s important to ensure the design meets the intended goals. Checking for consistency, exporting the design, and sharing it effectively on social media are key steps that enhance visibility and engagement.
Checking Design Consistency
Before finalizing, reviewing the design for consistency is essential. This includes checking fonts, colors, and graphic elements.
Ensuring the branding is uniform helps create a professional look.
- Fonts: Make sure the fonts align with the brand’s identity. Avoid using too many different fonts.
- Colors: Stick to a color palette that reflects the brand. Test colors in various lighting environments.
- Graphics: Confirm that all images are high-quality and fit the overall theme.
A consistent design fosters brand recognition and trust with the audience.
Exporting Your Design
Once the design is consistent, the next step is exporting it for use. Gravit Designer allows users to export files in various formats, including PNG, JPEG, or SVG.
- Resolution: Choose a high resolution for clear visuals. Aim for at least 300 DPI for print-ready images.
- File Type: Select the file type based on the platform. PNG is great for transparency, while JPEG is suitable for high-quality photos.
- Size: Optimize the size to ensure quick loading times. Larger files can slow down social media performance.
Make sure to verify the settings before exporting.
Sharing on Social Media Platforms
Sharing the post on social media requires attention to detail.
Each platform has its own optimal image sizes and formats.
- Know Your Platforms: Understand the requirements for platforms like Instagram, Facebook, and Twitter. Each has specific dimensions for posts and stories.
- Captions and Hashtags: Create engaging captions and utilize relevant hashtags. This boosts discoverability and engagement.
- Scheduling Posts: Consider using tools to schedule posts. This ensures consistency in posting times and maximizes reach.