Creating a design with custom dimensions in Canva is a great way to tailor your projects to fit specific needs. Whether it’s a social media post, a flyer, or a presentation slide, choosing the right size can make your design stand out.
To create a custom-sized design in Canva, simply input your desired dimensions into the custom size fields on Canva’s design dashboard.
This flexibility allows users to align their designs to specific platforms or personal preferences without being constrained by preset sizes.
For those looking to produce content that fits unique specifications, the ability to directly enter width and height measurements in pixels, inches, or centimeters offers a simple solution.
Users can also find helpful step-by-step guides and tutorials, such as this one on YouTube, to walk them through the process.
With Canva, customizing the size of your design is both easy and intuitive, opening the door to endless creative possibilities. By learning how to utilize these custom dimensions and exploring more detailed tutorials like those found on the Canva Design School, users can fully harness the potential of their designs.
Getting Started with Canva
Starting with Canva is simple and opens up a world of creativity. Users create an account to access a wealth of design tools, and once logged in, they can explore the intuitive Canva dashboard.
Signing Up for a Canva Account
To begin using Canva, an account is required. Users can sign up through the Canva website using an email address, Google account, or Facebook account. The sign-up process is straightforward and quick, often taking just a few minutes.
After registration, Canva offers a free version with the option to upgrade to Canva Pro for additional features. The free version allows users to create stunning designs, while Canva Pro provides advanced options like premium templates and images.
Once the account is created, users should ensure their profile settings are configured correctly. This includes notifications, billing information for Canva Pro, and personalizing the account with a profile picture or display name.
Overview of Canva Dashboard
Upon logging in, users are greeted with the Canva dashboard. This is the hub for all design activities. At the top, users find tabs for templates, features, and a search bar for easily locating specific tools or templates.
The left sidebar provides quick access to projects, brand kits, and uploaded media. Users can start a new design or check out recent projects from this area. The dashboard is designed for efficiency, ensuring all essential tools are easily accessible.
The main area showcases templates for different types of projects, like presentations, social media posts, and flyers. Users can explore various categories to find the perfect starting point for their designs. This layout ensures that even beginners can navigate the platform with ease.
Understanding Canva’s Design Interface
Canva’s interface is user-friendly and offers a range of features that make design easy. The menu and toolbars provide quick access to essential tools, while templates help jump-start projects with design inspiration.
Menu and Toolbars
The menu and toolbars in Canva are where users find the essential tools for creating and editing designs. The top menu includes options for saving, undoing actions, and sharing work. It provides access to various elements like text, photos, and illustrations through the sidebar.
The toolbar changes based on the selected element, offering tools specific to editing text, images, or shapes. Users can adjust fonts, colors, and positions with just a few clicks.
Drag-and-drop functionality makes adding elements to the canvas straightforward and intuitive.
Adjusting transparency and layering of elements are done here too. Understanding these choices helps users craft their designs efficiently and with more creativity.
Working with Templates
Templates in Canva assist users by providing pre-designed layouts that fit different purposes, like social media posts, flyers, or presentations. These templates are accessible from the home screen or by selecting “Templates” in the menu.
Once a template is chosen, it can be customized using Canva’s editing tools. Users can change backgrounds, text, and images to better suit their project. They can also resize elements while maintaining the overall look.
Templates save time by offering a starting point for those unsure of design strategies. This feature is particularly beneficial for beginners, enabling them to create professional-looking designs without starting from scratch. Using templates effectively enhances design quality and speeds up the creative process.
Setting Up Your Custom Design
Creating a custom design in Canva is straightforward and flexible. It’s all about choosing the right dimensions and using Canva’s custom dimensions feature to fit your project needs. This ensures that your design is tailored specifically to what you want.
Choosing the Right Dimensions
The first step in creating a custom design is selecting dimensions that match your project’s requirements. Consider the purpose of your design: Is it for a social media post, a presentation, or a banner? Each has different size needs. A Facebook cover might require different dimensions compared to a blog header.
In Canva, it’s important to know the range you can use, which is between 40px and 8000px in width and height.
Think about where your design will be displayed and adapt as necessary. If your project involves print, use DPI settings to ensure the resolution is high enough for quality output. Correct dimensions help in avoiding pixelation or distortion.
Using Custom Dimensions Feature
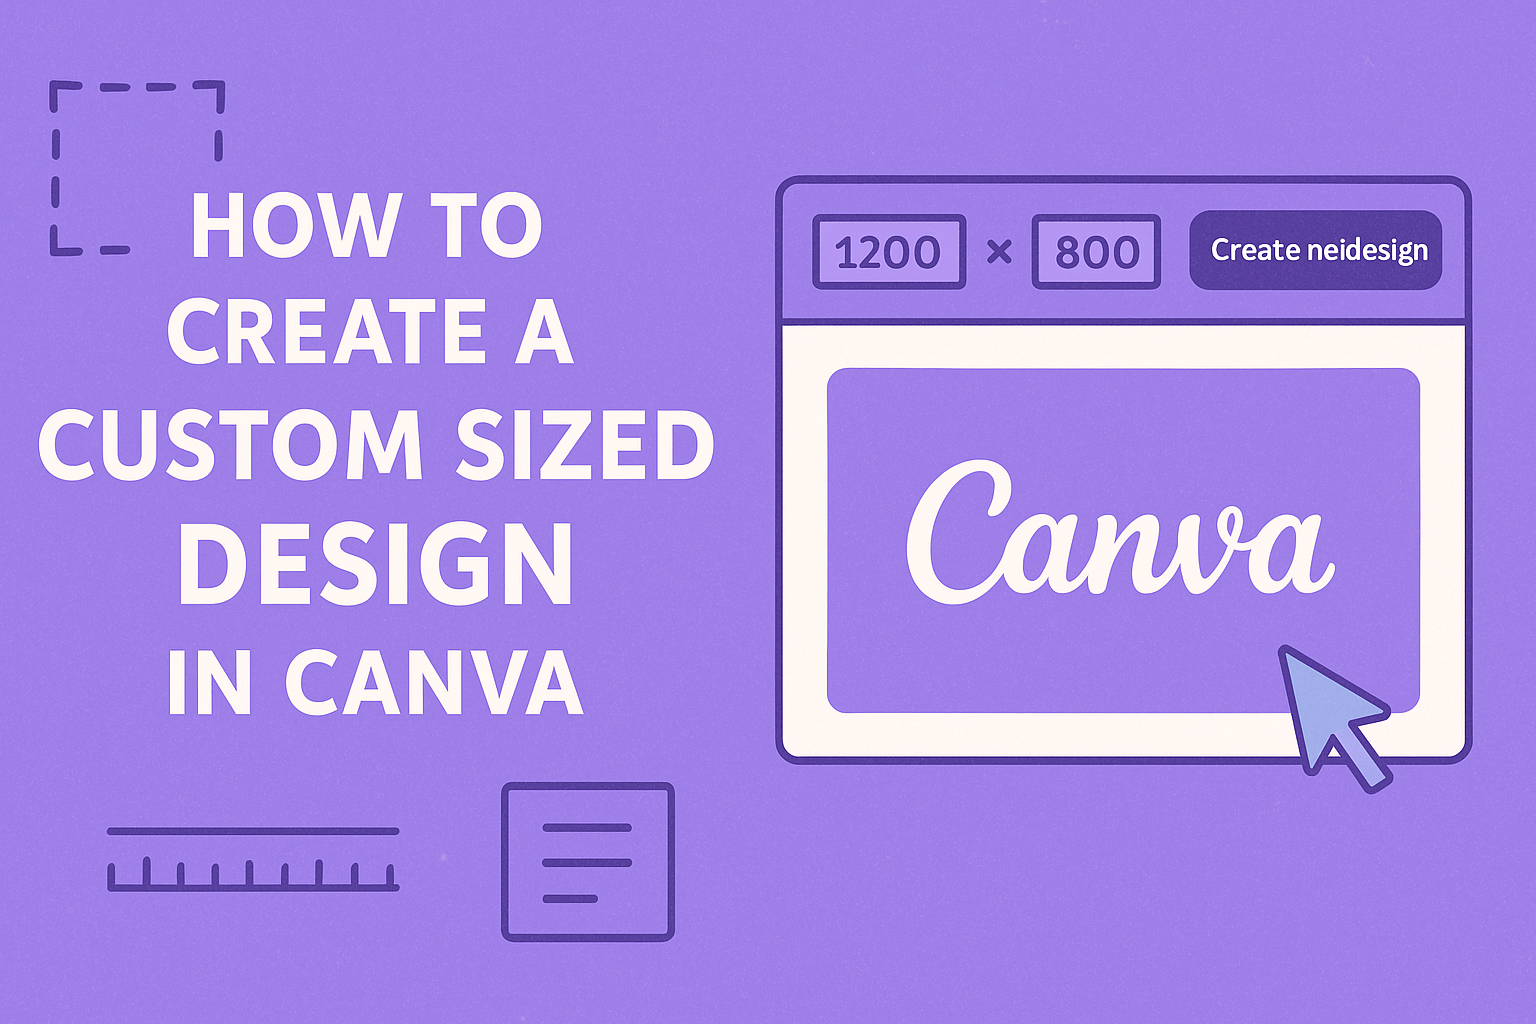
To start with custom dimensions, users can easily navigate Canva’s homepage. Clicking on the Custom size button is the first step.
From there, a dropdown menu lets designers select units such as pixels, inches, or millimeters, depending on their needs.
Once the unit is chosen, users can enter their specific width and height. After setting these dimensions, hitting Create new design opens a blank canvas tailored to the specified size.
This feature is invaluable for anyone looking to move beyond standard templates and make a design that truly fits their vision. For additional guidance, users can refer to the Canva Help Center.
Designing with Elements and Text
Designing in Canva involves using text and design elements to create visually appealing projects. Text can be customized in many ways, while design elements add creativity and uniqueness.
Adding and Editing Text
In Canva, adding text is straightforward. Users can select from a variety of fonts to match the tone of their project, whether formal or playful.
Text can be added by clicking the “Text” button on the sidebar. Once added, it’s possible to change the font style, size, and color to fit your design needs.
Text editing tools allow users to manipulate alignment, line spacing, and letter spacing. These tools help keep the design balanced and tidy.
For emphasis, bold, italicize, or underline text to draw attention to specific parts.
Canva also offers the option to add effects like shadows and glows, giving the text a three-dimensional look.
Using Design Elements
Design elements in Canva make your creations stand out. These include shapes, lines, icons, and illustrations that can be dragged and dropped into the design.
Clicking on the “Elements” tab will open a wide selection.
Elements can be resized, rotated, and color adjusted, providing flexibility in how they integrate into the overall design.
Grouping elements can help maintain a consistent look and makes it easy to move multiple items at once.
Applying filters or transparency effects can also give elements a unique flair, helping them blend seamlessly with other aspects of the design.
By combining different elements, designers can create dynamic and engaging visuals.
Enhancing Your Custom Design
Enhancing a design in Canva involves adding creative elements like graphics and photos. Using photo effects can transform a simple design into something eye-catching and professional.
Incorporating Graphics and Photos
Graphics and photos play a key role in making any design stand out. Canva offers a large library of free and premium images and illustrations, which can be accessed through its search bar. Users can also upload their own images directly.
Adding graphics can give context and depth to a design, while photos can bring in realism and emotion.
Arranging these elements creatively, such as layering graphics over photos or adding frames, can enhance visual interest.
It’s important to maintain a balance so the design doesn’t get overwhelmed with too many elements.
By considering the size and color of graphics, users ensure that these aspects complement the design theme. Choosing the right visuals that match the message of the design is crucial for creating a cohesive and appealing look.
Experimenting with different combinations can lead to unique and personalized results.
Utilizing Canva’s Photo Effects
Canva’s photo effects allow users to enhance their images with various filters and edits.
Adjusting brightness, contrast, and saturation helps in highlighting the desired aspects of a photo.
Applying filters can set the mood of the design, making it more vibrant or vintage, depending on the need.
Cropping and resizing images can help focus on specific details, while straightening tools ensure that everything lines up correctly.
Canva also provides tools like vignette and blur, which can be used to draw attention to focal points.
Photo effects should be used carefully to maintain the quality and clarity of the images.
By combining different effects, designers can create a polished look that elevates the entire project. This balance ensures the final product is both attractive and professional.
Managing Layers and Alignment
Designing in Canva involves organizing multiple elements clearly and precisely. Two important skills to master are handling layers and ensuring proper alignment for a polished look.
Layering Objects
Layering allows designers to stack objects, like images, text, and shapes, in a sequence that creates depth and focus.
In Canva, users can easily group or ungroup elements to manage their layers effectively. By selecting multiple objects and using the Group function, items can be moved as a single entity. This makes editing complicated designs simpler.
Managing which objects appear on top or beneath others is crucial. Canva provides options to “Bring Forward” or “Send Backward” selected items. This flexibility helps users highlight key components or ensure proper visibility of overlapping items.
Another tip is using the keyboard shortcuts (e.g., Command + G or Ctrl + G) for quick grouping tasks.
Adjusting layers thoughtfully enhances the visual clarity and appeal of any design project.
Aligning Components
Aligning components is a foundational design principle that impacts readability and aesthetics. Canva offers tools to align elements perfectly.
Aligning text, images, or icons with the page’s center or edges adds professionalism to designs. For example, if text is placed over a darkened image, the alignment can create focus and improve reading comfort.
Features like guides and positioning tools in Canva assist users in maintaining equal spacing between elements. This is crucial when trying to achieve balance and symmetry.
Designers can also lock aligned elements to prevent accidental shifts during editing.
Consistent use of alignment tools helps make sure that the elements never touch the page edges. Making alignment a habit ensures that all design pieces work well together and look appealing to viewers.
Applying Color Schemes and Fonts
Applying a color scheme and fonts can greatly impact the look of your design in Canva. A cohesive color palette helps create a harmonious feel, while the right font choices enhance readability and visual appeal.
Selecting Color Palettes
Choosing the right color palette is essential for achieving the desired mood and style of a design. Color theory can guide these choices, with warm colors like red and orange creating energy, while cool colors like blue and green provide calmness.
Canva offers pre-made color palettes to simplify this process.
Users can also create their own palettes by exploring the color palette generator in Canva. Canva allows you to experiment with colors directly on your design, helping you see what matches best with your content.
Using a limited number of colors, typically two to four, ensures consistency and prevents overwhelming the viewer. This focused approach supports brand identity and makes sure the design looks well-organized.
Choosing and Customizing Fonts
Selecting the right font is crucial for making your design readable and engaging.
Canva provides a vast library of fonts, ranging from classic styles to trendy ones.
Think about the message you want your design to convey and choose a font that matches that tone.
Font pairing is important. Combine a simple font with a decorative one to maintain balance.
Canva’s customization tools let you adjust font size, spacing, and color.
This flexibility helps tailor text elements to fit the overall design theme.
Experimenting with these tools allows for a unique design.
It’s important to maintain readability by avoiding over-stylized fonts for body text.
Keeping text clear ensures everyone can appreciate the message.
Saving and Exporting Your Design
After creating the perfect design in Canva, it’s important to know how to properly save and export it.
Saving helps keep your design secure for future access, while exporting lets you share your work in various formats.
Using the Save Feature
Saving your design in Canva is straightforward. The platform autosaves your progress, which means your work is usually saved automatically without extra steps.
This feature is especially useful if you need to pause and return later.
For those who prefer to manually save their work, there is an option to do so as well. Just click the “File” menu and select “Save.”
It ensures that all recent changes are stored.
Keeping track of different versions can be helpful if you frequently revise your designs.
Organizing your designs in folders can make finding them easier later. Create folders for different projects, and store your saved files accordingly.
This practice can save time when you need to access specific designs quickly.
Exporting in Different Formats
When you’re ready to export your Canva design, you can choose from several formats.
Common options include PNG and JPG, both of which are great for images. If you need a document format, PDF is available as well. Each format has its special uses.
For example, export your design as a PNG or JPG if you need high-quality images for digital or print purposes.
PDFs are ideal for text-heavy documents or when you want to ensure a uniform appearance across different devices.
To export, click “Download” on the top-right of the screen and select your preferred format.
You’ll be given options to adjust quality and size, so choose settings that match your needs.
Sharing and Collaborating in Canva
In Canva, sharing your designs and working with others is straightforward. Users can easily share access to their designs and allow collaborative editing, making it simple to create together.
Sharing Your Design with Others
When users want to share their designs, they first need to ensure they have the right permissions—either as the design owner or with edit access.
They can select the Share button in the editor. This allows them to choose from different options, such as sharing a link with anyone.
The Collaboration Link lets users decide whether others can edit, comment, or just view.
This flexibility helps tailor the level of access needed for each situation.
It’s important to know who can view or edit designs, especially for projects that require privacy or sensitive information.
Using direct links is a great way to quickly share designs with team members or clients.
It streamlines the process and ensures that everyone involved has instant access and the ability to contribute or provide feedback.
Shared links provide a simple method to connect designs with others without needing complicated systems.
Collaborative Editing
Collaborative editing in Canva lets multiple team members work on a design at the same time. This feature facilitates dynamic team projects, as everyone can apply changes instantly.
Canva provides tools to manage this, ensuring that all edits are synced seamlessly.
The interface tracks who is currently editing, so users are aware of real-time collaboration. This transparency helps in avoiding conflicting changes.
Users can see a list of contributors actively working on a project, promoting better communication and coordination.
Additionally, comments and suggestions can be made within the design. This allows users to exchange ideas directly on the platform, promoting better planning and execution.
Teams can make informed changes by discussing details efficiently, which results in more cohesive designs.