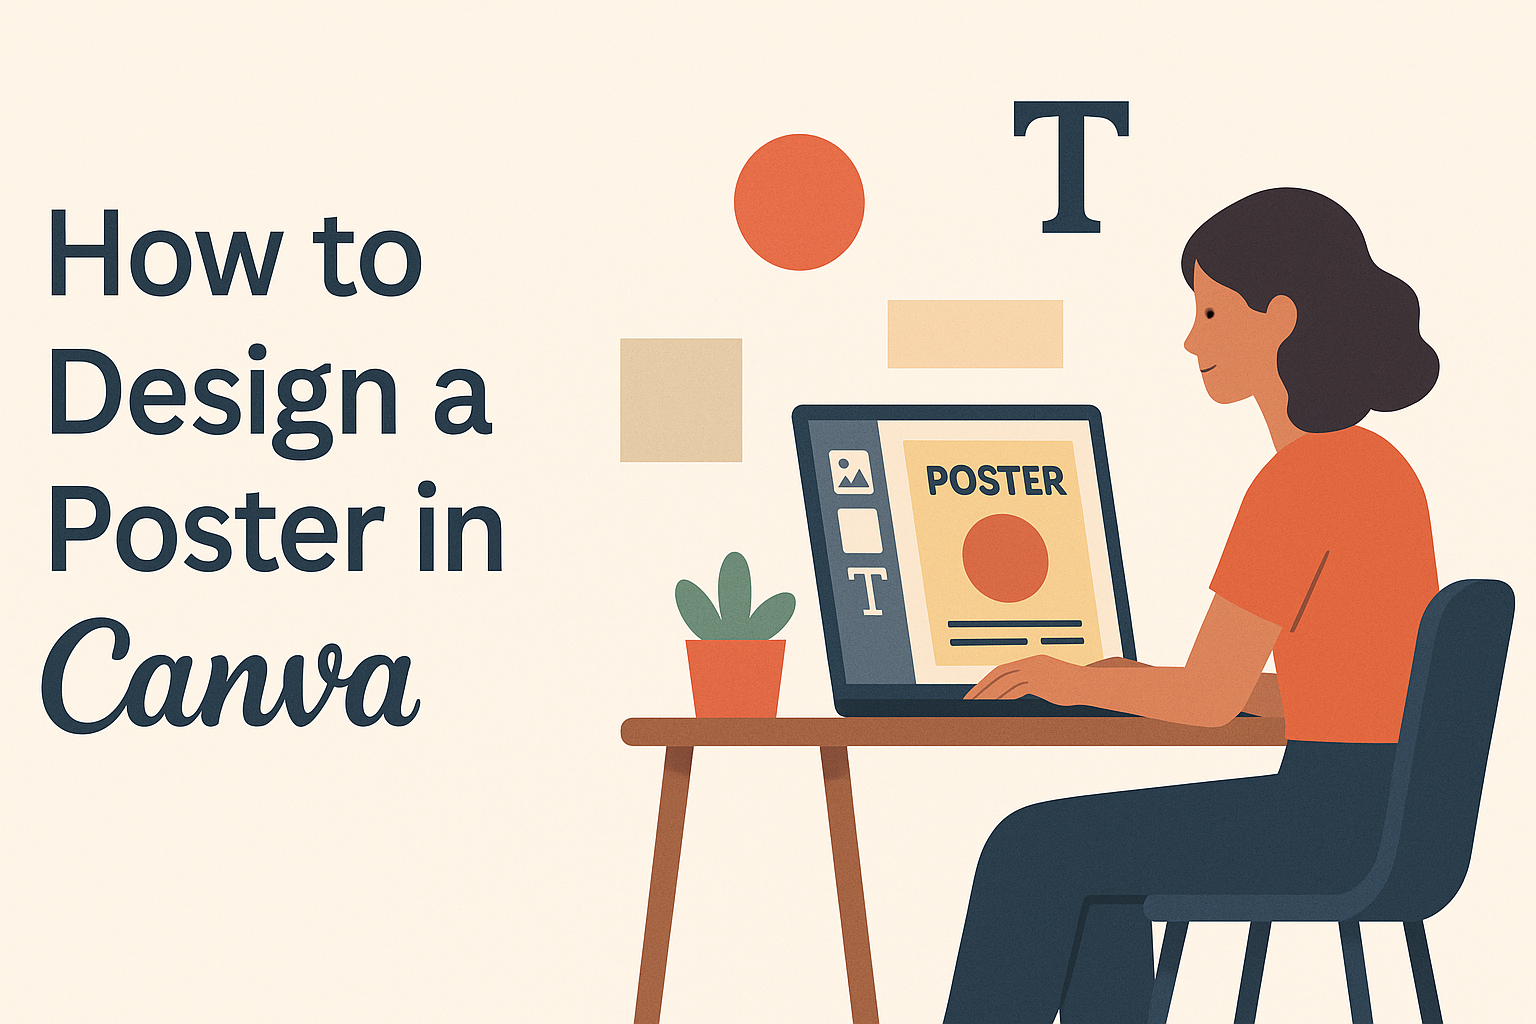
Designing a poster can feel like a daunting task, but with Canva, it becomes a fun and easy process. Canva offers a variety of templates and user-friendly tools that let anyone create stunning posters in minutes. Whether it’s for a school project, a business event, or just a fun home decoration, Canva’s features provide everything needed to craft an eye-catching design.
Canva is perfect for beginners and seasoned designers alike. By choosing from thousands of templates and customizing them with text, images, and colors, users can express their creativity without any hassle. This makes the tool accessible to everyone, regardless of their design experience.
With its intuitive drag-and-drop interface, Canva brings design at your fingertips. Users can experiment with different sizes, orientations, and elements to craft a poster that fits their specific needs. By tapping into Canva’s vast library of options, anyone can produce a professional-looking poster that stands out.
Getting Started with Canva
Getting started with Canva is easy and straightforward. Explore how to create an account and navigate the user-friendly dashboard to begin designing your posters.
Signing Up for an Account
To start using Canva, a user must first sign up for an account. They can visit the Canva website and click on the “Sign Up” button. Users have the option to sign up with an email address, Google account, or Facebook profile.
Next, fill in the required information. If choosing the email route, entering the email address and creating a strong password are necessary. Once done, they should check the email inbox for a verification link to confirm the account setup. Clicking this link activates the Canva account, allowing full access to its features.
With the account activated, users can choose between free and premium plans depending on their needs. The free plan offers many templates and basic design tools, which is great for beginners.
Understanding the Canva Dashboard
The Canva dashboard is the control center for all design activities. When users log in, they see a clean interface. On the left are navigation options like “Home,” “Templates,” and “Projects.” This area helps them find necessary tools quickly.
The main area displays recent designs and offers quick access to start a new project. Users can click on the “Create a design” button to begin a new poster. It opens up options for various design types.
Canva’s dashboard is organized to ensure users find everything easily. Above the design workspace, they’ll find tools to customize text, images, and colors, making design effortless. The drag-and-drop feature allows for easy adjustment of elements within the poster.
Fundamentals of Poster Design
Designing a poster involves making careful choices about dimensions, colors, and typography. Each element plays a crucial role in making the poster visually appealing and effective in conveying its message.
Choosing the Right Dimensions
Selecting the correct dimensions is essential. The size of a poster affects how well it draws attention. Posters used for events might be larger, like an 18×24 inch size, to cover more space and attract eyes from a distance. For smaller displays, such as on a bulletin board, an 11×17 inch poster could be more appropriate.
It’s also important to consider where the poster will be displayed. Understanding the display environment helps in selecting the appropriate dimensions to ensure maximum impact. Dimensions could vary for digital posters meant for social media promotion. Ensuring the design fits different platforms may require multiple versions with unique dimensions.
Understanding Color Theory
Color plays a significant role in poster design, influencing both appearance and message delivery. Different colors evoke certain emotions and set the tone. For instance, red can convey urgency or excitement, while blue often suggests calm and trust.
Using a color wheel helps in selecting complementary colors that work well together. A harmonious color scheme makes the poster more appealing. The rule of thumb is to choose one dominant color and pair it with one or two accent colors. This approach maintains focus and prevents the design from looking cluttered or overwhelming.
Importance of Typography
Typography is integral to message clarity and design aesthetic. The typefaces chosen should reflect the tone of the event or message. For formal events, serif fonts like Times New Roman might be suitable. In contrast, a bold sans-serif font like Helvetica may be used for modern or casual messages.
Font size is equally important. The main text should be large enough to be read from a distance. Headers might be very large, while supporting text is smaller. Consistency in font style throughout the poster maintains coherence. It’s beneficial to limit the use to two or three fonts to avoid a chaotic look.
Working with Templates
Designing a poster in Canva starts with choosing the right template. This process saves time and makes design easier. Templates can be customized to fit specific themes and styles.
Selecting a Template
Canva provides a wide range of poster templates suited to various purposes, from events to personal projects. It’s a good idea to explore the free poster templates available on Canva.
When selecting a template, consider the purpose of your poster. Look for a layout that matches your theme or message. For events, a template with space for a title, date, and location may be ideal. On the other hand, for motivational posters, prioritize designs with strong visuals and quotes.
After choosing a template, users can preview its design. This step involves checking if the layout, colors, and elements align with their vision. Templates can be adapted for different styles, so it’s okay if one isn’t perfect from the start. Canva’s flexibility means that any chosen design can be adjusted later.
Customizing Templates to Your Needs
Customizing templates allows users to make the poster truly their own. Canva’s tools enable the addition of images, text, and other elements to reflect personal or brand identity. Users can change fonts, colors, and images to better suit their theme and message.
Start by editing the text. Canva offers various font styles and sizes to ensure that messages stand out. Next, adjust the color scheme to fit the desired tone or branding. Colors can be changed with a click, allowing for creativity without complexity.
Images and graphics are also essential for enhancing the poster’s appeal. Canva provides a library of photos and icons, or users can upload their own. This feature ensures that each poster is unique and tailored to specific needs.
Customizing Your Poster
Creating a standout poster in Canva involves several key elements. Understanding how to adjust text, incorporate images, and highlight brand elements will help in crafting visually engaging designs.
Adding and Editing Text
Text is a crucial part of any poster, delivering the main message. Canva makes it easy to add text by offering a multitude of font styles and sizes. Users can choose from pre-designed text templates or design their own. Adjusting the letter spacing, line height, and alignment helps in fitting text comfortably in the design. This enables creating sections that stand out or blend in as needed. Bold or italic formats can add emphasis where necessary. Canva’s intuitive interface allows for simple editing, ensuring text clarity and appeal.
Using Images and Graphics
Images and graphics play a huge role in catching the eye. With Canva, users have access to a large library of stock images and illustrations. Choosing high-quality images that align with the poster’s theme is essential. Images can be resized, cropped, and positioned to complement other elements on the poster. It’s possible to use filters and adjust transparency to create a different mood or to fit the color scheme. Combining multiple graphics or overlaying them with text can result in a dynamic, engaging design.
Incorporating Branding Elements
Incorporating branding is crucial for posters aimed at promoting an event or business. Canva’s Brand Kit feature helps in maintaining consistency in style and color. This tool allows users to upload a logo, select brand colors, and save fonts for easy access.
Reflecting brand identity involves keeping the color scheme coherent and using typography that matches other promotional materials. It’s important to strategically place logos and other branded elements in spots where they will be noticed without overpowering the main message. This ensures that the poster is both informative and brand-focused.
Advanced Design Techniques
Mastering advanced design techniques in Canva can greatly enhance the quality of your posters. Utilizing tools like layers and grids allows for more precise and appealing designs, making your work stand out.
Working with Layers and Elements
Layers are essential in creating complex designs. Think of layers as the different pieces of paper in a collage. Each element, like text or images, can be moved and adjusted independently without affecting others. This flexibility lets designers experiment with positioning and style.
To access and manage layers, select the corresponding tool in Canva. Reorder elements by dragging them up or down in the layer panel. Locking elements prevents accidental changes. Grouping multiple elements lets users move and resize them together, maintaining design coherence. Using layers effectively can add depth and organization to your poster.
Utilizing Grids and Alignment Tools
Grids and alignment tools help in organizing elements uniformly. Grids are like invisible guides that ensure consistent spacing and alignment.
In Canva, users can apply pre-set grid layouts or customize their own, simplifying the design process.
To activate grids, navigate to the “Elements” tab and select a suitable grid layout. These grids snap elements into place, ensuring balance. Alignment tools further refine positioning, allowing designers to center or evenly distribute items on the page. Using these tools effectively creates a harmonious and professional-looking design. Grids and alignment also aid in establishing visual hierarchy, guiding viewers’ attention smoothly across the poster.
Collaboration and Feedback
Collaborating on a design in Canva can enhance creativity and ensure a polished final product. Sharing designs allows team members to give valuable input, and implementing their feedback helps in refining the project.
Sharing Your Design with Others
To start collaborating, a designer can easily share their Canva project with team members. By using the share button, a link can be generated that allows others to view or edit the design.
Permissions can be set to control who can edit or just view the file, ensuring that the design remains secure while allowing collaboration. Utilizing the option to add comments directly on the design helps streamline communication, making it clear where adjustments are needed.
Creating a team in Canva also enables better organization. Team members can access templates, folders, and previous designs, facilitating ongoing projects.
By tagging team members and assigning tasks, the workflow becomes more structured, ensuring everyone knows their role in the project. This setup can significantly improve efficiency and communication among team members.
Receiving and Implementing Feedback
Feedback is crucial for refining design projects. Canva provides features to leave comments directly on specific parts of the design, making it easier for team members to communicate suggestions or necessary changes.
Designers can then review this feedback and make adjustments accordingly.
Implementing feedback effectively involves checking comments thoroughly and making sure changes align with the project’s goals. Designers may need to revise a design multiple times based on team input before achieving the desired result.
Real-time editing enables immediate updates, ensuring everyone sees the most current version of the project, reducing the chance for misunderstandings or outdated designs.
Finalizing Your Poster
When finishing a poster in Canva, it’s important to carefully review your work and explore various options for exporting and printing. Making sure your design fits your goals and checking print settings can ensure great results.
Reviewing Your Design
Before finalizing, it’s essential to examine your poster to see if it meets your initial vision. Look at the colors and see if they match your theme. Ensure the text is clear and readable from a distance.
Checking alignment can make the poster look professional. Guiding lines in Canva can help align elements. Another step is to evaluate the spacing between text and images. This can prevent clutter and draw the eye to important parts of the design.
Finally, ask someone else for their opinion. Fresh eyes may spot errors or suggest helpful adjustments. Feedback can lead to improvements that enhance the overall impact of your design.
Exporting and Printing Options
Once satisfied, it is time to export and print the poster. Canva offers different formats like PNG, JPEG, and PDF. Choosing the right one depends on how you will use the poster. For printing, PDFs tend to be a good choice due to their quality.
Canva also provides print options for those who prefer to order directly. Sizes can be selected based on needs, such as A4 or A3. It’s vital to check print settings, including bleed marks, to ensure everything prints correctly.
If printing elsewhere, save your file, ensuring it is high resolution. Taking these steps will help create a printed poster that looks polished and professional.