Creating a line art portrait illustration is a fun and rewarding project for anyone looking to express their creativity.
With Vectr, artists can easily transform a simple image into a striking line art piece that captures the essence of their subject. This process not only enhances drawing skills but also improves understanding of shapes and proportions.
Vectr is a user-friendly vector graphics software that makes it accessible for beginners and experienced artists alike. By utilizing its tools, one can create clean outlines and detailed portraits that stand out.
This article will guide readers through the steps needed to craft their own stunning line art portrait.
Whether for personal enjoyment or as a gift, mastering this technique in Vectr can bring out the artist in anyone. Readers will find helpful tips and tricks that will inspire them to start their own creative journey.
With the right approach, producing beautiful line art is more achievable than ever.
Getting Started with Vectr
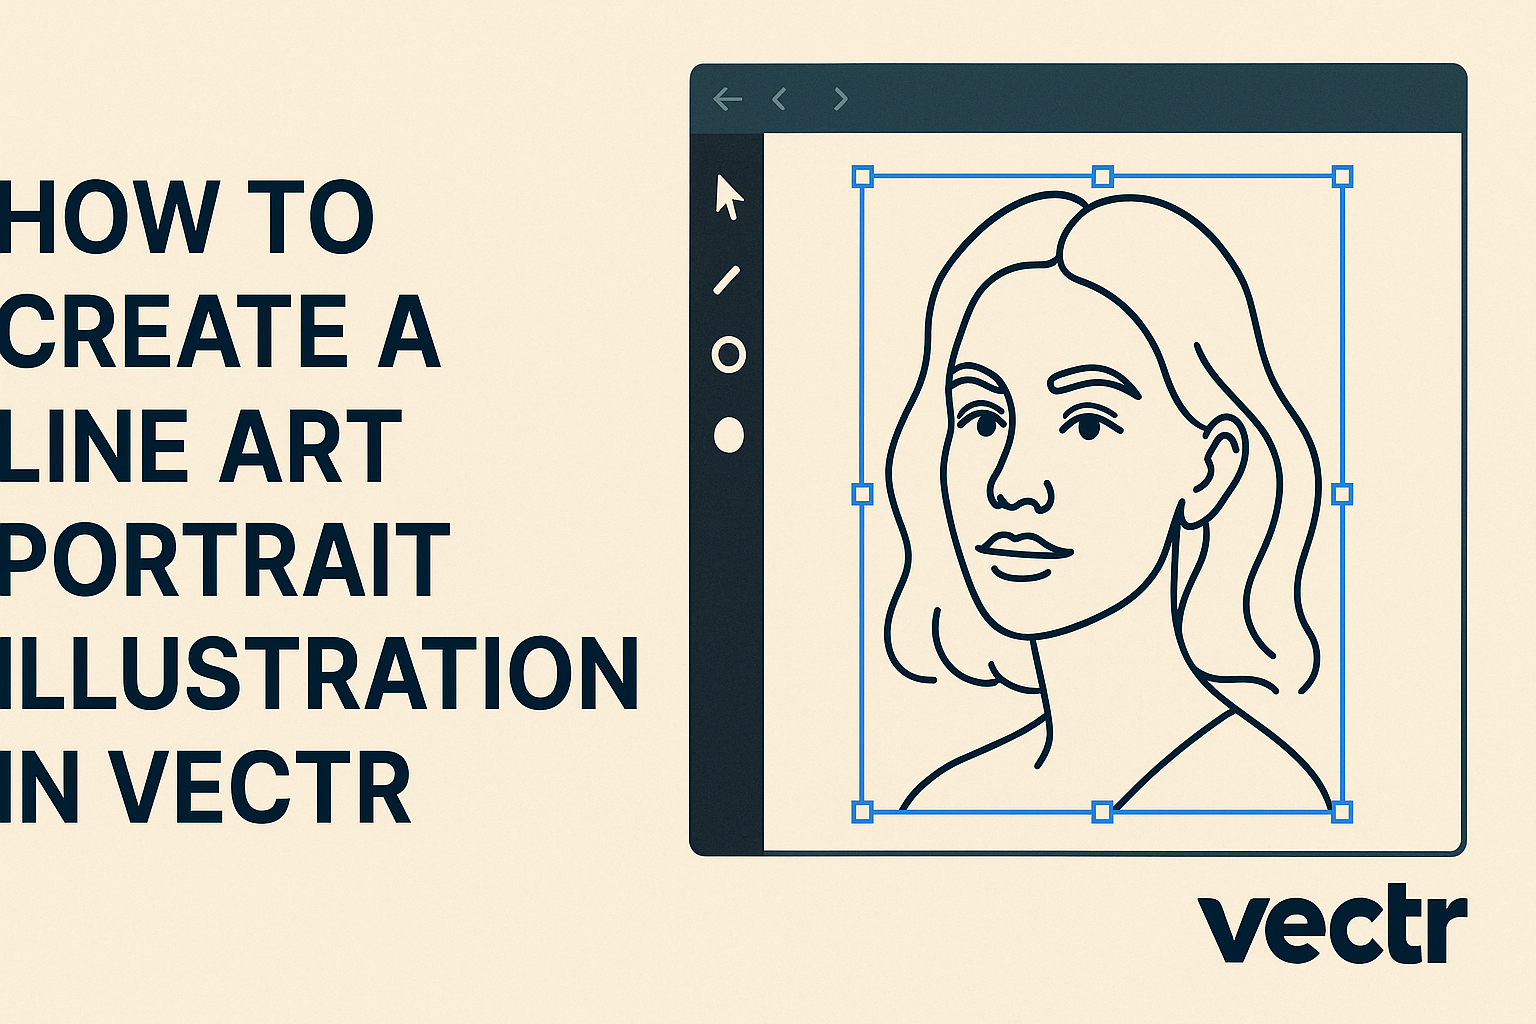
Vectr is a user-friendly graphics editor that allows anyone to create stunning designs easily. To begin making a line art portrait illustration, understanding the setup process and interface will be essential. This ensures a smooth experience as users navigate through its features.
Setting Up Your Vectr Account
To use Vectr, the first step is creating an account.
Users can sign up for free via their website. After visiting Vectr, they will find an option to register using an email address or by connecting through a Google account.
After signing up, they will receive a confirmation email. Clicking the confirmation link finalizes the account setup. Once done, users can log in and start exploring the platform.
There are no hidden fees, making it accessible for everyone wanting to create beautiful graphics.
Understanding the Vectr Interface
Once logged in, users will encounter a clean and simple interface. The workspace is the main area where design occurs. It includes a canvas where creations take shape.
On the left side, a toolbar provides access to various tools and shapes. The top navigation bar offers options like saving projects and exporting designs. Users can also find a layer panel on the right that helps manage different graphic elements.
Familiarizing oneself with these components is crucial for creating compelling illustrations.
Essential Tools for Line Art
Line art mainly relies on a few key tools in Vectr. The Pen Tool is perfect for drawing custom lines and shapes. Users can click to create points and adjust curves for precise designs.
The Shape Tool is also beneficial, allowing the creation of simple geometric shapes. Combining shapes can help form complex designs. Users should also explore the Stroke Settings to adjust line thickness and color.
Lastly, the Eraser Tool enables quick corrections.
With these essential tools, users can easily create detailed line art portraits, making the process enjoyable and efficient.
Sketching the Portrait
Creating a line art portrait begins with careful sketching. This phase includes selecting a suitable photograph, tracing it for guidance, and refining the initial sketch for better details and lines.
Choosing the Right Photograph
When selecting a photograph as a reference, clarity is key. Opt for images with good lighting, sharp focus, and distinct facial features.
Consider images that capture the essence of the subject, as this will make the final illustration more compelling.
If possible, choose photos with simple backgrounds. This allows the portrait to stand out and will make your sketching easier.
Tracing Over the Photograph
Using Vectr or another digital tool, he can start tracing over the chosen photograph. This step helps map out important features like the eyes, nose, and mouth.
Adjust the opacity of the photo layer for better visibility.
With a light stroke, he can create outlines, focusing on the shapes and expressions. This is not about perfect details but about capturing the essence of the subject.
Using tools like a pen or pencil can help in getting the line widths right.
Refining Your Sketch
After tracing, it’s time to refine the sketch. He should analyze the lines made during tracing.
Eliminate unnecessary lines and smooth out rough patches.
Focus on key features—eyes and mouth typically carry the most expression.
Use varying line weights to add depth, making some areas bolder than others.
This step enhances the portrait’s personality and makes it more engaging for viewers.
Rinse and repeat until satisfied, as this is where the character truly begins to shine.
Adding Details and Shading
Enhancing a line art portrait with details and shading adds depth and interest. This process involves varying line thickness, creating texture with lines, and using effective shading techniques.
Line Thickness Variation
Varying line thickness can dramatically improve the visual appeal of a portrait. Thicker lines often define the basic shapes and outlines, while thinner lines can add delicate details.
- Use thicker lines for prominent features like the jawline and hair outlines.
- Apply thinner lines for intricate areas, such as eyelashes or fine details in clothing.
This contrast helps create a more dynamic illustration that captures attention. Additionally, experimenting with line weights can establish a hierarchy in the portrait, guiding the viewer’s eye to essential elements.
Creating Texture with Lines
Adding texture enriches the illustration and makes it feel more alive. Lines can be manipulated to simulate various textures, such as hair, fabric, or skin.
- Cross-hatching is a great method for adding depth. Multiple lines overlapping in different directions give a shadow effect.
- Dotted lines can create a soft or fuzzy appearance, perfect for backgrounds or highlights.
It’s important to keep the texture consistent throughout the portrait. This will maintain a cohesive look, making the overall piece feel thoughtfully crafted.
Shading Techniques
Shading is crucial for giving a sense of volume. Several techniques can be used to achieve impressive shading in a line art portrait.
- Gradient shading involves gradually changing the darkness of lines or fills. This creates smooth transitions for dimensionality.
- Stippling uses small dots to build up shading, allowing for subtle and detailed effects.
Selecting the right shading technique depends on the desired style. Practicing these methods can enhance skills and lead to stunning results in line art portraits.
Finalizing and Exporting Your Art
After completing a line art portrait in Vectr, it’s important to review and adjust the artwork before exporting. This process ensures that everything looks polished and professional. Proper export settings also help achieve the best quality for sharing or printing the illustration.
Reviewing and Adjusting Your Art
Once the artwork is complete, he should take a moment to step back and review the image.
This involves zooming in to check for any rough edges or inconsistencies in the lines. Adjusting the stroke widths can enhance the clarity of the portrait.
He can also use the alignment tools to ensure all elements are properly positioned. It might be helpful to toggle the view options to see how the art looks on different backgrounds.
Making small tweaks can significantly improve the overall appearance.
If he has added color, checking the color balance is key. Adjusting hues or saturation might bring more life to the portrait and make it visually appealing.
Export Options in Vectr
Vectr offers various export options to suit different needs.
He can export the artwork in formats like PNG, JPEG, or SVG. Each format has its advantages:
- PNG is great for web use and maintains transparency.
- JPEG is useful for simplified images without transparent backgrounds.
- SVG keeps the art scalable without losing quality, ideal for professional printing.
To export, he should click on the “File” menu and select “Export.”
From there, he can choose the desired format and set the resolution.
It’s best to select a high resolution, especially for printing to ensure the details are crisp and clear.