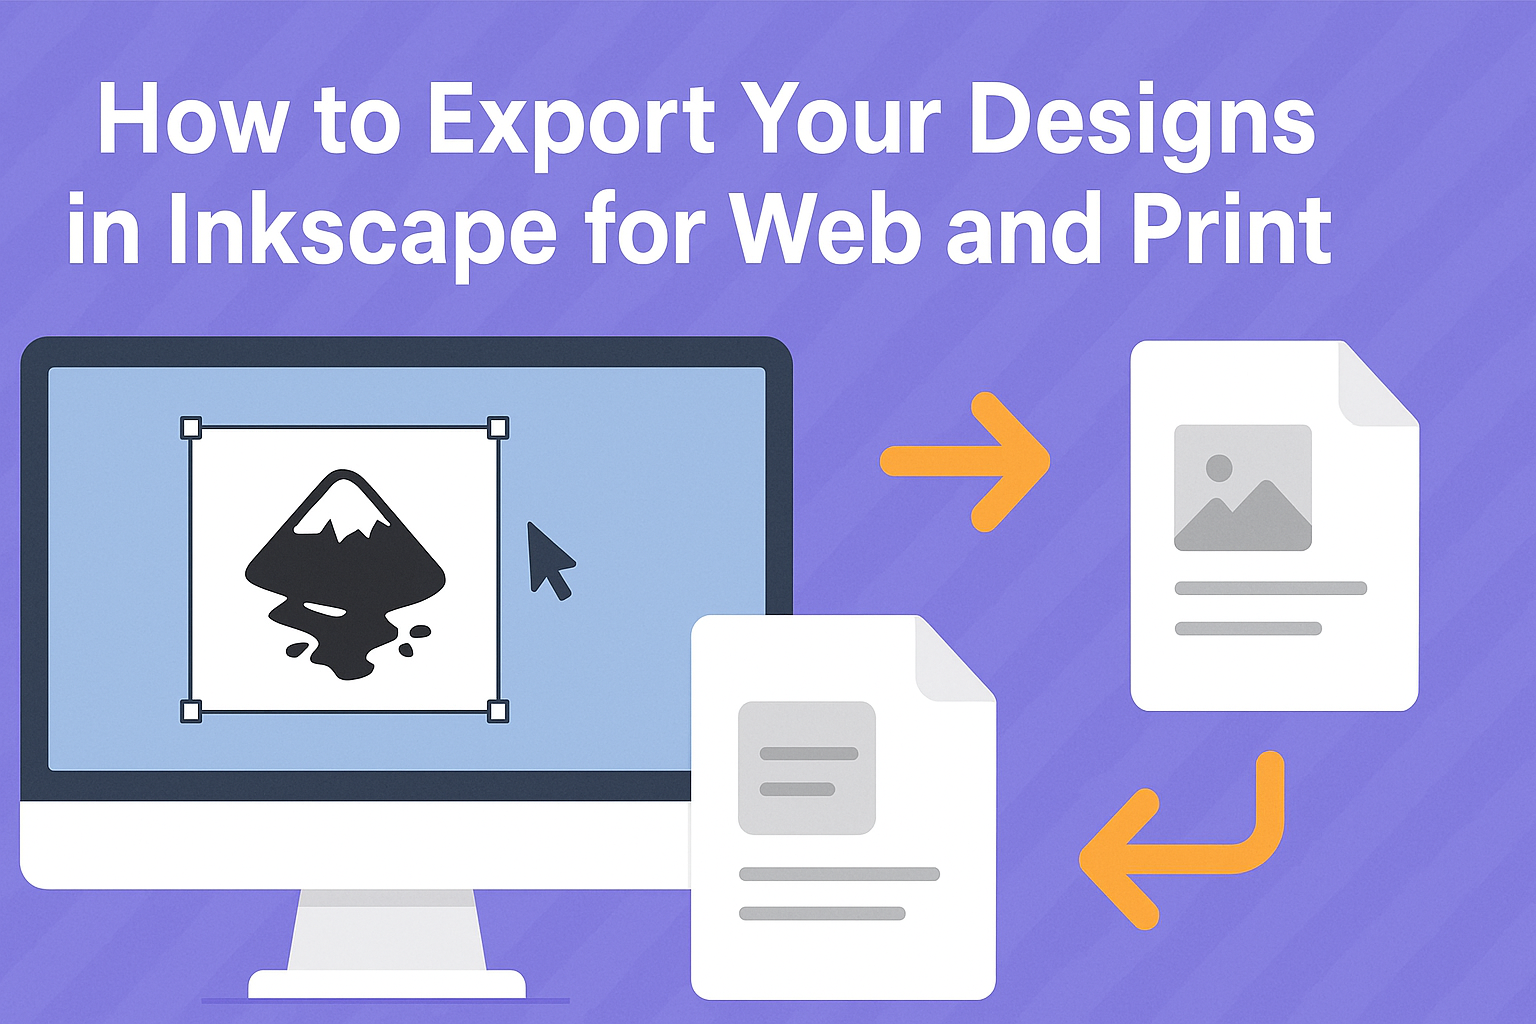
Inkscape makes it easy to export designs for both web and print. Whether you’re looking to create a standout web graphic or a professional print design, Inkscape has you covered. The key is knowing how to choose the right file format for your needs, whether it’s a PDF, PNG, or SVG.
For web projects, exporting as a PNG is often ideal. It offers a clear, sharp image that works well across various devices. Adjusting dimensions before exporting ensures the design displays correctly online.
Print designs benefit from exporting as a PDF, which preserves quality and detail. With specific options for different areas like page or selection, Inkscape allows for customizable exports, perfect for all your design needs.
Understanding Inkscape
Inkscape is a free and open-source vector graphics editor. It is used for creating and editing vector images, which are graphics defined by paths and shapes rather than pixels. This makes vector graphics easily scalable without losing quality.
Features of Inkscape:
-
Drawing tools: Inkscape offers a variety of tools like pencils, pens, and calligraphy to create detailed designs.
-
Text tools: Users can add and style text to their designs, which is helpful for creating logos and posters.
-
Shape creation: Users can create basic shapes like rectangles, ellipses, and polygons, and then adjust them as needed.
One of the great advantages of Inkscape is its support for the SVG file format, which is perfect for web graphics.
Interface:
-
The interface is user-friendly with customizable toolbars.
-
The workspace can be adjusted to fit the needs of a project, making it great for both beginners and advanced users.
Inkscape is compatible with various operating systems including Windows, macOS, and Linux. Users can find an active community and plenty of tutorials online to help with learning and troubleshooting. It’s a versatile tool for artists and designers, offering powerful features without a hefty price tag.
Preparing Your Design for Export
Preparing to export designs in Inkscape involves optimizing artwork, checking document settings, and finalizing design elements. Each of these steps ensures the design looks great whether published on the web or printed.
Optimize Your Artwork
Before exporting your design, it’s essential to make sure your artwork is polished and efficient. Simplify complex paths to reduce file size without affecting quality. Use the Path > Simplify option in Inkscape for this.
Colors should also be optimized. Convert any RGB colors to CMYK if the design is intended for print. This ensures accurate color reproduction. For web, stick with sRGB color mode for consistent display across different devices. Additionally, check for unused elements or layers and delete them to avoid unnecessary complications.
Check Document Properties
Checking document properties ensures your design is properly set up for its intended use. Navigate to File > Document Properties in Inkscape. Set the correct dimensions for your export, making sure they align with the final purpose.
Use standard sizes such as A4 or letter for print, and custom settings for web. Don’t forget to set your page orientation appropriately. Another critical factor is the measurement units. Choose from pixels, inches, or millimeters depending on the output needs.
Finalize Design Elements
Finalizing design elements involves ensuring that everything appears just as intended. Zoom in to check for any misalignments or irregularities. Align and distribute objects neatly using the alignment tools found in Object > Align and Distribute.
Consider typography consistency. Make sure fonts are embedded or converted to paths. This prevents font issues after export. As a finishing touch, review visibility of all layers, toggling on only those required for the final version. This gives a clear, clutter-free export perfect for use.
Exporting for Web
Exporting Inkscape designs for web work is an essential step in ensuring your artwork looks great online. Key considerations include selecting the right file format and using proper settings for clarity and compatibility.
Selecting the Proper File Format
Choosing the right file format is crucial for web use. Inkscape offers various formats, but SVG (Scalable Vector Graphics) is the most suitable for online graphics. SVGs are lightweight and maintain high quality at any size, which is ideal for web design.
While SVG is the primary choice, PNG may be necessary when dealing with complex designs or supporting older browsers that don’t fully support SVG. Overall, understanding the project requirements helps in selecting the best format for web export.
Using the Export As Dialogue
The Export As Dialogue in Inkscape is a simple yet powerful tool. To access it, go to File > Export As. This allows you to choose the desired file format and tweak export settings to suit your needs.
Ensure compatibility by checking browser support when exporting to SVG. The SVG 1.1 option ensures the exported file works well across different platforms. To make the file web-ready, consider reducing file size by optimizing paths and trimming unnecessary data with export extensions.
Web-Optimized SVGs
Optimizing SVGs involves maintaining quality while reducing file size for quicker loading times. Users can simplify paths and remove unused elements to achieve this. Inkscape tools like the Simplify option can help in reducing nodes without losing significant detail.
Using tools like SVGOMG can further optimize SVG files by cleaning up and compacting them. Small file sizes mean better performance and faster load times on the web, which enhances user experience and search rankings.
Pixel-Perfect Export Settings
For a crisp display, pixel-perfect settings are key. Start by setting the document resolution for web specifics, usually 96 DPI, as it matches most display screens. Double-check dimensions to ensure they fit the design specifications perfectly.
Using the Export Bitmap function allows you to specify exact sizes for raster outputs like PNGs. This helps in maintaining clarity and detail without any blurriness on screens, ensuring your designs look sharp across all devices and browsers.
Exporting for Print
When exporting designs from Inkscape for print purposes, it’s crucial to understand color profiles, choose the right resolution, and know the best file formats. These factors ensure that printed materials look crisp and consistent.
Understanding Color Profiles
Color profiles determine how colors are represented on different devices, such as monitors and printers. In print, the CMYK color profile is commonly used, as it aligns with the ink colors in most printers. Inkscape allows users to manage color profiles, ensuring that the colors seen on screen closely match the printed output.
Important Tip: Always enable color management in Inkscape before exporting. This ensures more accurate color reproduction. Additionally, requesting a sample print from your printing provider can help verify the accuracy of your color settings.
Choosing the Right Resolution
Resolution impacts the sharpness of printed images. In Inkscape, the standard DPI (dots per inch) for print is 300. This ensures high-quality prints that are clear and professional-looking. When working with detailed images or large posters, maintaining a higher resolution is vital to prevent blurring.
To set the correct resolution in Inkscape, navigate to the export settings and adjust the DPI. Remember, while high resolutions deliver better prints, they also result in larger file sizes. Therefore, balancing quality with file size is important, especially for files intended for large format printing.
Exporting as PDF or EPS
PDF and EPS are widely used formats for print because they preserve vector data, allowing for scaling without loss of quality. Exporting to PDF in Inkscape is straightforward: go to File > Save As and select PDF. This format keeps the design intact and is compatible with most professional printers.
EPS is another option, especially if further editing in software like Adobe Illustrator is needed. Inkscape’s ability to export as EPS ensures flexibility for designers working with different mediums. It’s crucial to verify with your print provider which format they prefer to ensure compatibility and quality in the final output.
Export Automation
Exporting designs efficiently is important for designers who need to handle multiple files quickly. Automating this process can save time and reduce manual errors.
Batch Export Options
In Inkscape, you can batch export multiple objects or files at once. This feature allows designers to select several elements or entire layers for export without dealing one by one. Users can define export areas by creating rectangles that represent the required regions in the file.
By locking non-export layers, Inkscape ensures that only the needed elements are processed. This strategy can be a real time-saver when dealing with several designs, making it ideal for anyone needing to quickly produce a large number of graphics. It increases productivity and efficiency for busy designers.
Command-Line Export Tricks
The command line offers a powerful way to automate exports in Inkscape. By using a command such as inkscape --export-type=png *.svg, users can convert all SVG files in a directory to PNG format easily. This approach eliminates the need to manually open files and process them through the interface.
This method is particularly helpful for developers or advanced users who are comfortable with scripting. In some operating systems, if wildcard symbols like * don’t work, it’s necessary to list file names manually. This option provides flexibility and speed, especially when working with many files or applying consistent settings across exports.
Troubleshooting Common Export Issues
When exporting designs in Inkscape, users may encounter various challenges such as transparency problems, large file sizes, and unexpected errors. Understanding how to manage these issues can ensure a smooth export process, whether the design is meant for web or print.
Handling Transparency Problems
One common issue during export is loss of transparency. This often happens when exporting to file formats that do not support alpha transparency, like JPEG. To maintain transparency, users should opt to export as PNG or SVG.
If transparency appears incorrect in PNGs, users might need to adjust their background settings. Ensuring the background is set to transparent in document properties or using layers strategically can help.
Another tip is to check for any hidden elements. These can sometimes cover transparent areas, leading to unexpected results. Reviewing the layers and ensuring only the necessary parts are visible before exporting can solve this issue.
Resolving File Size Concerns
Large file sizes can be an obstacle when sharing or uploading designs. Inkscape offers several ways to manage this. First, users should consider the final use of the design. For web use, lower resolutions like 72 DPI work, but for print, 300 DPI is standard.
Images with many details can increase file size. Users can simplify complex paths and remove unused layers or objects. This not only reduces the size but also streamlines the design.
Exporting to different formats can also impact file size. Formats like SVG generally have smaller sizes compared to raster images, such as PNG. Experimenting with various formats can help find the best balance between quality and file size.
Fixing Export Errors
Sometimes Inkscape users face export errors that can disrupt workflow. Updating Inkscape to the latest version can resolve known bugs and errors.
If problems persist, checking Inkscape’s settings can be beneficial. For instance, ensuring that path effects or filters are minimized can solve problems related to incomplete exports as suggested in this forum.
It’s also useful to avoid overlapping elements that might not export correctly. Viewing and editing the design in a well-supported browser can help identify and resolve such problems before finalizing the export.
Saving Your Export Settings
When working with Inkscape, it’s important to know how to save your export settings to streamline your workflow. These settings determine how your designs look when printed or used on the web.
Steps to Save Export Settings:
-
Open the Export Menu: Press
Control + Shift + Eto access the export menu. -
Choose Export Area: Select the area you want to export, such as
Page,Drawing, orSelection. -
Set File Format: If you’re working with images, choose between formats like PNG and JPG.
-
Adjust DPI: Setting the correct DPI ensures your design maintains quality. Use 96 DPI for web and 300 DPI for print.
Tips for Export Settings:
-
Consistent File Naming: Use a naming convention to keep track of different versions.
-
Saving Presets: While Inkscape doesn’t have a built-in function for saving export presets, note your settings for easy reference later.
Tables for Quick Reference:
| Purpose | DPI | File Format |
|---|---|---|
| Web | 96 | PNG or JPG |
| 300 | PNG |