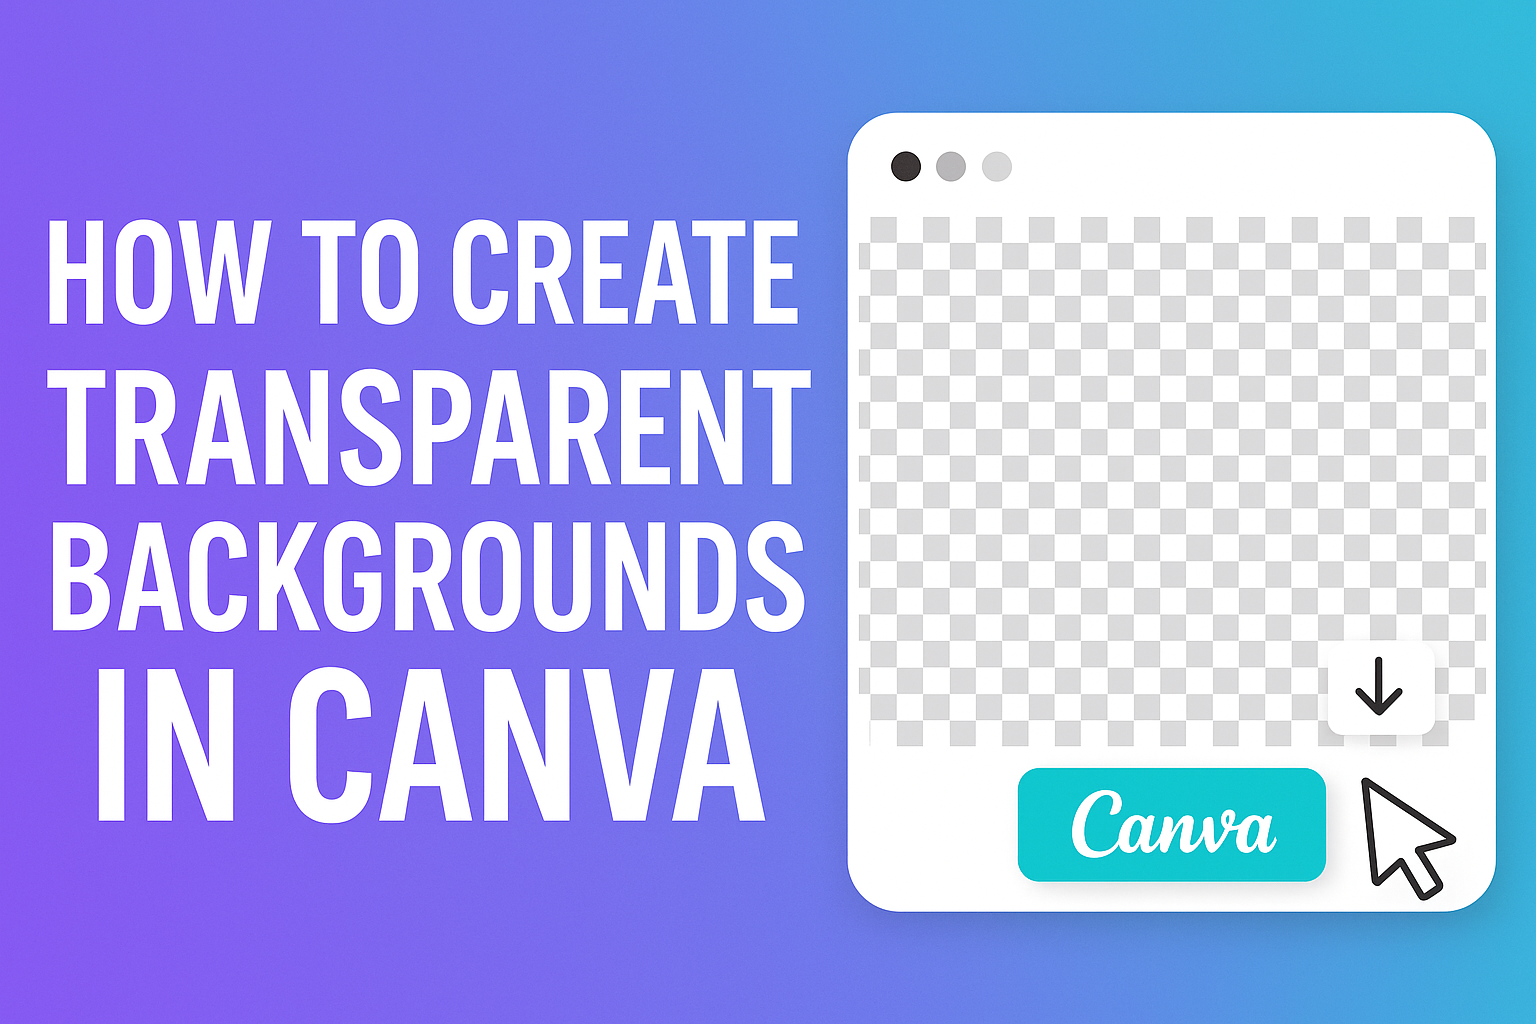
Creating a transparent background in Canva is an essential skill for anyone looking to enhance their design work. Whether for social media, presentations, or marketing materials, a transparent background allows your images to blend seamlessly into any project. With Canva, making your background transparent can be done quickly by selecting the PNG format and checking the ‘Transparent background’ option.
Everyone can benefit from this easy trick, whether they’re a seasoned designer or just starting out. Transparent backgrounds make designs look cleaner and more professional. This guide will take you through the steps, ensuring that your images turn out just right every time.
By knowing how to remove backgrounds in Canva, users open up a world of creative possibilities. The process is simple and straightforward, letting you focus more on your creativity and less on technical hurdles. So, dive in and learn how to make your designs stand out with Canva’s convenient tools.
Understanding Transparency in Design
Transparency in design helps create depth and layering effects. It allows designers to seamlessly blend elements, making graphics more appealing and professional.
What Is a Transparent Background?
A transparent background means an image doesn’t have a solid color or pattern behind it. Instead, parts of the image are left clear, allowing the viewer to see through to whatever is behind the image. This is often saved as a PNG file format, which supports transparency. This concept is particularly useful for logos and icons, where the focus is entirely on the design elements without any distracting backgrounds. Transparency can easily be incorporated into digital projects, ensuring the design looks polished and matches the intended look.
Benefits of Using Transparent Backgrounds
Using transparent backgrounds offers several advantages. Flexibility is a major benefit, as these images can seamlessly integrate into different designs without clashing. This makes them ideal for branding materials like logos, where consistency is key. Transparent backgrounds also allow for layering and creating visual effects. By stacking different elements, designers can achieve a more dynamic and engaging look. Another advantage is efficiency. Designers can save time by reusing transparent images across various platforms and projects without needing to adjust or remove a solid background each time. This reduces workload and maintains consistency.
Getting Started with Canva
To begin using Canva, it’s important to understand its interface, how to create new designs, and efficiently use the Elements tab. These basics will help users unlock Canva’s creative potential.
Overview of Canva’s Interface
Canva’s interface is designed to be user-friendly, making it easy for anyone to design. The main page features a toolbar on the left with various tools for design creation. The middle of the screen is the workspace where users can drag and drop different design elements. On the right, there may be options to adjust settings or view specific details. The top contains the menu bar for accessing more features and saving work.
Users will notice a template section on the main page. Templates provide a starting point for various design projects such as social media posts or presentations. By selecting a template, users can save time and effort while still creating customized designs.
Creating a New Design
Starting a new project in Canva is straightforward. After logging in, users can click the “Create a Design” button on the main screen. This button offers options to choose the design type based on dimensions. Common choices include Instagram posts, flyers, or custom dimensions.
Once a type is selected, a blank canvas opens in the workspace. From here, users can start building their design. It’s important to experiment with different tools provided by Canva to enhance creativity. Each tool has features that allow for unique design elements to fit any need or style.
Navigating the Elements Tab
The Elements tab in Canva is a versatile feature. It’s located on the left side of the interface and provides access to a wide range of graphical elements. Users can find illustrations, shapes, lines, and more. These elements help create engaging and visually appealing designs.
To add an element, users simply click and drag it onto the canvas. Once added, elements can be resized, rotated, or colored to match design specifications. The search bar at the top of the tab is especially useful for finding specific items quickly. This tool can elevate a design by making it more dynamic and visually interesting.
Creating Transparent Backgrounds
Creating transparent backgrounds in Canva can enhance your design by ensuring images blend smoothly with various layouts. This can be achieved by using pre-made elements with transparent backgrounds, removing backgrounds from existing images, and adjusting opacity settings for custom transparency levels.
Using Pre-made Transparent Elements
Canva offers a variety of pre-made transparent elements, like stickers and icons, which can be easily integrated into designs. These elements can be found in Canva’s library under the “Elements” tab. Users can search for keywords like “transparent” or “overlay” to find suitable elements that fit the theme of their project.
These pre-made elements can save time and provide a professional look without the need for manual adjustments. Adding such elements to a design involves simply dragging and dropping them onto the workspace.
Removing Backgrounds from Images
To remove backgrounds from images, Canva provides a user-friendly tool that allows for efficient editing. Users start by uploading their desired image and selecting it within the editor. With a simple click on the “Edit Image” option, the background removal feature can be activated.
This function works best when the subject is clearly defined against the background. Activity requires Canva Pro membership for access to full functionality, ensuring seamless integration of images into projects. For more information, take a look at Canva’s transparent image background tool.
Adjusting Opacity Settings
Adjusting opacity in Canva allows users to create varying levels of transparency, which can add depth to a design. This feature is accessible through the transparency button located in the top-right menu when an element is selected. Users can adjust the slider to decrease the opacity as desired.
This tool makes it easy to overlay images or text without overwhelming the background elements. For example, reducing the opacity of a photo can make text more readable or create a subtle, ghost-like effect. Understanding how to leverage these settings can enrich a design’s visual impact.
Customizing Images and Graphics
Creating transparent backgrounds in Canva opens up creative possibilities for customization. Users can enhance their designs by adding text and incorporating unique elements like logos or symbols.
Adding Text Over Transparent Backgrounds
Text on transparent backgrounds is a versatile design choice. Canva makes this easy by allowing users to add text boxes and choose from a range of fonts, colors, and sizes.
It’s crucial to select text colors that contrast well with any layered backgrounds. This ensures readability. Text effects, such as shadows or outlines, can help make the text pop. Customizing the transparency of the text box itself can also add depth, giving the design a more sophisticated look.
Designs are often more engaging when the text aligns with the theme and mood of the project. Positioning the text strategically can highlight important information or guide the viewer’s eyes across the design. Canva’s intuitive interface makes it easy to experiment with these elements until the desired effect is achieved.
Incorporating Logos and Symbols
Incorporating logos and symbols with transparent backgrounds helps maintain brand identity while providing design flexibility. Logos can be uploaded to Canva, where background removal tools can make them seamlessly blend into any design.
Logos should be placed in areas that maximize visibility without overcrowding the space. Consider using additional graphics to complement the logo and add stylistic flair. Transparency settings can adjust how bold or subtle the logos and symbols appear.
Creating layers with varying opacities lets different elements stand out, adding complexity to the design. Ensuring that logos are vector-based can prevent them from losing quality when resized. This approach is particularly useful when designing content for multiple platforms or formats.
Advanced Techniques
In Canva, advanced techniques can elevate your designs by creatively using layering, frames, grids, and various filters. These methods help in achieving a polished and professional look with transparent backgrounds.
Layering Multiple Images
Layering is a powerful tool in Canva. It allows users to create depth and balance in their designs. To layer images effectively, start by selecting the images you want to use. Place the first image and adjust its transparency as needed.
Next, position additional images on top of or beneath the first layer. This technique can be used to add emphasis or detail. It is essential to ensure that the visual elements don’t clash. Adjusting the transparency of different layers can help achieve a harmonious blend.
Tip: Play with different sizes and positions to see what works best. This experimentation can lead to unique visual effects that enhance the overall design.
Using Frames and Grids
Frames and grids in Canva are tools that help in organizing design elements neatly. Frames are useful for creating specific shapes or outlines. They enable users to fit images into predefined shapes, maintaining a cohesive theme.
To use a frame, simply drag an image into the frame section. This action automatically crops it to fit. Grids, on the other hand, are great for arranging multiple images systematically. They help maintain consistent spacing and alignment.
Benefit: Using frames or grids keeps the design tidy and professional. These features can simplify complex designs and ensure that everything looks balanced and well-organized.
Applying Filters and Effects
Filters and effects offer creative possibilities for enhancing visuals in Canva. Filters can be applied to adjust the brightness, contrast, or color tone of images. This can make certain elements stand out without altering transparency settings.
Effects like shadows or glows add dimension and make elements pop. They can be applied through the “Effects” menu. Applying effects carefully can make images appear more cohesive with their backgrounds.
Practice: Experimentation is key to using filters effectively. Trying various combinations can yield surprising results and enhance the elegance of the design. Remember to use effects sparingly to keep the design clean and focused.
Exporting Your Design
Exporting your design with a transparent background in Canva requires choosing the right file format and downloading it with the correct settings. Each step is crucial for ensuring your graphic maintains its intended style and function.
Choosing the Right File Format
When exporting a design from Canva, choosing the correct file format is key. For designs with transparent backgrounds, PNG is the best choice. This format supports transparency and maintains high image quality.
On the other hand, JPEG files do not support transparency. This makes PNG the go-to option if a clear and clean background is necessary.
In some cases, SVG might be an option, especially for vector graphics. They also support transparency and are scalable without losing quality. However, PNG is the most straightforward and widely supported choice for most users.
Downloading with a Transparent Background
To download a design with a transparent background in Canva, navigate to the download options once your design is complete. Select PNG from the file type dropdown menu.
Before downloading, make sure to check the “Transparent background” option. This step is essential for removing any background colors or images, leaving only the main elements of your design.
If the design has multiple pages, choose the specific pages you want by using the page selection dropdown. After these selections are made, proceed to download your design, allowing Canva to process and deliver the file.
Tips and Best Practices
Creating transparent backgrounds in Canva can enhance your designs by seamlessly integrating images into various projects. Key considerations include maintaining image clarity and ensuring your designs are consistent across different projects.
Maintaining Image Quality
It’s important to maintain high image quality when removing backgrounds. Start by choosing images with high resolution. This ensures the image remains clear even after editing. Canva’s background removal tool works best with simple backgrounds, so try to select images without too many intricate details or color variations.
Before downloading your image, preview the results to ensure there are no leftover elements or rough edges. If you notice any, use the erase tool to refine these areas. Always save your final design as a PNG file to maintain quality and benefit from the transparency feature.
Design Consistency Across Projects
When working on multiple projects, keeping design elements consistent is crucial. Use Canva’s brand kit feature to store your fonts, colors, and logos. This tool helps you easily apply your brand’s visual identity to different projects. It ensures a uniform look, enhancing brand recognition.
Consistent use of fonts and colors across projects maintains a cohesive aesthetic. Consider creating templates for repetitive designs. This saves time and effort while allowing for easy updates and modifications.