Creating custom textures in Procreate can transform ordinary digital artwork into something truly extraordinary. With Procreate’s versatile tools, artists can add depth and realism to their illustrations by using textures that match their vision.
This process of creating realistic textures involves observing real-life surfaces and understanding how light plays on them. Techniques such as adding highlights or shadows on separate layers can bring a three-dimensional feel to illustrations, making them more immersive and engaging. These methods empower artists to craft unique visual experiences.
For those eager to dive into the world of textures, Procreate offers a range of features to explore. From using the Brush Library to importing textures via the “Grain” tab, artists have numerous possibilities at their fingertips. Mastering these tools will open new avenues for creativity, allowing them to push the boundaries of digital art further.
Getting Started with Procreate
Exploring Procreate is exciting for artists eager to bring their textures to life. Key aspects include getting comfortable with the interface and choosing the right tools and brushes.
Understanding Procreate’s Interface
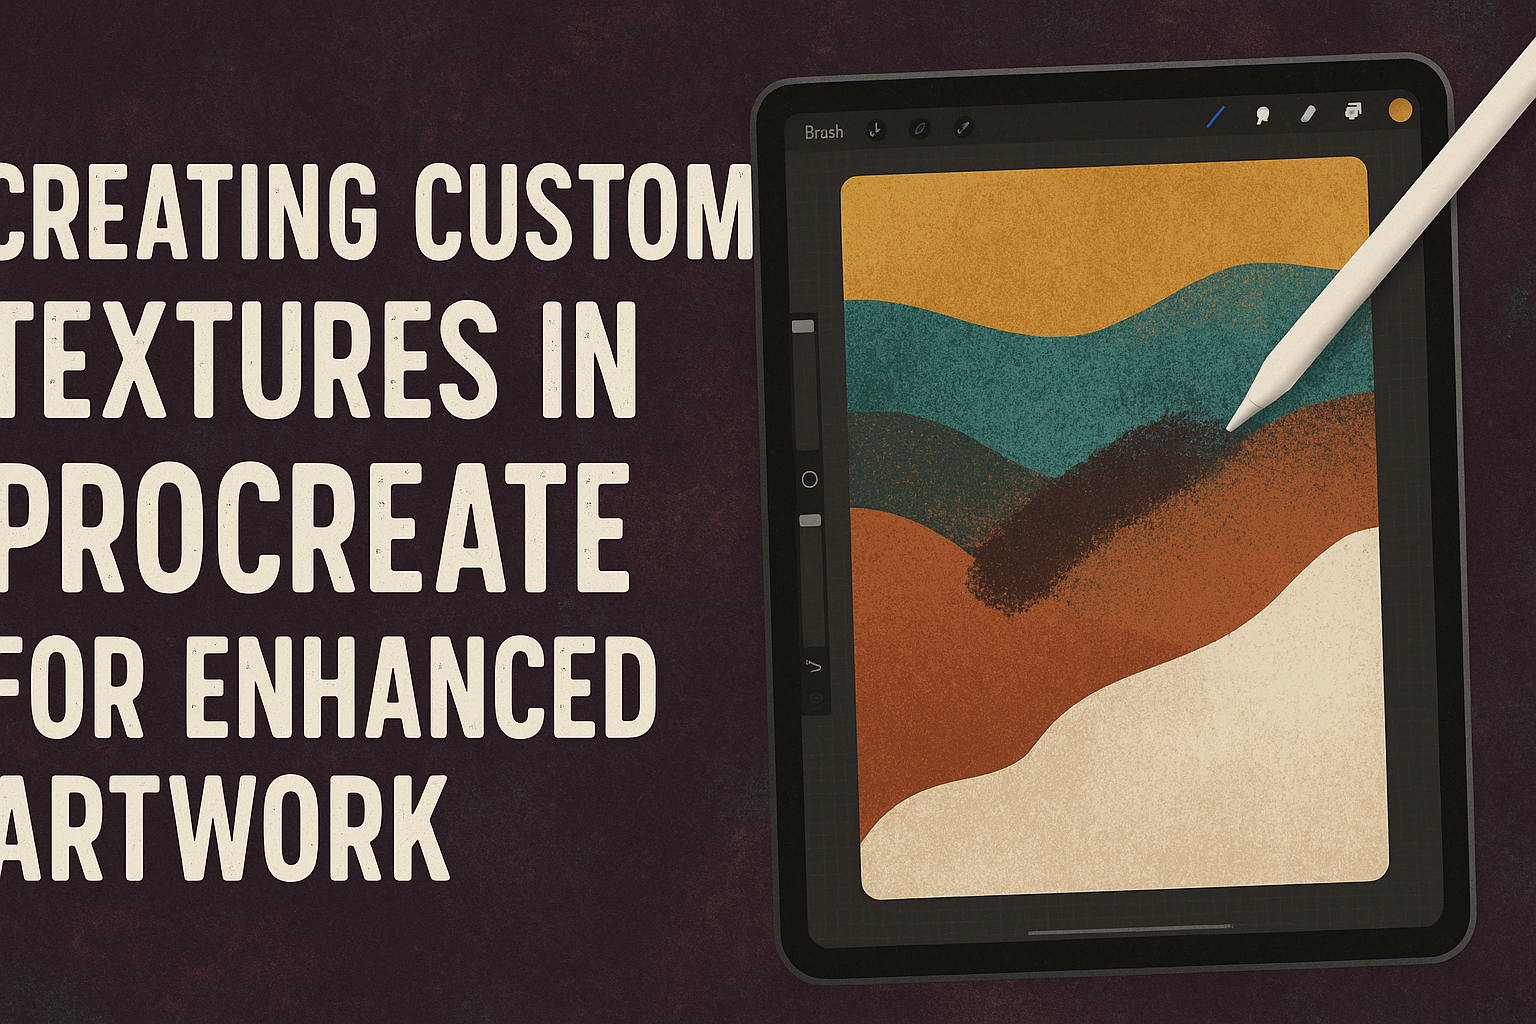
When opening Procreate for the first time, the simple layout may surprise users. The main screen showcases a variety of tools along the top and right sides.
The toolbar at the top provides quick access to essential functions such as brush selection, eraser, and layers. On the right, the color wheel and brush size adjusters are easily accessible.
Navigating these tools efficiently is key. Artists can zoom, rotate, and pan using gestures. Familiarity with these features empowers users to create with ease.
Essential Tools and Brushes for Texture Creation
Creating textures in Procreate requires using a selection of brushes and tools. The app includes a wide library of brushes that can dramatically alter the look of your artwork. Users should experiment with different options to find what works for their specific needs.
Layers are crucial when building textures. By organizing elements separately, artists can tweak individual pieces without disrupting the whole design. This approach allows for greater flexibility and detail.
Additionally, users can customize brush size, opacity, and flow. These settings allow for precise control, which is vital for achieving the desired texture. With practice, these tools can significantly enhance artistic projects in Procreate.
Basics of Texture Design
Understanding texture design can greatly enhance digital artwork, adding depth and realism. Artists use a variety of techniques to create different types of textures, each serving a unique purpose in the composition.
Types of Textures in Digital Art
Digital art offers a wide range of textures that artists use to bring their work to life. Common types include smooth, rough, and patterned textures. Smooth textures create a polished surface, often used for skin or reflective surfaces. Rough textures add grit, perfect for stone or bark.
Patterned textures, like fabric or tiled surfaces, add visual interest and complexity. Artists often use Procreate for its versatile brush library, allowing them to create each texture with precision. This ability to manipulate textures gives the artist control over the artwork’s aesthetic.
The Role of Textures in Artwork
Textures play a critical role in digital art by giving it life and dimension. They can highlight specific areas, draw the viewer’s attention, or blend elements seamlessly. By using texture, artists can guide the emotional response of the audience.
Textures can evoke feelings, such as warmth with soft textures or tension with jagged edges. In Procreate, the layering technique allows for creating depth, enhancing the realism of the piece. Mastery of textures can transform a flat image into an engaging and lifelike artwork, making them essential for digital artists.
Creating Your First Custom Texture
Creating custom textures in Procreate involves selecting a source image or pattern, setting up a proper canvas, and effectively using layers for depth. Each step will help enhance digital artwork significantly.
Choosing a Source Image or Pattern
The journey of creating custom textures begins with selecting a suitable source image or pattern. It could be anything that inspires: a fabric pattern, a natural surface like bark, or even a photo of sand. An essential part is observing texture details such as light and shadow.
Choosing an image with high contrast can make the texture stand out more. A good practice is to adjust the image’s brightness and contrast using editing tools available in Procreate.
For those who prefer creating patterns from scratch, Procreate offers a variety of brushes and stamps. They can help simulate textures like cloth, stone, or watercolor.
Setting Up Your Canvas
Setting up your canvas in Procreate is crucial for capturing the desired texture effects. Start by deciding the canvas size based on the project needs. Larger canvases offer more detail, while smaller ones may speed up the drawing process.
One vital setting is the resolution. A higher DPI (dots per inch), like 300 DPI, is recommended for print-quality textures. Adjust the canvas orientation as per the texture direction intended.
For textured effects, explore Procreate’s texture brushes. They come in handy for adding details and are adjustable to suit personal preferences. Always save your canvas setup as a custom template for future projects.
Using Layers for Textured Effects
To create realistic textures, leverage Procreate’s layering system. Layers allow artists to build textures in stages, ensuring each detail can be edited without altering other parts. This method is particularly useful for adding shadows, highlights, and color nuances.
Start with a base layer of solid color or a subtle gradient. Add new layers for each texture element. Use blending modes to achieve depth, experimenting with options like Multiply or Overlay until the result feels right.
Organize layers by grouping them to maintain order in complex projects. This helps in managing different texture components efficiently. With layers, achieving intricate and lifelike textures becomes manageable and effective.
Advanced Texture Techniques
Creating custom textures in Procreate can significantly enhance digital artwork. By mastering advanced techniques such as blending modes, seamless textures, and the pattern tool, artists can elevate their work with unique and dynamic effects.
Blending Modes for Texture Variation
Blending modes in Procreate offer artists the ability to combine layers in various ways, creating depth and complexity. Each mode affects how textures interact, changing color, light, and shadow interactions. Understanding these modes can help highlight textures and make artwork more compelling.
Some popular modes include Multiply, Overlay, and Screen. Multiply darkens colors, ideal for adding shadows. Overlay blends highlight and shadow, enhancing vibrancy. Screen lightens textures, helpful in creating luminous effects. Experimenting with these can lead to unique visual outcomes.
Adjusting opacity with blending modes can further customize textures. Lowering opacity softens effects, while higher levels enhance distinctions. This versatility allows artists to fine-tune visuals to meet their creative vision.
Creating Seamless Textures
Seamless textures ensure smooth repetition in artwork without visible gaps. This technique is vital for backgrounds or patterns requiring continuity. Creating seamless textures in Procreate involves aligning edges of an image perfectly so patterns repeat without interruption.
Artists begin by designing a texture, then dividing it into equal parts. Shifting parts to opposite sides brings edges to the center, where mismatched lines are adjusted. This method removes breaks, making textures loop flawlessly.
Procreate’s grid feature helps artists align elements precisely, while the transform tool adjusts edges. Exporting the final texture as a seamless pattern ensures consistent results, making it suitable for various digital art projects.
Using the Procreate Pattern Tool
Procreate’s pattern tool offers artists a way to incorporate repeating designs into their artworks effortlessly. This tool enables the creation of intricate patterns without manually aligning each section.
To use the pattern tool, artists select their desired design, then choose from various pattern types such as grids, stripes, or dots. Each type allows customization, such as adjusting spacing or rotation. This flexibility provides artists the opportunity to tailor patterns to their artwork’s specific needs.
Layering patterns with different textures can add complexity to designs. By experimenting with scale and rotation, artists can achieve unique visual effects that enhance the depth and interest of their work.
Textures from Real-World Objects
Using real-world objects as inspiration for textures can add depth and realism to digital art. By capturing the unique surfaces of everyday materials, artists can create more engaging and lifelike images.
Capturing Textures with iPad Camera
The iPad camera is a great tool for capturing textures. Artists can take photos of real-world textures like wood grain, fabric patterns, or stone surfaces. These photos can then be imported into Procreate for reference or use as a base layer.
When capturing textures, it’s important to consider lighting. Natural, diffused light helps reveal details without harsh shadows that might skew the perception of texture.
It’s helpful to take pictures from different angles to understand how light affects the texture. Having a variety of options allows for more creative flexibility.
Once the images are taken, they can be imported into Procreate using the iPad’s “Photos” app. They can be manipulated within the app to fit the artwork’s needs, allowing artists to recreate the essence of the material.
Incorporating Scanned Materials
For more detailed textures, artists might find scanning materials beneficial. Scanners can capture fine details that a photo might miss, such as the intricate weave of fabric or the subtle texture of paper.
To incorporate scanned textures, artists must first scan the desired material at a high resolution to ensure quality. The scanned image can then be imported into Procreate, either as a texture layer or as a guide.
Using scanned textures offers precision. Artists can adjust transparency and layer mode to blend textures seamlessly into their work, enhancing realism.
Each unique texture captured or scanned brings character to a digital piece, transforming simple artwork into a more layered and dynamic composition.
Fine-Tuning and Editing Textures
Fine-tuning textures in Procreate really helps in bringing an artwork to life. Key areas to focus on include adjusting the colors and contrasts, applying different adjustment layers, and expertly erasing or blending areas for a polished finish.
Adjusting Color and Contrast
Color and contrast are crucial in making textures stand out. In Procreate, users can easily adjust these elements to enhance their artwork. The built-in color adjustment tools allow artists to tweak the hue, saturation, and brightness, providing more control over how textures appear.
Artists can also use contrast adjustments to bring out the details in textures. High contrast can make elements pop, while a softer contrast gives a more subdued effect. Playing around with these settings allows artists to find the perfect balance for their pieces.
Using Adjustment Layers
Adjustment layers offer a non-destructive way to edit textures without permanently altering them. They are powerful for trying out different effects and settings. Procreate supports various adjustment layer options like brightness, saturation, and color balance.
By adding an adjustment layer, artists can test changes in real-time. This flexibility makes it easier to experiment with tweaks until the desired texture effect is achieved. Also, layers can be turned on or off, helping users compare changes.
Erasing and Blending for Perfection
Erasing and blending are essential steps for creating seamless textures. In Procreate, the eraser tool is as versatile as the brushes, allowing clean and precise edits. Artists can use it to carefully remove any unwanted parts of their textures.
Blending tools are equally important. They help in smoothing edges and transitions, making textures look more natural. Procreate offers a variety of blending options, which can be customized to suit different needs. Mastering these techniques is vital for achieving a cohesive and polished look.
Organizing and Saving Your Textures
Managing textures in Procreate is crucial for enhancing artwork efficiently. Knowing how to organize them and save for future use helps streamline your creative process.
Creating a Texture Library
A well-organized texture library is essential. Start by creating specific folders for different types of textures, such as wood, metal, or fabric. This helps in quickly locating what you need. Tagging textures with descriptive labels can also assist in categorization and easy retrieval.
Using Procreate’s ability to name layers and groups makes this process smoother. Consider backing up your texture library regularly. Keeping a backup can save you from losing hard work in case of app updates or device malfunctions.
Saving and Exporting for Future Use
Once textures are created, saving them properly is key. To save your textures in Procreate, tap the wrench icon, then select “Share.” Choose the format that meets your needs, like PNG for lossless quality or JPEG for smaller file sizes.
Exporting files is straightforward. Ensure each texture is saved in a format compatible with other design tools you might use. If sharing with others, use cloud services to store your textures. This enables easy access from different devices, ensuring your artwork can continue without interruptions.
Applying Textures to Your Artwork
Applying textures in Procreate can dramatically change the feel and depth of digital art. It enhances realism by introducing variations and tactile sensations, making each piece unique.
Layering Textures in Compositions
Layering is a powerful technique that brings a new dimension to digital artwork. By stacking different textures on separate layers, artists can create complex and detailed visuals. This approach allows for easy adjustments; each layer can be modified without affecting others, making it perfect for experimenting with different effects.
Users often start with a base texture to set the mood, then gradually add more detailed textures. Procreate’s Layers panel is essential here, letting artists toggle visibility, opacity, and blend modes. Techniques like layer masks also help in seamlessly integrating textures into the composition. Using custom brushes as textures opens up more possibilities and helps in fine-tuning the artwork.
The Impact of Textures on Viewer Perception
Textures can greatly influence how viewers perceive an artwork. Adding realistic textures can create a sense of touch, making digital paintings feel alive. Viewers often respond more emotionally to textured pieces, finding them more immersive and engaging.
Textures can highlight certain areas, draw attention, and even convey movement. For instance, a rough texture might suggest the ruggedness of a landscape, while a smooth texture could evoke calmness in a peaceful scene. Thoughtful texture application can guide viewers through the artwork, emphasizing the artist’s intended message and mood. By experimenting with different textures, artists can enhance their storytelling and connect deeply with their audience.
Tips and Tricks for Pro Texture Creation
Creating custom textures in Procreate can bring your digital artwork to life. Mastering techniques like using Alpha Locks, exploring the Noise Brush, and trying various brushes can lead to unique designs. These tips will help artists make the most of Procreate’s tools for stunning textures.
Using Alpha Locks and Clipping Masks
Alpha Locks and Clipping Masks are powerful tools that allow for precise control over texture placement without altering the entire canvas.
Alpha Locks let artists lock the transparency of a layer. This means they can paint only on existing pixels, preserving the shape while changing colors or adding details. This feature is perfect for refining textures on specific parts of the artwork, ensuring clean and defined edges.
Clipping Masks work by applying effects to a layer without affecting others. This is useful for adding textures to a base layer where the texture follows the shape of what’s underneath. Artists find this ideal for adding layered effects, as it keeps the texture neatly within the bounds of the base image.
Creative Use of the Noise Brush
The Noise Brush is a versatile tool that adds texture through random pixel variation, creating a gritty feel in the artwork.
Artists often use the Noise Brush to simulate materials like stone, metal, or fabric by varying the brush size and pressure. This method can give the artwork a more realistic and dynamic look with little effort.
To achieve different effects, layering the Noise Brush with other textures can enhance the overall appearance. Experimenting with brush dynamics like opacity and jitter can offer surprising results, adding depth to various elements of the piece.
Experimenting with Brushes for Unique Textures
Procreate offers a wide variety of brushes that can aid in creating distinctive textures. Custom brushes or modifying existing ones provides endless possibilities for artists.
Playing around with brush settings like size, spacing, and flow can lead to unexpected and unique textures. Artists might also combine different brushes to achieve complex textures that aren’t possible with a single brush.
Many artists create their custom brushes by starting with a base brush and tweaking it to match their vision. Saving these brushes in a personal library saves time for future projects, allowing consistency across different artworks.
Utilizing these tips allows artists to expand their creative horizons while using Procreate to its full potential.