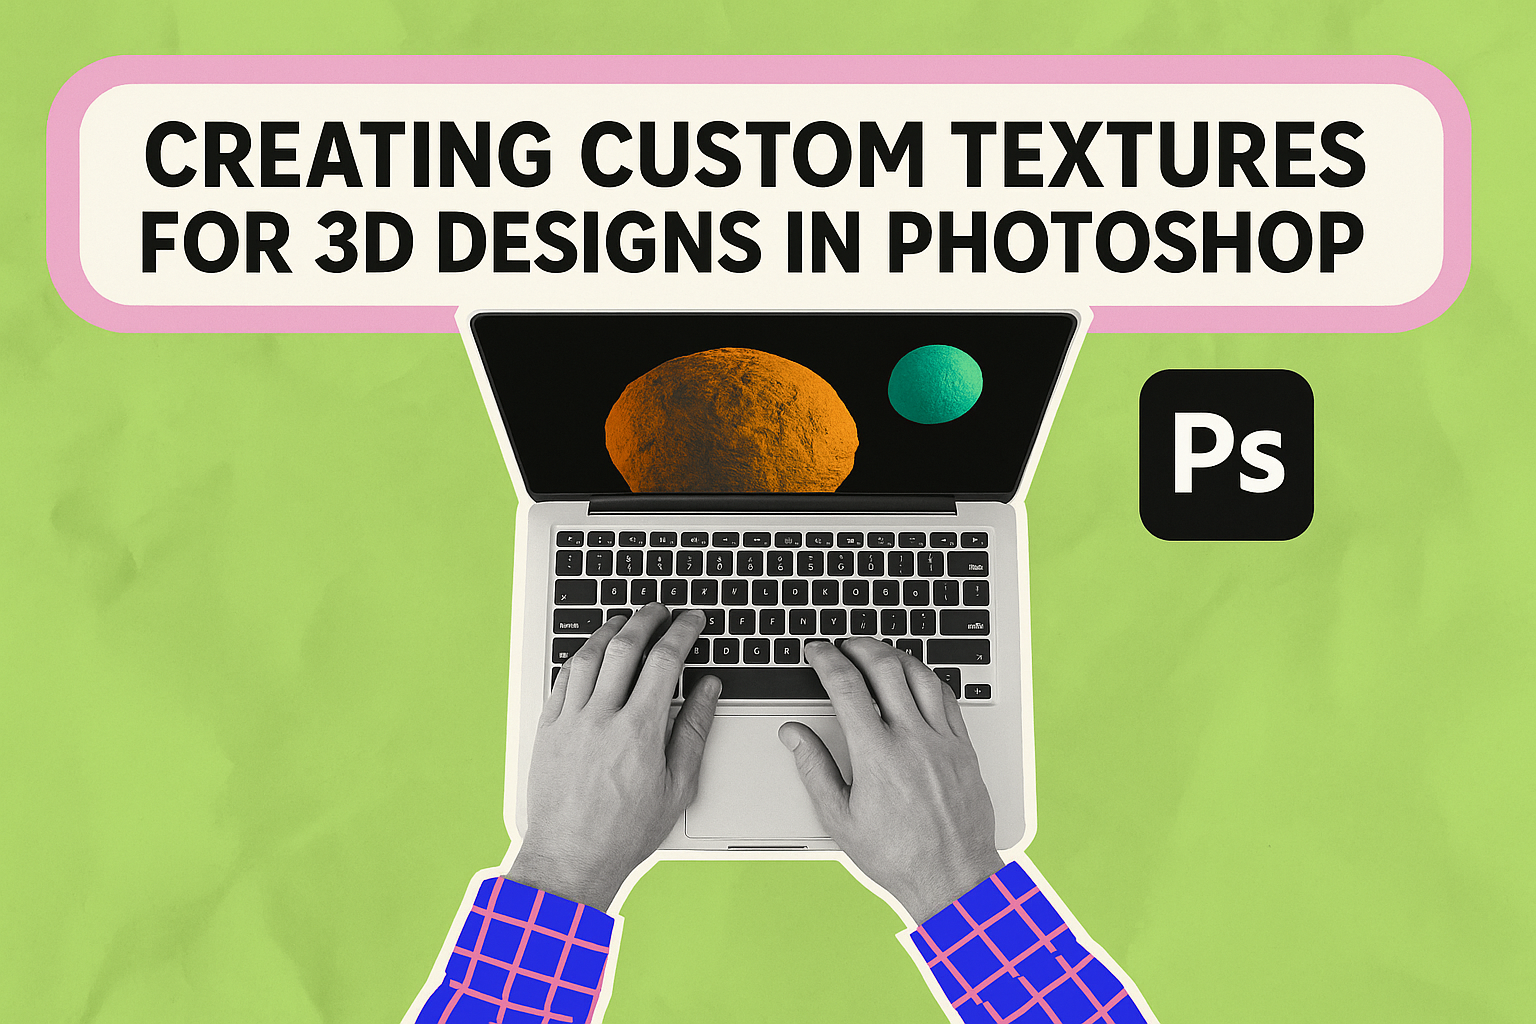
Creating custom textures for 3D designs in Photoshop can transform flat models into lifelike creations. With the right techniques, textures add depth and realism, making 3D projects stand out. To create stunning textures, one must understand tools like bump maps and UV mapping, which are essential in giving models the look of real-world materials.
Photoshop offers a versatile platform for designers to explore endless possibilities in texture creation. From skin texturing to adding complex elements like roughness and shades, Photoshop provides the tools necessary for detailed work. By incorporating these elements, designers can elevate their projects to new heights.
For those looking to enhance their 3D models, mastering texture creation in Photoshop is crucial. Resources like 3D texture editing in Photoshop highlight essential techniques for designers. As they gain confidence, their creative potential expands, opening doors to innovative designs.
Understanding Photoshop for 3D Textures
Creating custom textures in Photoshop requires a good grasp of its interface and tools. Mastering the basics and learning to effectively use layers and masks can greatly enhance 3D design work.
Basics of Photoshop Interface
Photoshop’s interface is crucial for navigating and accessing tools for 3D texture editing. The main workspace includes panels like Layers, Color, and Properties. These allow users to manage their work efficiently.
The toolbar on the left offers quick access to tools for painting, selecting, and transforming textures. At the top, the menu bar provides options for file management and detailed adjustments.
Being comfortable with customizing the interface is important. Users can drag panels and arrange them to suit their workflow. Understanding keyboard shortcuts can also speed up the process. For instance, pressing “B” activates the brush tool quickly.
Essential Tools for Texture Creation
For texture creation, some tools are essential. The Brush Tool allows for detailed painting, while the Clone Stamp Tool helps in duplicating texture areas.
Photoshop’s Smudge Tool can blend colors, creating smoother transitions within textures. Adjustment layers like Hue/Saturation modify colors without altering the original image.
Filters, like Gaussian Blur, are useful for softening edges. For more precise edits, the Pen Tool creates paths for accurate selection and detailing. Mastering these tools provides flexibility and creativity in texture design.
Working with Layers and Masks
Layers are the backbone of non-destructive editing in Photoshop. Each element of a texture can be placed on a separate layer for easy adjustments. This organization keeps the project clean and manageable.
Masks allow selective editing of parts of a layer. By painting with black or white, users can hide or reveal parts of the texture. This feature is helpful for blending textures smoothly or applying effects only to specific areas.
Adjustment layers support global changes without altering the actual layers. Users can fine-tune brightness, contrast, or color balance to achieve the desired look in the texture. Working with layers and masks ensures a professional finish to any 3D texture project.
Setting Up Your Project
To create custom textures for 3D designs in Photoshop, it’s important to start with the right setup. The steps include choosing the correct canvas size and resolution, selecting a suitable color mode and bit depth, and importing 3D models effectively. These choices ensure the textures fit their purposes and look great in your designs.
Canvas Size and Resolution
Selecting an appropriate canvas size and resolution is crucial. The size of the canvas should match the scale of your 3D model to ensure your textures don’t appear pixelated or stretched.
For example, if a model is detailed, a larger canvas like 2048×2048 pixels works well. Resolution affects the level of detail in the texture. A higher resolution like 300 DPI is ideal for print, while 72 DPI is typically fine for digital displays.
Choosing the right canvas size and resolution helps in maintaining the detail and quality of the texture across different platforms and devices.
Color Mode and Bit Depth
Color mode influences how colors portray in your textures. Common color modes in Photoshop include RGB and CMYK. RGB is usually best for digital projects.
Bit depth affects how many colors can display. The higher the bit depth, the more detailed color gradients will appear. For most projects, 8-bit depth is sufficient, but for richer details, 16-bit is preferred.
Making a careful choice in both areas ensures textures look vibrant and accurate whether viewed on screen or in print.
Importing 3D Models
Bringing 3D models into Photoshop requires a few steps. Ensure the model file is compatible; common formats include OBJ and Collada.
Once imported, open the model in Photoshop’s 3D workspace. Position the model to visualize where textures will go. This view aids in tailoring textures to fit specific model parts.
Using tools like texture painting can refine how textures apply, enhancing the model’s realism and depth. Properly importing models sets a strong foundation for creating high-quality textures.
Creating Textures from Scratch
Creating custom textures in Photoshop involves using brushes, incorporating patterns and gradients, and ensuring textures are seamless. These techniques add depth and detail to 3D designs, enhancing their realism and visual appeal.
Using Brushes for Custom Textures
Photoshop’s brushes are a powerful tool for creating unique textures. They offer a variety of options, from soft to hard edges, and different shapes. Artists can adjust brush size, opacity, and flow to achieve different effects.
To begin, they select a brush that fits the kind of texture they want to create. A texture can begin with a simple stroke. Adjusting settings like spacing and scattering can add complexity. Custom brushes can also be made. This involves designing a brush shape or pattern and saving it as a new brush preset.
Experimenting with pressure sensitivity is key. It allows for control over texture intensity. Using multiple layers can help tweak different parts of the texture without affecting the whole piece.
Incorporating Patterns and Gradients
Patterns and gradients add variation and depth to textures. Patterns can be created or sourced from textures. They are repeated seamlessly across a canvas, providing consistent detail.
To create a custom pattern, a small section of artwork is needed. This section is defined as a pattern through Photoshop’s “Define Pattern” feature. Once done, the pattern can be applied using the pattern overlay.
Gradients are smooth transitions between colors. They can simulate light and shadow on textures. In Photoshop, gradients can be linear, radial, or angular, offering various visual effects.
Artists blend gradients with patterns to create dynamic textures. Layer styles and blending modes further enhance this effect, adding depth and interest.
Creating Seamless Textures
Seamless textures are crucial for 3D models. They ensure that textures wrap around objects without visible seams. Creating seamless textures begins with tileable images.
The Offset filter helps in preparing a seamless texture. By offsetting the image, artists can observe where seams would occur. They then use tools like the Clone Stamp or Healing Brush to blend these areas smoothly.
Careful examination of edges and corners is important. Adjusting colors and patterns can help achieve a seamless look. Regular testing on 3D models ensures the texture appears smooth. Adhering to this process results in polished, professional textures.
Photo-Realistic Textures
When creating photo-realistic textures in Photoshop, it’s important to pay attention to small details, use blending modes wisely, and apply filters that enhance realism. These techniques can make your 3D designs look lifelike and professional.
Adjusting Texture Details
Adding fine details to textures can significantly impact the realism of a 3D design. Artists should focus on aspects like the texture’s scale, resolution, and surface imperfections. In Photoshop, using high-resolution images as a base allows for a detailed texture that does not pixelate when applied to a large model.
It’s beneficial to adjust things like sharpness and contrast to bring out subtle variations in the texture. Fine-tuning these settings can highlight bumps, grooves, and other surface details that mimic real-world materials. This attention to detail can transform a flat surface into something that looks tangible and authentic.
Blending Modes for Realism
Blending modes in Photoshop are essential for creating depth and integrating textures seamlessly. They allow artists to combine multiple layers in a way that imitates natural light and shadow interactions. By experimenting with different modes like Multiply, Soft Light, or Overlay, one can achieve varying levels of transparency and texture interaction.
These modes help textures blend naturally without harsh lines or visible seams. For example, using the Overlay mode can enhance colors and provide a more vivid texture without overpowering the base image. Blending modes are useful tools to add complexity and richness to the final design.
Using Filters for Texture Enhancement
Filters in Photoshop can elevate textures from ordinary to extraordinary. Tools like Noise, Gaussian Blur, and Texture filters add an extra layer of realism by mimicking natural imperfections. For instance, applying a Noise filter can recreate the look of grainy surfaces like wood or stone.
The Gaussian Blur filter softens edges to reduce the overly sharp digital look, making textures appear more natural. Texture filters add effects that mimic various materials like canvas or brick. Exploring these options can bring a wide array of realistic characteristics to any texture, enhancing its appeal in 3D designs.
Bump and Normal Maps
Creating realistic textures in 3D designs often requires the use of bump and normal maps. These tools add depth and texture without increasing model complexity. Understanding their differences is crucial for effective use. The design of these maps can enhance details and bring life to flat surfaces.
Understanding Bump vs. Normal Maps
Bump maps and normal maps each enhance different aspects of textures. Bump maps use grayscale images to simulate height. The lighter areas appear raised, while darker regions look indented. This method is simple but limited in detail and angle sensitivity.
Normal maps, on the other hand, use color to represent angle and depth, resulting in a more realistic three-dimensional effect. This approach allows for intricate details as it takes into account the direction of light. By altering how light interacts with the surface, normal maps provide a more dynamic and realistic appearance than bump maps alone.
Despite their differences, both are effective tools for adding detail and depth without increasing polygon count. They are widely used in gaming and animation, offering artists flexibility and resource efficiency.
Designing Depth and Details
Designing effective bump and normal maps requires consideration of the texture details and the type of effect desired. For bump maps, artists start by creating a high-contrast grayscale image using tools like Photoshop. This image represents the height and depth on the surface of the model.
For normal maps, specialized software helps convert images or high-poly models into normal map format. Photoshop and other software offer tools to create both map types, often with different techniques for achieving realistic results.
When designing these maps, it’s essential to test and adjust the maps in real-time. This helps ensure the textures interact as desired under various lighting conditions. By experimenting with both bump and normal maps, artists can achieve rich, detailed textures that enhance the visual quality of their 3D designs.
Reflective and Transparent Textures
Exploring reflective and transparent textures in Photoshop involves crafting materials that mimic light reflection and transparency. This includes working with specular and gloss maps for reflection control, as well as handling opacity and translucency to achieve clear or frosted effects.
Creating Specular and Gloss Maps
Specular and gloss maps are crucial for simulating how light interacts with a surface. Specular maps control the brightness and sharpness of the reflection. They use grayscale images, where white areas reflect light most, creating shiny spots, and black areas absorb light, making them matte.
Gloss maps adjust the smoothness of the surface. They specify how concentrated or scattered reflections appear. In Photoshop, users can create these maps by painting the desired highlights onto the texture. Using layers, users can experiment by adjusting contrasts and brightening certain sections. The Dodge and Burn tools help refine details to enhance realism without altering the base texture.
Working with Opacity and Translucency
Opacity and translucency settings let designers control how much light passes through a texture. By using an alpha channel in Photoshop, one can adjust these properties easily. The alpha channel determines which parts of the texture appear solid or see-through.
For translucent materials, shades of gray in the alpha channel signify different transparency levels. White areas are fully opaque, while black areas are entirely transparent. Adjusting transparency allows for creating effects like frosted glass or mist. Photographers often use blurred brushes to soften edges, achieving smooth transitions between opaque and transparent sections. This careful balance ensures the materials look realistic and suit the overall design’s needs.
Smart Objects and Non-Destructive Editing
Smart Objects in Photoshop are essential for maintaining the quality and flexibility of layers while editing. They allow for changes without permanently altering the original content, which is crucial for 3D design work.
Utilizing Smart Objects for Flexibility
Smart Objects enable designers to transform, scale, and adjust layers without losing quality. When a designer converts a layer to a Smart Object, any applied changes, like resizing or warping, can be altered at any time.
Using Smart Objects also allows the application of filters non-destructively. For example, a designer can apply a blur filter and modify or remove it without impacting the underlying layer. This method saves time and helps maintain a clean workflow, keeping every step reversible and adjustable.
Embedding Illustrator files as Smart Objects keeps vector graphics crisp, even with scaling. Design adjustments in the original file can be updated seamlessly in Photoshop, streamlining the editing process.
Non-Destructive Workflow Tips
To maximize the benefits of Smart Objects, it is important to adopt certain practices. Double-clicking a Smart Object allows for direct editing. Any changes will automatically update without overwriting the original work. This technique is especially useful for intricate textures in 3D design.
Always start by converting layers to Smart Objects before applying irreversible edits. This makes it easier to tweak the design later on without redoing the entire process. Keeping a separate copy of the original layer as a backup is also a good practice.
For complex projects, organizing Smart Objects into groups can make layer management simpler and more efficient. Using descriptive layer names ensures easy navigation during the editing process.
Organizing Your Textures
When working with custom textures in Photoshop, keeping everything well-organized is key. Proper organization not only saves time but makes it easier to navigate and modify textures later.
Layer Grouping and Naming Conventions
Using layer groups in Photoshop helps in managing complex texture projects. By grouping related layers, such as those that create similar effects, users can quickly find and edit specific parts of a texture. Layers should be named clearly, like “Stone Base” or “Grunge Overlay.” This practice reduces confusion.
A consistent naming system is crucial. Consider using prefixes or suffixes to denote the type of effect or detail the layer adds. For example, use names like “Color_Base” or “Effect_Overlay” to instantly identify each layer’s function. Consistency in naming also aids collaboration, ensuring everyone can understand the project layout.
Saving and Exporting Textures
It’s important to save your work frequently in the correct format. Use Photoshop source files (PSD) for editable versions, making future changes simpler. For final textures, export them in formats suited to your project needs, like PNG or JPEG. Each format has different characteristics; PNG maintains transparency, while JPEG offers smaller file sizes.
Create organized folders for each project, separating drafts and final exports. This keeps files accessible and reduces error risks in version control. Naming your files descriptively will also prevent confusion, especially when handling multiple texture variations.
Maintaining this order not only streamlines your workflow but also secures the integrity of your designs.
Testing and Adjusting in 3D Environment
Testing how textures look and making necessary changes in a 3D environment is a key step in creating realistic designs. This ensures the textures fit well and look natural on the 3D models.
Importing Textures into a 3D Program
Once textures are created in Photoshop, they need to be imported into a 3D program. This process involves ensuring that the textures are correctly mapped onto the model surfaces. Models usually have UV maps, which act as guides for placing textures on their surfaces.
It might be helpful to use software like Blender or Maya for this purpose. In these programs, users can apply textures by loading the image files into the material or shader settings. These settings allow for adjustments to fit the textures correctly on the models.
Adjusting parameters like scale and alignment can improve how the textures appear. If the texture doesn’t align correctly, users might need to go back into Photoshop to make adjustments, then re-import the texture.
Real-time Preview and Adjustments
After importing textures, reviewing them in real-time gives a better idea of how they look on the models. Many 3D programs offer real-time rendering that showcases textures under different lighting conditions, enhancing the model’s realism.
In programs like Photoshop, users can make changes and see instant updates on how textures affect the overall appearance of models. This includes tweaking colors, brightness, or even adding small details for added realism.
Real-time feedback helps identify any issues such as stretching, mismatching edges, or incorrect lighting effects. Making immediate adjustments ensures that textures achieve the intended effect and contribute positively to the 3D design’s immersive quality.