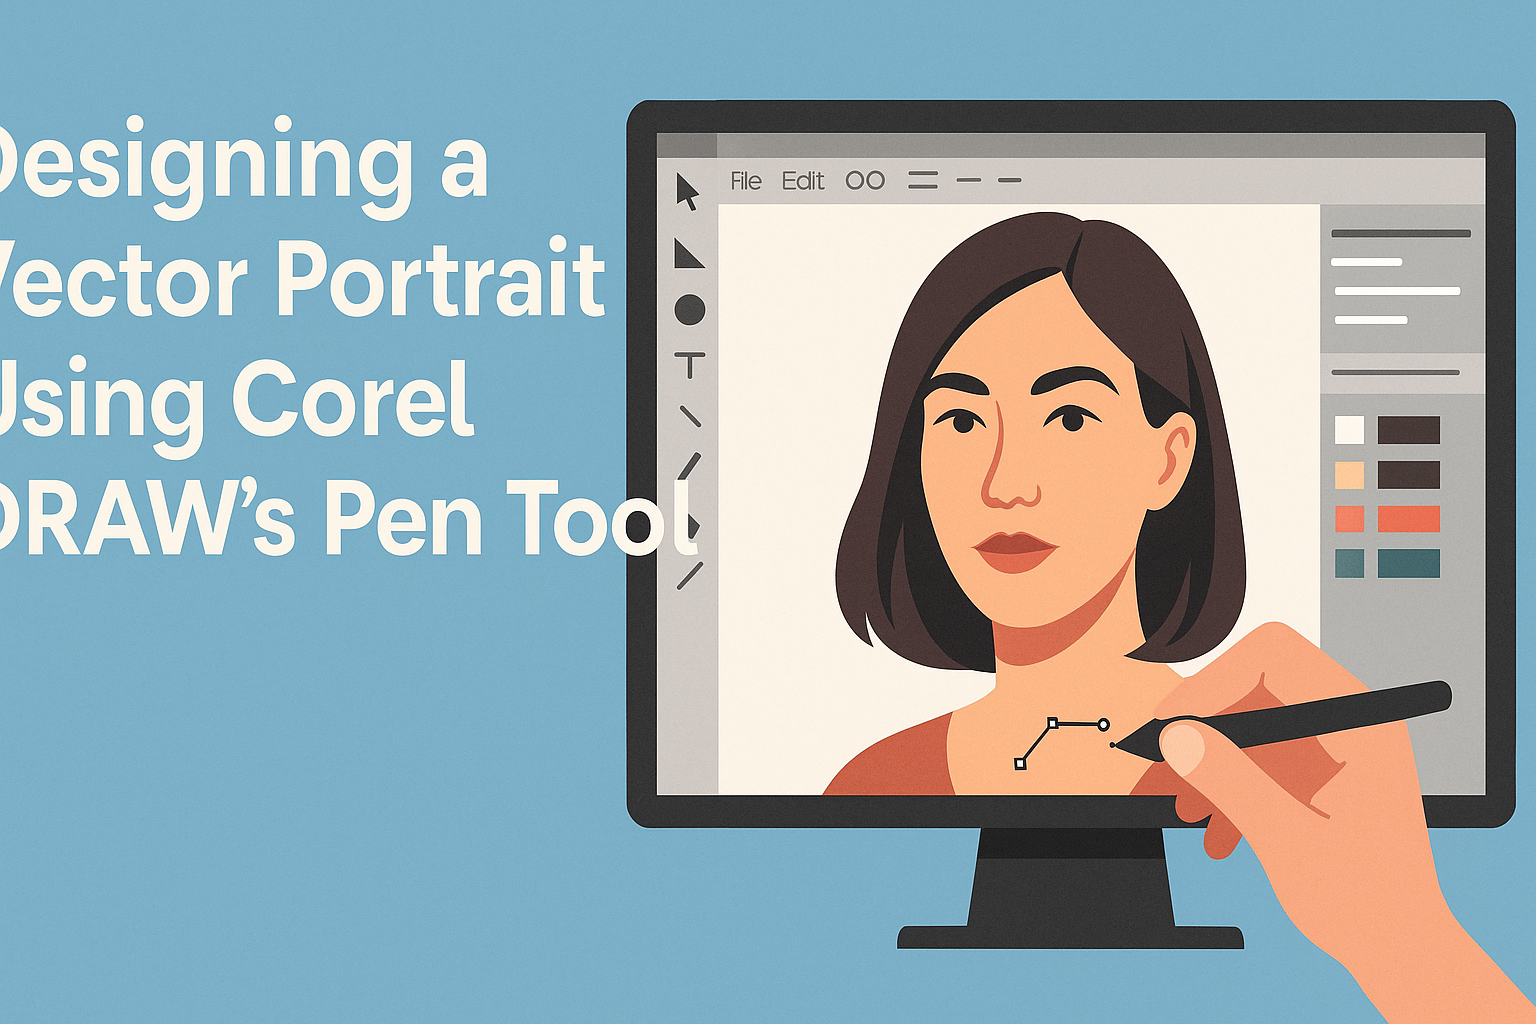
Creating a vector portrait might seem like a complex task, but with CorelDRAW’s Pen Tool, it can become an enjoyable experience. The Pen Tool is key to crafting precise vector shapes and curves, making it essential for detailed designs. Embracing this tool allows both beginners and experienced designers to bring their artistic visions to life.
Vector portraits offer a unique style, allowing for minimalistic or intricately detailed designs. Using CorelDRAW, designers can highlight their subject while eliminating unnecessary elements, focusing solely on the important details. A guide to vector portraits can provide additional inspiration and techniques to refine skills.
Whether creating a detailed masterpiece or a simple silhouette, the Pen Tool provides flexibility unmatched by other drawing utensils. For those eager to explore digital art, mastering this tool in CorelDRAW opens up a world of creative potential. The process can be both rewarding and transformative, adding a valuable skill to any artist’s toolkit.
Getting Started with CorelDRAW
Starting with CorelDRAW involves familiarizing yourself with its tools and interface. This introduction covers CorelDRAW’s main features, setting up your document, and the Pen Tool which is key for creating vector portraits.
Overview of CorelDRAW
CorelDRAW is a popular graphic design software used for vector illustrations. It offers a user-friendly interface and a range of creative tools. The software is widely appreciated for its capacity to handle complex designs with ease, making it ideal for both beginners and professionals.
With features such as layers, advanced fill tools, and comprehensive editing options, CorelDRAW provides everything needed to craft detailed artwork. This versatility ensures that artists can focus on creativity rather than on the technical limitations of the software.
Setting Up Your Document
Before creating a design, setting up the document correctly is crucial. Choose the right dimensions and resolution based on the project’s needs. CorelDRAW allows you to customize these aspects easily in the New Document dialog.
Consider the final output of your work. If it’s for print, ensure a high resolution is selected. If it’s for digital use, you may choose smaller dimensions. This flexibility helps designers tailor their workspace to the specific needs of each project.
Understanding the Pen Tool
The Pen Tool in CorelDRAW is essential for drawing precise paths and shapes, making it a vital tool for vector portraits. It allows artists to create custom lines by drawing anchor points and adjusting curves.
To master the Pen Tool, practice creating simple shapes first. Experiment with control handles to refine the curves. The ability to manipulate lines this way provides a high level of detail and control over the artwork. Through practice, designers can create intricate designs efficiently using this tool.
Creating a Basic Vector Portrait
Creating a basic vector portrait involves selecting a clear photograph, drawing a clean outline, and shaping distinct facial features. These key steps help turn a simple image into a smooth and scalable vector portrait.
Selecting the Right Photograph
Choosing the right photograph is the crucial first step. The photo should have good lighting and clear details. High-resolution images work best because they provide clarity, making it easier to recreate details in a vector format.
Look for images with a strong contrast between features, as these make it simpler to define lines and shapes. It is also important to pick a photo that shows personality, whether through expression or pose. For inspiration on photo selection, consider browsing guides like the Art of Vector Portraits for tips on capturing expressions.
Drawing the Outline
Drawing the outline is where the magic begins. Using CorelDRAW’s Pen Tool, trace the main contours of the face. Focus on areas like the jawline, hairline, and neck first. Smooth lines are important, so adjust nodes and curves as needed.
Break down the face into simple shapes. Start with the head, then draw outlines for features such as eyes, nose, and mouth. Keeping the lines clean and precise helps in achieving a refined look. Utilize CorelDRAW’s features like snapping to create accurate lines and curves. This step lays the foundation for the entire portrait.
Shaping Facial Features
With the outlines in place, the next step is to shape facial features. Add details that give character to the portrait such as the curve of lips or the exact shape of the eyes.
Employing smooth lines and varying line thickness can help add depth and dimension. In CorelDRAW, you can use tools like the Shape Tool to adjust paths and shape nodes for accuracy. Shading can enhance realism, making the portrait more lifelike. This involves layering different colors to mimic shadows and highlights, capturing the unique qualities of the subject’s face.
Enhancing Your Vector Portrait
Enhancing a vector portrait involves adding depth, bringing out highlights, and refining skin tones. These techniques can transform a basic design into a dynamic and realistic piece of art.
Adding Depth with Shadows
Shadows can make a portrait look more lifelike. They add dimension by simulating how light interacts with the face. Using the CorelDRAW Pen Tool, an artist can create paths for shadows on parts of the face such as under the chin or around the nose.
Shadows shouldn’t be too harsh. Instead, they should be soft and blend seamlessly with the skin tone. Experimenting with different opacities and using gradient fills can help in achieving a natural look.
It’s essential to study a light source. This will dictate where shadows naturally fall on a face and help in positioning them correctly.
Attaching shadows to specific areas can be done through layering techniques. It is useful to use layers to separate different shadow areas, allowing more control over their individual adjustments. This way, changes can be made without altering the entire design.
Creating Highlights
Highlights make portraits pop by emphasizing areas where light hits directly, like the forehead, nose bridge, and cheekbones. These can add a sense of brightness and realism to any portrait.
To create highlights, lighter colors should be used with the Pen Tool. These highlights can be achieved by drawing small shapes or lines on top of existing features.
The Fill Tool in CorelDraw is excellent for adding gradient fills to mimic light reflection. Experimenting with blending modes like “Screen” or “Overlay” can enhance these highlights further.
It’s advisable to keep the highlights subtle; too much brightness can overwhelm and flatten the portrait’s depth.
Working with Skin Tones
Achieving realistic skin tones can transform a vector portrait. It’s important to choose colors that reflect natural skin variations, avoiding flat, single-tone colors.
Start by using a base skin tone. Then, introduce variations, such as darker shades for shadows and lighter ones for highlights. The color palette should include subtle reds and yellows to mimic real skin undertones.
The free CorelDRAW tutorials suggest using the Sample Color tool to match and blend colors efficiently.
Regularly checking the portrait at different zoom levels helps catch any inconsistencies, ensuring the tones looks smooth and natural. Working in layers offers flexibility, making it easier to adjust colors without affecting the entire portrait.
Mastering the Pen Tool in CorelDRAW
Mastering the Pen Tool in CorelDRAW is key for drawing precise paths and lines. Successful use of this tool involves controlling Bezier curves and adjusting node types to refine designs with smoothness and accuracy.
Controlling Bezier Curves
Bezier curves are a core feature of the Pen Tool in CorelDRAW. They allow the user to create fluid lines and curves. A Bezier curve consists of anchor points and control handles. By moving these handles, one can adjust the curve’s shape and direction.
To get started, placing the first point with a click, then dragging while clicking the next point creates a curve. The length and angle of the handles define how the curve bends between points.
Practicing with different handle placements can help users understand how they influence the curve’s form.
For further enhancement, the curve’s smoothness can be adjusted with CorelDRAW’s features. Users can convert line segments to curves by using the “Convert to Curve” option. This provides additional flexibility in designing intricate shapes and lines.
Adjusting Node Types
Nodes are pivotal in shaping designs with the Pen Tool. In CorelDRAW, the three primary node types—cusp, smooth, and symmetrical—each offer unique adjustments. Cusp nodes allow independent control of the handle direction on either side of the node, ideal for sharp angles.
Smooth nodes ensure that the handles on both sides of a node are aligned, which results in a straight path. This ensures gentle, flowing curves. Symmetrical nodes keep handles equally distant, providing consistent curve arcs on both sides of the node.
Switching between node types can refine the path’s flow and shape. Users can alter nodes by selecting and right-clicking on a node to change its type. Understanding the different node effects will improve the precision and creativity in vector drawings, leading to more sophisticated designs.
Final Touches and Exporting
After creating the main parts of a vector portrait using CorelDRAW, it’s time to focus on refining details, adding text or logos, and exporting the final design. Each step helps ensure the portrait looks professional and polished.
Refining Details
In this stage, attention to small details matters. Artists can use tools like the Pen and Bezigon to smoothen curves or adjust outlines. Tweaking colors and shades enhances depth and realism. Adding elements such as shadows or highlights can make a portrait pop. Zooming in helps catch and correct minor imperfections. Reviewing the work from different angles also ensures no detail is left unnoticed.
Adding Text and Logos
Text and logos complete the look and personalization of a vector portrait. Text can introduce the portrait or carry a message. Fonts that complement the overall style should be chosen carefully. Placing a logo might require resizing or repositioning to fit well within the design. CorelDRAW offers various tools to help format and align text and logos accurately. Keeping a balanced layout ensures that neither text nor logos distract from the portrait itself.
Exporting Your Vector Portrait
When the design is finalized, exporting it in the correct format is crucial. CorelDRAW allows exporting in formats like JPEG, PNG, or PDF, depending on the intended use. If maintaining scalability is important, exporting as an SVG might be the best option. Before finalizing, double-check that all elements are correctly positioned and that the resolution meets the necessary standards. This step ensures that the exported portrait retains its quality and can be used across multiple platforms without distortion.