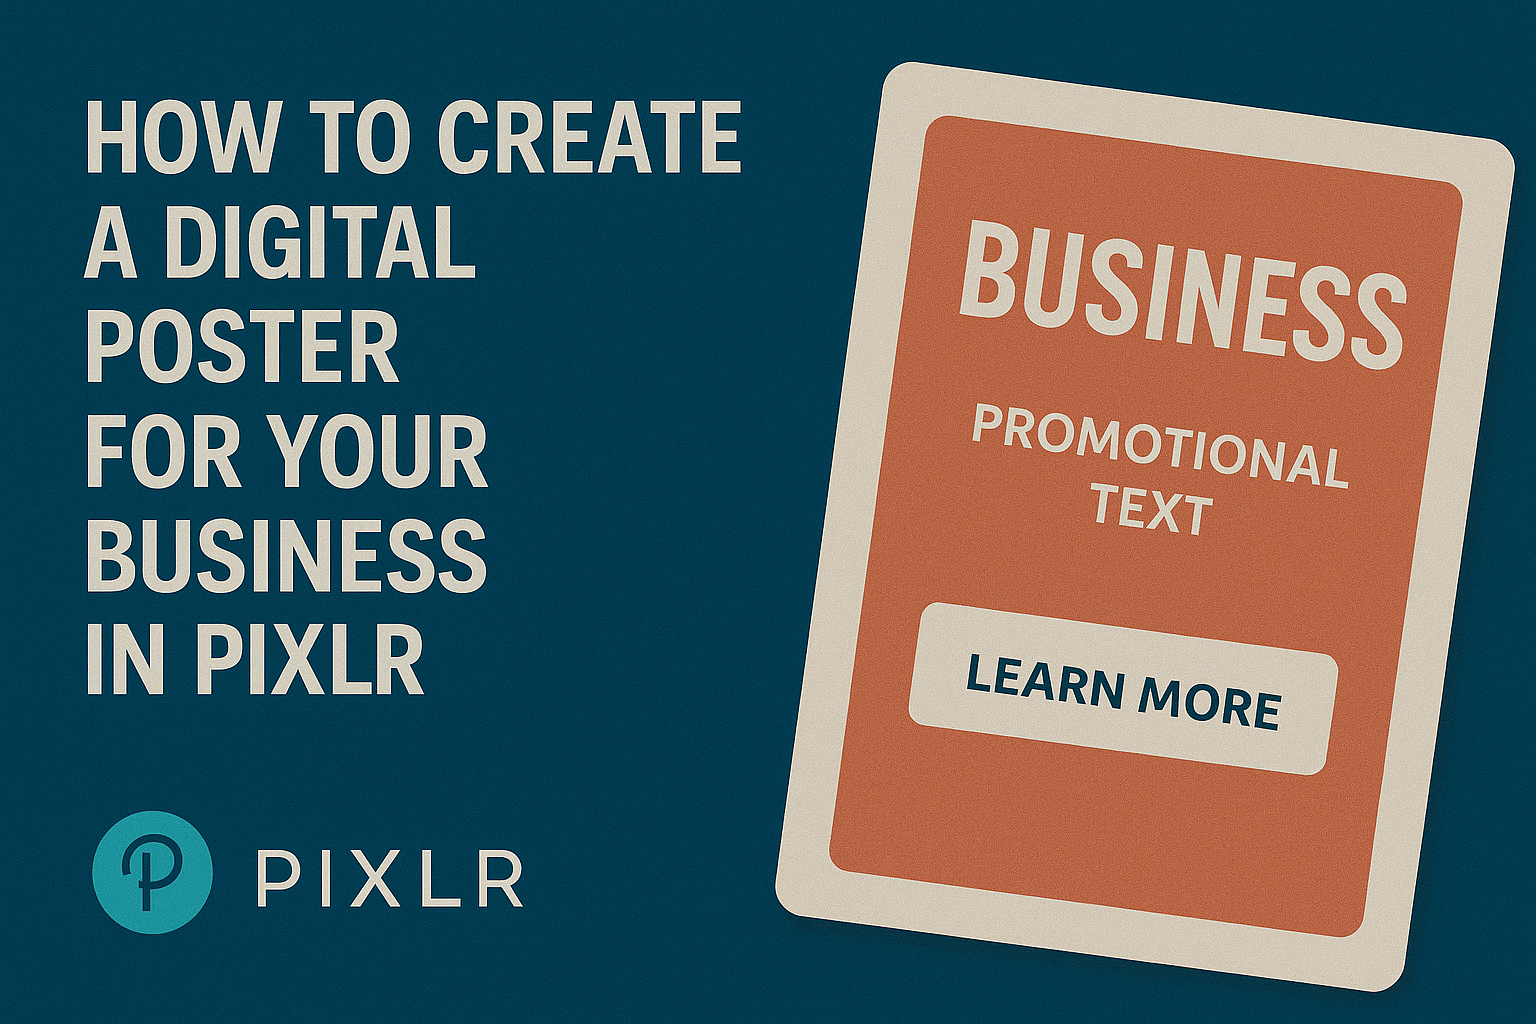
Creating a digital poster for a business can be a fun and effective way to share information and engage customers. Using Pixlr’s free online tools, anyone can design eye-catching posters with ease, even without advanced graphic design skills.
With a wide range of templates, colors, and stickers, it’s simple to customize a poster that truly represents the brand.
In this guide, readers will discover how to harness the power of Pixlr to create stunning digital posters. They will learn about the various features available and how to use them to achieve the desired look.
Whether promoting an event, showcasing a product, or sharing important messages, a well-designed poster can make a big impact.
Getting Started with Pixlr
To create a digital poster using Pixlr, it’s essential to know how to navigate the interface and set up a new project. This knowledge helps users maximize their experience and create stunning visuals effectively.
Understanding Pixlr Interface
When opening Pixlr, the interface is user-friendly and designed for easy navigation.
The main toolbar is located on the left side and includes essential tools like the selection tool, text tool, and shape tool.
On the top, users can find menus for file options, editing, and layers. Each submenu offers different features, such as adding filters and adjusting image properties.
The right side of the screen displays the layers panel. This panel is crucial for managing different elements of the poster. Users can easily add, delete, or adjust layers for a customized look.
Creating a New Project
To start a new project, users should click on “Create New” on the Pixlr homepage. This prompts selection of the poster size. Standard sizes include A4 or custom dimensions.
Once the size is chosen, users can opt for a blank canvas or select from various templates. Using a template can save time and offer design inspiration.
After selecting the template or blank canvas, users will enter the editing workspace. Here, they can begin adding images, text, and other design elements by utilizing the toolbar effectively.
Design Basics for Digital Posters
Creating a digital poster involves several design principles that can help ensure the final product is eye-catching and effective. Key elements include selecting a suitable template, organizing visual elements with layers, and choosing an appropriate color scheme.
Selecting a Template
Choosing the right template sets the foundation for the digital poster. Pixlr offers a variety of templates tailored to different purposes, such as events, promotions, or informational displays.
When selecting a template, consider the message and audience. A vibrant template might work for a music event, while a clean, professional one suits a business presentation.
Users can easily customize templates by adding their images and text to make them unique. It’s helpful to keep the layout simple, ensuring that essential information stands out without clutter.
Working with Layers
Using layers is vital for effective poster design. Layers allow users to separate different elements, like text, images, and backgrounds. This flexibility makes it easier to edit individual parts of the poster without affecting others.
In Pixlr, each layer can be adjusted for position, opacity, and effects. This feature enables users to create depth and perspective.
It is important to name the layers for easy access. By organizing elements logically, designers can maintain clarity throughout the editing process and can quickly make changes as needed.
Choosing Color Schemes
Selecting a compelling color scheme is crucial in making the poster visually appealing. Colors can convey emotions and messages, so it’s essential to choose wisely.
A good approach is to use complementary colors that enhance readability. For example, dark text on a light background is typically easier to read than the opposite.
Tools within Pixlr can help create color palettes, ensuring a harmonious look.
Limiting the palette to three or four colors can also prevent overwhelming the viewer. This method creates a cohesive design that keeps the focus on the main message.
Adding Content to Your Poster
Creating a digital poster involves carefully adding text, images, and branding elements. This ensures the final design effectively communicates the intended message and captures attention.
Inserting Text Elements
When adding text to a poster in Pixlr, it’s essential to choose clear, bold fonts that are easy to read.
Users can experiment with different fonts and sizes to find the best fit for their message.
To start, they should click on the text tool and select a suitable font from the available options.
It’s important to include only key information. For example, a catchy headline, a brief description, and a call to action can be very effective.
Alignment and spacing also play a crucial role. Keeping text centered or neatly aligned will enhance the poster’s visual appeal.
Using Images and Graphics
Images and graphics can significantly boost a poster’s attractiveness. Users should select high-quality visuals that resonate with the poster’s theme. They can upload their images or choose from Pixlr’s available library.
When inserting an image, it’s vital to size it properly. Oversized images can overwhelm text, while small ones may not stand out.
Using transparent backgrounds can help integrate images better, creating a more cohesive look. Be mindful of the layout; images should complement the text rather than distract from it.
Implementing Branding
Incorporating branding elements is crucial for business recognition. This includes using the business logo, specific colors, and fonts that align with the brand identity.
When adding a logo, users should place it in a prominent yet balanced position. It is usually best to keep it strategically near the top or bottom corners of the poster.
Colors should reflect the brand’s identity and mood. Consistent use of brand colors helps in creating familiarity.
Finally, remember to use taglines or slogans that reinforce what the business stands for. These elements together enhance brand visibility and make the poster memorable.
Finalizing and Exporting Your Poster
Before finishing the digital poster, it’s essential to make final adjustments and properly export the design. Attention to detail during these steps can enhance the overall quality and ensure it meets business needs.
Applying Finishing Touches
The last steps before exporting involve checking key elements of the design.
First, he should review the alignment of text and images. Using grids and guides in Pixlr helps ensure everything looks neat and professional.
Next, he should assess the color balance. Adjust the brightness and contrast to make sure the poster pops and is visually appealing.
Finally, adding a call-to-action or essential information can help viewers understand what to do next. These finishing touches ensure that the poster is not just aesthetically pleasing but also effective in conveying its message.
Exporting Your Design
Once satisfied with the final look, it’s time to export the poster.
He should go to the “File” menu and select “Export.” Here, he can choose from various formats, like PNG or JPEG, depending on where the poster will be displayed.
For web use, selecting a lower resolution keeps the file size manageable.
However, for printing, a higher resolution ensures that details remain sharp.
After selecting the format, he can adjust settings like quality and size.
Finally, he should save the file in an easily accessible location.
This careful process ensures the poster is ready for its intended purpose.