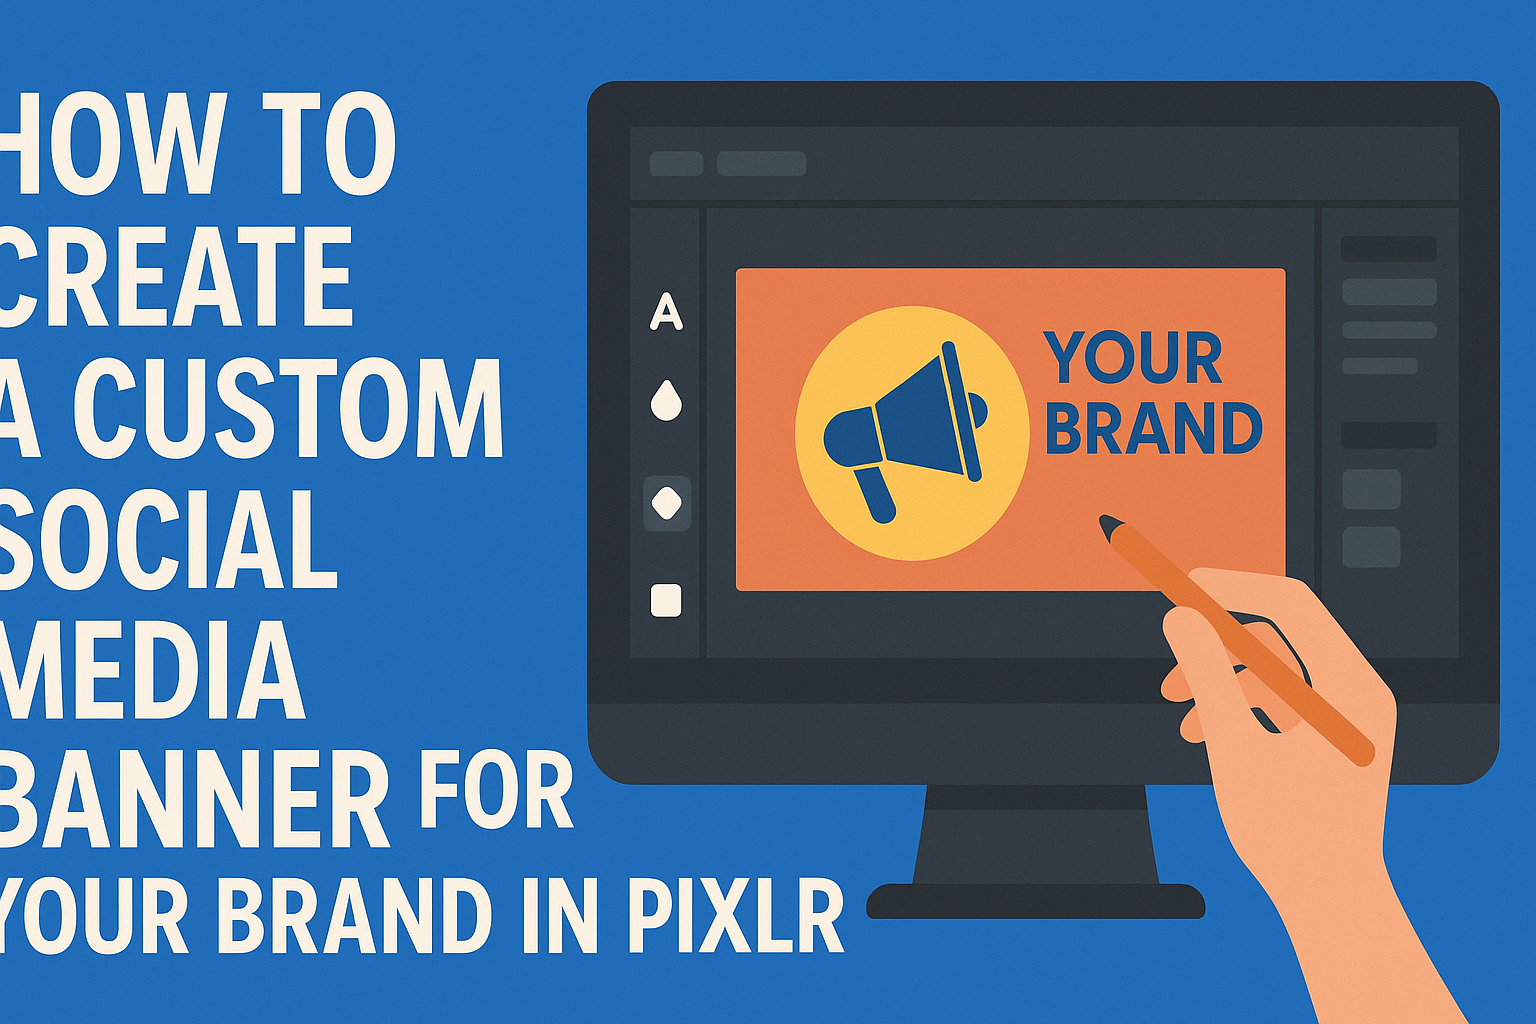
Creating a custom social media banner can greatly enhance a brand’s online presence. Using Pixlr, anyone can design eye-catching banners that reflect their brand’s identity and attract more followers.
This guide will walk through the steps needed to make a unique banner that stands out on social media platforms.
With a range of tools and templates, Pixlr makes it simple for users to create professional-quality designs. Whether one is a beginner or has some design experience, they can easily navigate the features to bring their vision to life.
This article will explore practical tips and tricks to create a banner that aligns perfectly with your brand’s message.
By following the right steps, anyone can create stunning social media graphics that capture attention. This post offers a straightforward approach to making a banner that not only looks great but also promotes the brand effectively.
Prepare to take the first step toward an impressive online presence with a custom banner designed in Pixlr!
Getting Started with Pixlr
Starting with Pixlr can be exciting for anyone looking to create stunning social media banners. Understanding the interface, setting up the workspace, and choosing the correct canvas size are essential steps that help users get the most out of their design experience.
Understanding Pixlr’s Interface
Pixlr has an intuitive interface that makes it accessible for beginners. The main menu is located at the top, featuring options like File, Edit, and Layers.
This layout allows users to quickly access tools and options.
On the left side, you’ll find the toolbar with essential tools like the selection tool, brush, and text options. Each tool has specific functions, allowing for detailed editing and design.
The right side of the screen displays the layers panel. Users can manage their layers easily, ensuring designs are organized and changes can be made without starting over.
Familiarizing themselves with these elements will allow users to navigate Pixlr effectively.
Setting Up Your Workspace
Setting up a workspace tailored to individual preferences can enhance the design process. Users can choose to open a new project or utilize a template. Templates are great for those who want a head start.
Pixlr allows users to customize their workspace by dragging panels to preferred locations. This flexibility helps creators focus on their work without distractions.
Users can also zoom in and out of their canvases to get a clearer view of both details and overall layout.
Remember to save your workspace setup. This way, users can return to a familiar layout each time they log in, making for a smoother experience.
Choosing the Right Canvas Size
Selecting the right canvas size is critical for creating effective social media banners. Each platform has its recommended dimensions. For instance, a Facebook cover photo is typically 820 x 312 pixels.
In Pixlr, users can easily set the canvas size before starting a project. The option to clear the background layer or use a transparent canvas is available too. This choice is ideal for those who want to create banners without any unwanted background elements.
To ensure that the size fits the platform, it is wise to double-check the specific requirements of each social media site. This step avoids issues when uploading the final design.
Designing Your Banner
Creating a custom banner involves several key elements. A well-designed banner showcases the brand’s identity and speaks to its audience. Here are some important steps to make an eye-catching social media banner.
Selecting a Template or Starting from Scratch
Choosing a template can save time and provide inspiration. Pixlr offers a variety of templates tailored for different platforms, such as Facebook, Instagram, and Twitter.
To select a template:
- Browse through the categories.
- Pick one that matches the message or theme.
If a user prefers a unique design, they can start from scratch. This option allows for complete control over the layout and graphics. The canvas can be adjusted to the right dimensions for each social media platform.
Incorporating Your Brand’s Color Scheme
Using the brand’s colors is crucial in maintaining consistency. Colors evoke emotions and help in brand recognition.
Here are tips for using color effectively:
- Choose a primary color that reflects the brand’s personality.
- Add accent colors for contrast and to highlight important elements.
To incorporate colors in Pixlr, users can access the color palette and easily apply them to backgrounds, texts, and shapes. A well-planned color scheme enhances the visual appeal of the banner.
Adding Text and Typography Best Practices
Text is essential in conveying the message. Choosing the right font makes a significant impact on readability and overall aesthetics.
Best practices include:
- Keep it simple: Use easy-to-read fonts for clarity.
- Limit font styles: Stick to two or three complementary fonts.
Text should be strategically placed to catch attention. Using bold for headlines and lighter weights for supporting information can improve flow. Users can adjust font size and spacing in Pixlr for optimal readability.
Using Layers for Advanced Composition
Layers help in organizing various design elements. They allow users to edit individual components without affecting the whole design.
To use layers effectively:
- Create separate layers for text, images, and shapes.
- Name layers for easier navigation.
Pixlr enables users to manipulate layers by positioning, resizing, or hiding them. This flexibility allows for a more dynamic design. Keeping elements organized within layers leads to a polished final product.
Finalizing and Exporting
Finishing touches on a social media banner can significantly enhance its appeal. Properly exporting the design ensures it looks fantastic across various platforms. Attention to detail during this process leads to a professional look.
Applying Final Edits and Touch-ups
Before exporting, it’s essential to make any final edits. This could include adjusting colors, correcting text alignment, or fine-tuning images.
Using Pixlr, the user can zoom in to spot any imperfections. They should pay special attention to text contrast and readability. Adding subtle elements like shadows or outlines can enhance visibility and appeal.
Once satisfied with the design, the user can apply filters or effects to give a polished look. Small tweaks can make a big difference. Always preview the banner to ensure it meets expectations.
Saving Your Design in Different Formats
Saving the banner in the correct format is crucial for quality. Pixlr allows users to choose from various formats like PNG, JPEG, and more.
- PNG: Ideal for images with transparency or when high quality is needed.
- JPEG: Best for photos but may lose some quality due to compression.
To save, the user should select “File” and then “Export.” From there, they can choose the desired format and adjust the quality settings if necessary. Keeping a high-resolution version is wise for future edits or uses.
Optimizing Banner for Various Social Media Platforms
Different platforms have specific size requirements.
Optimizing the banner ensures it displays correctly on each one.
Here are some common sizes to consider:
- Facebook: 820 x 312 pixels
- Twitter: 1500 x 500 pixels
- LinkedIn: 1584 x 396 pixels
Before exporting, the user can resize the banner using Pixlr’s “Crop” tool specific to each platform.
This way, the proportion and layout remain intact.
Testing how the banner appears on the platforms before finalizing is a good practice.