Creating eye-catching Instagram posts is key to standing out in a crowded space.
One effective way to design a unique Instagram post is by using Pixlr. Pixlr is a user-friendly tool that offers a variety of templates and customization options. With its features, anyone can craft stunning posts that reflect their personal style or brand identity.
Many people feel overwhelmed by graphic design, but Pixlr simplifies the process. It allows users to play with colors, fonts, and layouts effortlessly. This makes it easy for anyone to express their creativity and engage their audience.
Getting started with Pixlr is quick and simple, making it accessible for beginners. As they explore the platform, users can discover tips and tricks to elevate their designs further.
Essentials of Pixlr Interface
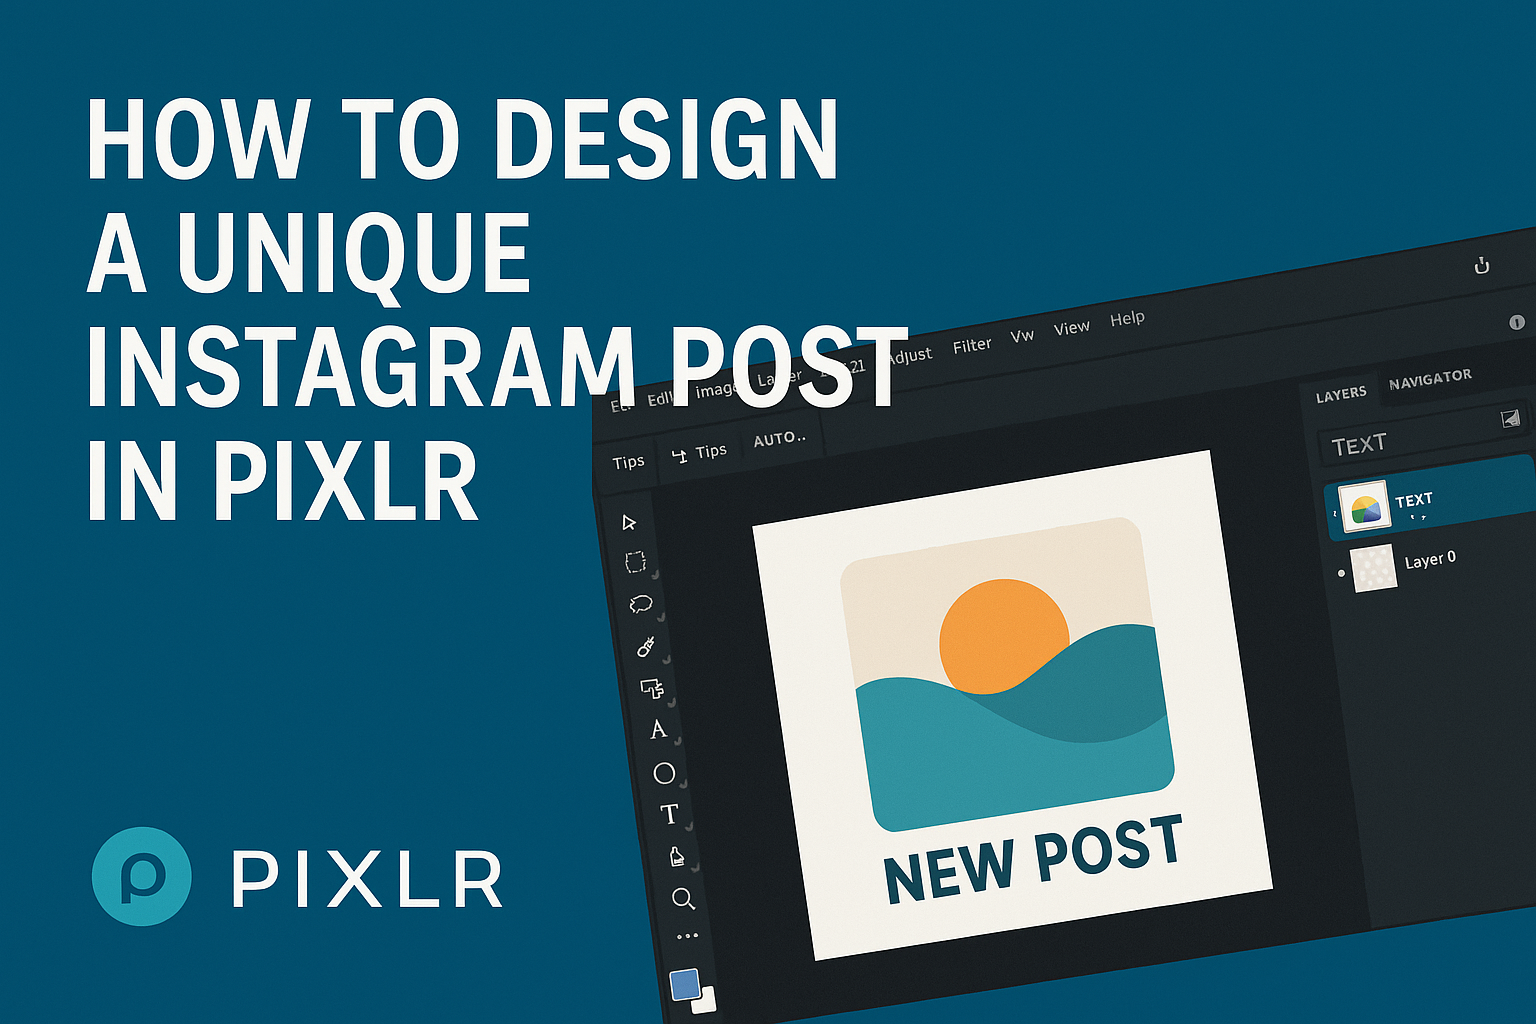
Getting familiar with the Pixlr interface is essential for creating unique Instagram posts. Navigating the dashboard and understanding the tools available can make the design process smooth and enjoyable.
Navigating the Dashboard
The dashboard of Pixlr is user-friendly and designed for quick access to various features. When users first log in, they will see options for creating new projects or opening existing files.
On the left side, the navigation bar includes icons for accessing templates, images, and recent projects. The main canvas appears in the center, where users can design their posts.
Additionally, they can save their designs using the “Save” button located in the upper right corner. Familiarizing oneself with these elements allows for an efficient design experience.
Tools and Features Overview
Pixlr offers a wide range of tools to enhance creativity. Users can find basic tools such as brush, eraser, and selection options. Each tool has adjustable settings to fine-tune preferences.
Layers allow users to add depth to their designs. By managing layers, one can position elements effectively.
Moreover, Pixlr provides a variety of filters and effects to enhance photos. Users can easily apply these by selecting images and choosing from the available options on the right panel.
Understanding these tools and features empowers users to craft stunning and personalized Instagram posts effortlessly.
Creating Your Instagram Post
When designing an Instagram post in Pixlr, it’s essential to focus on key aspects like canvas size, background selection, and layering elements. Each part contributes to the overall appeal and effectiveness of the post.
Choosing the Right Canvas Size
Selecting the correct canvas size sets the foundation for a great Instagram post. The recommended dimensions for a standard Instagram post are 1080 x 1080 pixels for square images, 1080 x 1350 pixels for portrait, and 1080 x 566 pixels for landscape.
These sizes ensure that the images display sharply on various devices. To set the canvas size in Pixlr, start by choosing “New” and entering the desired pixel dimensions. It’s important to maintain high resolution to make the content look professional and eye-catching.
Selecting a Background
A compelling background can make or break the design of an Instagram post. Pixlr offers various options, from solid colors to stunning images. Users can choose a color that matches their brand or select a high-quality image that adds depth.
It’s also helpful to consider the mood of the post. A bright color can convey energy, while a muted tone can suggest calmness. Make sure the background complements the main message or elements of the post.
Layering Elements
Layering is key to adding richness and complexity to an Instagram post. Users can easily add text, images, and shapes in separate layers to create a cohesive design.
By using the “Layers” feature in Pixlr, they can adjust opacity and blend modes for more dynamic effects.
Positioning is crucial; important elements should be prominent, while secondary details can be more subtle. This technique not only enhances visual appeal but also allows flexibility in adjusting the layout as the design process progresses. Each layer can be edited independently, ensuring that the final result is polished and engaging.
Customizing Your Design
Customizing an Instagram post in Pixlr allows for a unique expression of creativity. Users can enhance their designs through filters and effects, add compelling text, and incorporate fun graphics or stickers.
Applying Filters and Effects
Filters and effects can dramatically change the look of an image. Pixlr offers a variety of options to refine the mood and style. Users can adjust brightness, contrast, and saturation to enhance the image quality.
To apply a filter, users can select the “Filter” menu. From there, they can choose from numerous preset filters that instantly alter the appearance. It’s important to preview changes to ensure the filter aligns with the overall theme.
Using effects like blurs or textures can add depth. Users should experiment with different effects and layering to find a unique combination that stands out on Instagram.
Adding Text and Typography
Text plays a key role in conveying messages. Pixlr provides various fonts and text styles that can complement the visuals.
When adding text, users should consider font size, color, and position for best visibility.
To start, select the “Text” tool from the menu. It allows for easy customization, such as adjusting the font style and adding shadows or outlines. Users can also change the text color to match their design.
Keeping text concise is crucial. A short, catchy phrase can grab attention quickly. Choosing font styles that reflect the brand or personal style will enhance engagement with followers.
Incorporating Graphics and Stickers
Graphics and stickers can add fun and personality. Pixlr includes a variety of built-in options, such as icons and emojis, that can enhance any post. These elements should complement the main design without overcrowding it.
Users can easily access the graphics library. Simply search for specific themes or categories that align with the post’s message. Drag and drop features make it easy to position these additions.
Layering graphics is a smart way to create depth. Adjusting the size and opacity can help blend graphics seamlessly into the design. This technique gives a polished look that attracts viewers on Instagram.
Finalizing and Exporting
Once the design is complete, it’s time to finalize the work by adjusting the resolution and quality, followed by saving and sharing the post. These steps ensure that the final image looks great and is ready for social media.
Adjusting Resolution and Quality
Before exporting, it’s crucial to set the right resolution. A resolution of 1080 x 1080 pixels is ideal for Instagram posts. This size ensures that images are sharp and clear on all devices.
To check the resolution in Pixlr, go to the Image menu and select Image Size. Here, users can input the preferred dimensions.
Next, adjust the quality settings. When saving the image, choose between formats like JPEG or PNG. JPEG often provides a smaller file size but with some quality loss, while PNG maintains quality but results in a larger file size.
Saving and Sharing Your Post
After adjusting the resolution and quality, it’s time to save the design. Click on File and then Save.
Users can select the file format and quality from the options provided. Choosing High Quality ensures the best appearance when uploaded on Instagram.
Once the image is saved, it can be easily shared. Users can upload directly from their device or transfer it through cloud services. This allows for convenient postings on Instagram and ensures that the creative work reaches the intended audience seamlessly.