Canva is a popular tool for design, and many users rely on its toolbar for easy access to features.
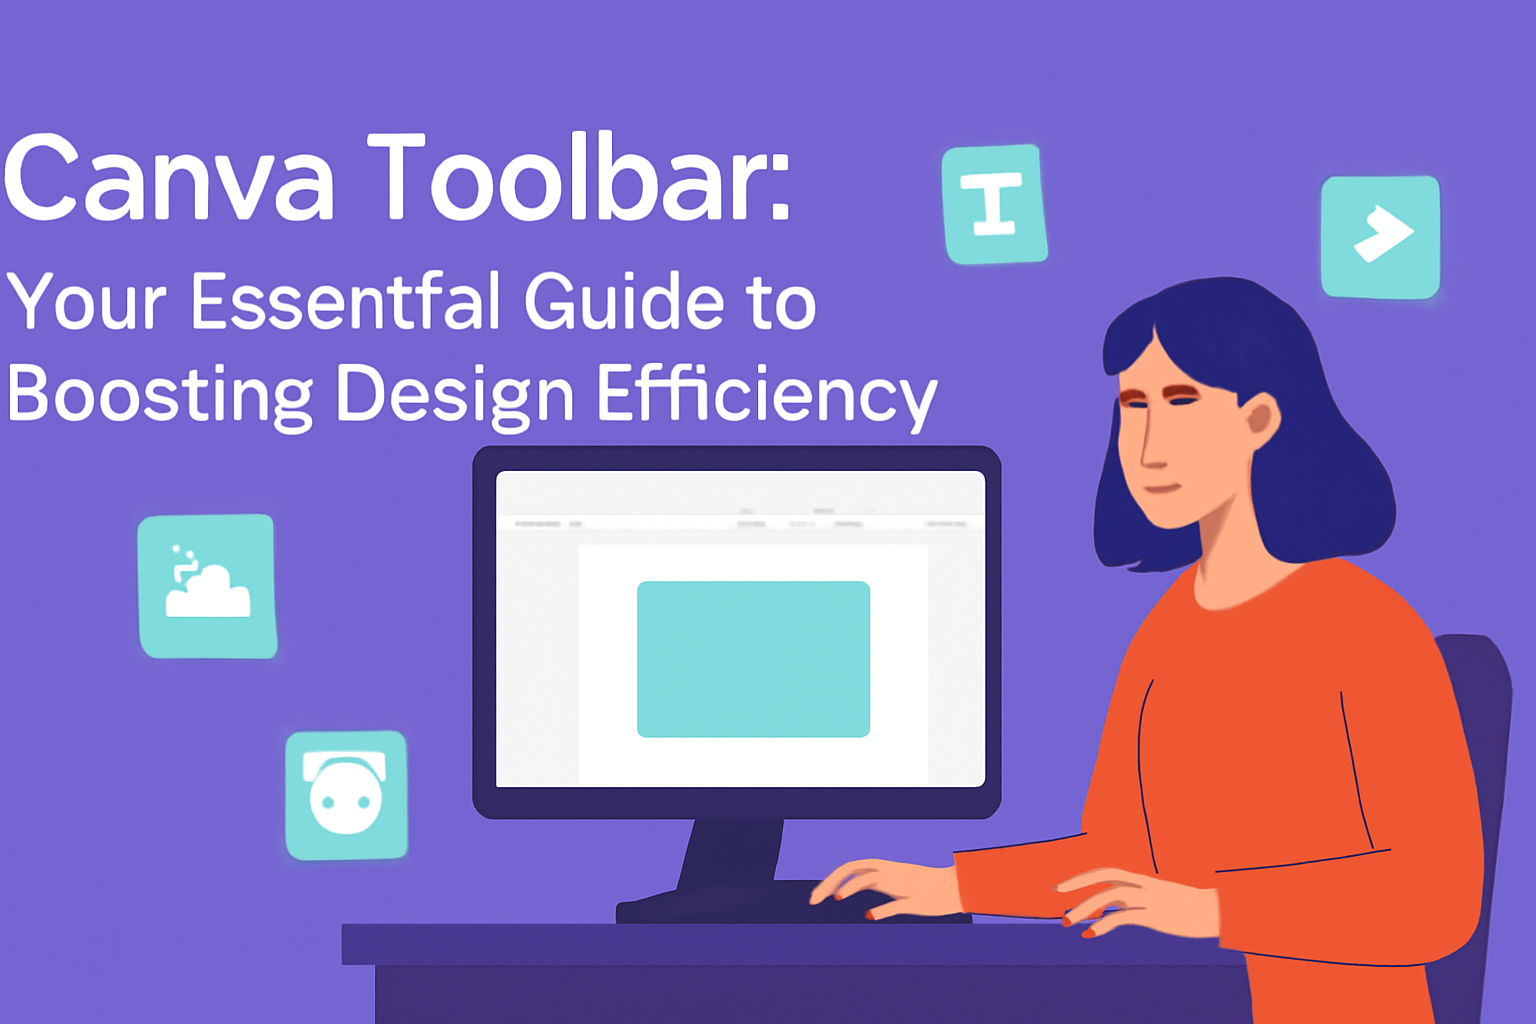
The Canva toolbar is found at the top of the editor, providing essential tools for design tasks.
Whether creating social media posts or presentations, knowing how to navigate this toolbar can make a big difference in the design process.
If someone has experienced the toolbar disappearing, there are simple solutions to restore it. Learning these quick fixes can help users save time and frustration while working on their projects.
Exploring the features of the Canva toolbar empowers users to create designs more efficiently and creatively.
Understanding the toolbar’s layout and functions can also enhance design capabilities.
From adding text to customizing colors, the toolbar serves as a gateway to unlocking an array of design tools that complement the user’s creativity.
Getting Started with Canva
Canva is a user-friendly design platform that makes creating visuals easy and fun. To make the most of Canva, it is important to know how to start a new design, navigate the interface, and access the toolbar.
Creating a New Design
To begin creating, a user first needs to sign in or create a Canva account.
Once logged in, the home screen shows various templates and design types. Users can select from options like social media posts, presentations, or flyers.
Clicking on the “Create a design” button will open a dropdown menu.
Users can choose a custom size or pick a predefined template. For custom sizes, entering the desired dimensions is simple.
Once selected, clicking “Create new design” takes them to the editing area. Here, they can start designing with various tools and resources available.
Understanding the Canva Interface
The Canva interface is designed to be intuitive.
On the left side, users find a menu that includes templates, elements, uploads, and more. This layout helps users locate design tools quickly.
At the top of the screen, the toolbar provides options for editing. This includes options to change font styles, colors, and alignments. Users can also easily see their project name and save their work.
Familiarity with this layout allows users to design more efficiently.
Accessing the Toolbar
The toolbar is a crucial part of designing in Canva. It appears at the top of the screen and contains essential tools.
Users can find buttons for text editing, image adjustments, and element arrangement.
Key features include the ability to add text, change background colors, and insert images. The toolbar also includes options for layering elements, which is important for good design.
By using the toolbar effectively, users can enhance their creations with little effort.
The Text Tools
Canva provides various text tools that help users add and format text easily in their designs. This section will focus on how to add text, select fonts, and adjust text alignment and spacing.
Adding Text to Your Design
To start adding text, he/she/they can use the Text tool from the toolbar. Clicking this opens a menu with several options, including preset text styles and font choices.
Users can insert a text box simply by selecting a style or dragging it onto the project.
Once the text box is in place, he/she/they can type directly into it. To duplicate text, select the box, and use the duplicate option in the floating toolbar or the keyboard shortcuts: Cmd + C (Mac) or Ctrl + C (Windows) to copy, and Cmd + V (Mac) or Ctrl + V (Windows) to paste.
Font Selection and Formatting
Choosing the right font adds personality to designs. Canva offers a wide range of fonts.
After selecting a text box, the toolbar appears above the editor, allowing users to scroll through font options and styles.
Users may also adjust font size, color, and effects, such as bold or italic.
He/she/they can click on the settings within the toolbar to change properties as needed. This ease of formatting ensures that the text fits well with the overall design.
Text Alignment and Spacing
Alignment and spacing are vital for creating clear texts.
Users can adjust the alignment of their text to the left, center, or right using the toolbar options. This helps in organizing the layout effectively.
Spacing adjustments, like line height and letter spacing, can significantly impact readability. Users can find these settings in the same toolbar, making it easy to fine-tune the design.
A well-aligned text box looks professional and enhances the visual appeal of the project.
Graphic Elements
Graphic elements in Canva allow users to enhance their designs with various shapes, icons, and frames. These tools are essential for creating visually appealing projects that catch the eye.
Adding Shapes and Lines
To add shapes and lines in Canva, users can navigate to the “Elements” tab. Here, they will find a variety of options like rectangles, circles, triangles, and lines.
Clicking on a shape adds it to the design, and resizing is easy with the corner handles.
Users can change colors, adjust the transparency, and layer shapes to create unique designs. Selecting multiple shapes at once helps in grouping them for more straightforward adjustments.
Grouped elements can be moved or resized together for better layout control.
Shapes and lines are perfect for creating backgrounds, framing text, or dividing sections of a design. This versatility makes them essential tools for any Canva project.
Utilizing Icons and Stickers
Icons and stickers add flair to designs. Canva offers a vast library of these graphic elements that can enhance any project. To find them, users can search within the “Elements” tab.
Once an icon or sticker is selected, it can be resized, rotated, and colored to match the project’s theme. They are excellent for drawing attention to specific points or adding a playful touch.
Using stickers can also help convey messages quickly. For example, adding a coffee cup icon can quickly represent a coffee shop. Such graphics can make information clear and engaging while maintaining a fun visual style.
Inserting Frames and Grids
Frames and grids are great for structuring designs within Canva. Users can find various frames in the “Elements” section, which can hold photos or artwork in specific shapes.
By dragging and dropping an image into a frame, it automatically fits the shape.
Grids allow for easy organization of multiple images. They help create clean layouts, especially in collages or presentations.
Users can select from different grid sizes, making it simple to adjust spacing and alignment.
These tools help keep designs tidy and visually balanced. With frames and grids, users can focus on creativity without worrying about the arrangement.
Image Manipulation
Image manipulation in Canva allows users to easily enhance and customize their photos. With a few simple steps, they can upload images, adjust settings, and apply filters to achieve their desired look.
Uploading Your Images
To start manipulating images in Canva, users first need to upload their desired photos. This can be done by clicking on the “Uploads” tab located on the left side panel.
From there, they can either drag and drop photos from their computer or click on the “Upload an image” button.
Users can also import images directly from cloud storage services like Google Drive or Dropbox. After uploading, images will appear in the Uploads folder, ready for use.
It’s a straightforward process that opens the door to creativity.
Adjusting Image Settings
Once images are uploaded, users can adjust various settings to enhance their photos. By selecting an image, a menu appears that allows for changes in brightness, contrast, and saturation.
To access these options, they should click on the image and choose the “Edit image” option. Here, sliders can be adjusted to see real-time changes.
Users can also resize and crop images to fit their design needs, ensuring that the focus remains on what’s important.
Applying Filters and Effects
Canva offers a variety of filters and effects that can be applied to images for a unique touch. After selecting an image, users can access the “Effects” menu on the left side.
They can scroll through options such as Duotone, which adds a stylish color overlay, or Shadows, which creates depth.
Each effect can be customized using intensity sliders, allowing users to control how prominently each effect appears.
This flexibility enables anyone to personalize their images effectively.
Color and Background Options
This section covers important features for managing colors and backgrounds in Canva. Knowing how to choose background colors, add textures, and adjust transparency can enhance a design significantly.
Choosing Background Colors
To choose a background color, the user can select the canvas or artboard. This action highlights the entire design area.
By clicking the background color button in the toolbar, options will pop up, allowing users to see a color palette.
Users can pick a solid color or apply gradients. If a specific color is desired, the Add a new color option lets them enter custom color codes. For those who like consistency, previously used colors and saved palettes are also easy to access.
Adding Background Textures or Images
Adding textures or images can spice up the background of any design. Users can click on the Background tab located in the editor’s side panel. This opens up various options, including images, patterns, and textures.
To add a texture, simply choose from the available styles. Alternatively, users can upload their own images.
After selecting an image, they can drag it to cover the desired area. Make sure to check alignment to ensure the background looks great!
Transparency Settings
Transparency settings offer even more customization. Users can select an element or background, then locate the transparency slider in the toolbar.
Adjusting this slider changes the opacity of the selected area.
Setting transparency can create layered effects. For instance, a light image can be blended with text above. This technique can add depth and contrast, making designs visually appealing and easier to read.
Adjusting transparency is especially useful when layering multiple elements.
Layout and Arrangement
Proper layout and arrangement are essential for creating effective designs in Canva. They help users build visually appealing projects while ensuring elements are positioned harmoniously. By using templates, aligning elements, and utilizing grids, designers can enhance their work significantly.
Working with Templates
Canva offers a variety of templates that can help users kickstart their projects. These templates come with pre-set layouts that can be easily customized.
Users can choose from different categories like presentations, social media posts, and flyers.
Once a template is selected, design elements such as images and text can be replaced or modified. This saves time and ensures a professional look without starting from scratch.
When using templates, it’s important to maintain brand consistency. Users should keep in mind color schemes, fonts, and style guidelines to make their designs cohesive.
Aligning and Positioning Elements
Alignment plays a crucial role in the arrangement of design elements. Canva offers tools that allow users to align objects easily.
When selecting multiple elements, a user can use alignment options to center, left-align, or right-align them. This ensures that spacing is even and the overall look is tidy.
Another helpful feature is the “Position” button that provides options to bring elements forward or backward in the layering order.
With these tools, designers can effectively position text, images, and shapes, leading to a more polished appearance.
Using Grids for Consistency
Grids are a powerful tool in Canva that help maintain consistency throughout a design. They create a structured framework, making it easier to align and size elements accurately.
By applying a grid, users can quickly find the perfect spot for each component. This reduces the chances of misalignment or uneven spacing.
Canva also offers grid templates that can be customized to fit the project.
Using grids ensures that designs are neat and visually appealing, giving a professional touch to any project.
Advanced Tools
Canva offers several advanced tools that help users create stunning designs. These features enhance workflow, improve collaboration, and allow for customization, making design easier and more effective.
Animating Your Designs
Animators can take their creations to the next level with Canva’s animation tools. Users can apply animations to text and images with just a few clicks.
This feature allows for elements to fade, slide, or pop, capturing the viewer’s attention.
To animate, a user selects the element, then clicks on the “Animate” button above the editor. From there, they can choose different effects and adjust the timing.
This can be great for presentations and social media graphics, making content more engaging.
Customizable Brand Kits
Brand Kits in Canva let users create a consistent look for their projects. This is especially useful for businesses that want to maintain their brand identity.
By creating a Brand Kit, users can save colors, fonts, and logos. This makes it quick and easy to apply these elements across all designs.
Team members can access the same kit, ensuring brand consistency. Users can upload logos and set brand colors using a simple interface.
Collaboration Features
Collaboration tools in Canva make it easy for teams to work together. Users can invite others to edit designs, comment, and share feedback in real-time.
With features like version history, team members can track changes and revert if needed. Canva also allows sharing designs via links or directly through email.
This means everyone stays on the same page, which improves productivity and creativity. Users can create and adjust designs together, no matter where they are.
Saving and Sharing
Saving and sharing designs in Canva are straightforward processes. Users can easily download their creations, share them directly on social media, or prepare them for printing. Each option has specific steps to ensure a smooth experience.
Downloading Your Designs
To download a design, users can click on the Download button located in the top right corner of the editor. Canva offers several file formats to choose from.
Options include PNG, JPG, PDF, and GIF.
- For images: PNG or JPG formats work best.
- For printing: PDF Print is recommended.
Users can also choose to download their designs with a transparent background if needed. To do this, select the option before downloading.
If a user wishes to keep elements editable, they should consider exporting as an editable PDF.
Sharing on Social Media
Canva allows users to share designs directly to social media platforms. After creating a design, they can click the Share button in the upper menu.
From there, users can select their preferred platform such as Facebook, Twitter, or Instagram. They simply enter any required information, such as captions or tags.
It’s also possible to share a link by choosing the Copy Link option. This allows others to view the design without needing a Canva account.
Users can adjust permissions to allow others to edit or comment.
Printing Options
For those looking to print their designs, Canva provides various options.
Users can download designs in high-quality PDF format specifically for printing. After selecting Download, they should choose PDF Print for the best results.
Users can also customize their print settings, like bleed and crop marks.
In addition, Canva offers printing services.
Users can have their designs printed and shipped directly to them. This service is convenient for posters, flyers, or any physical materials.