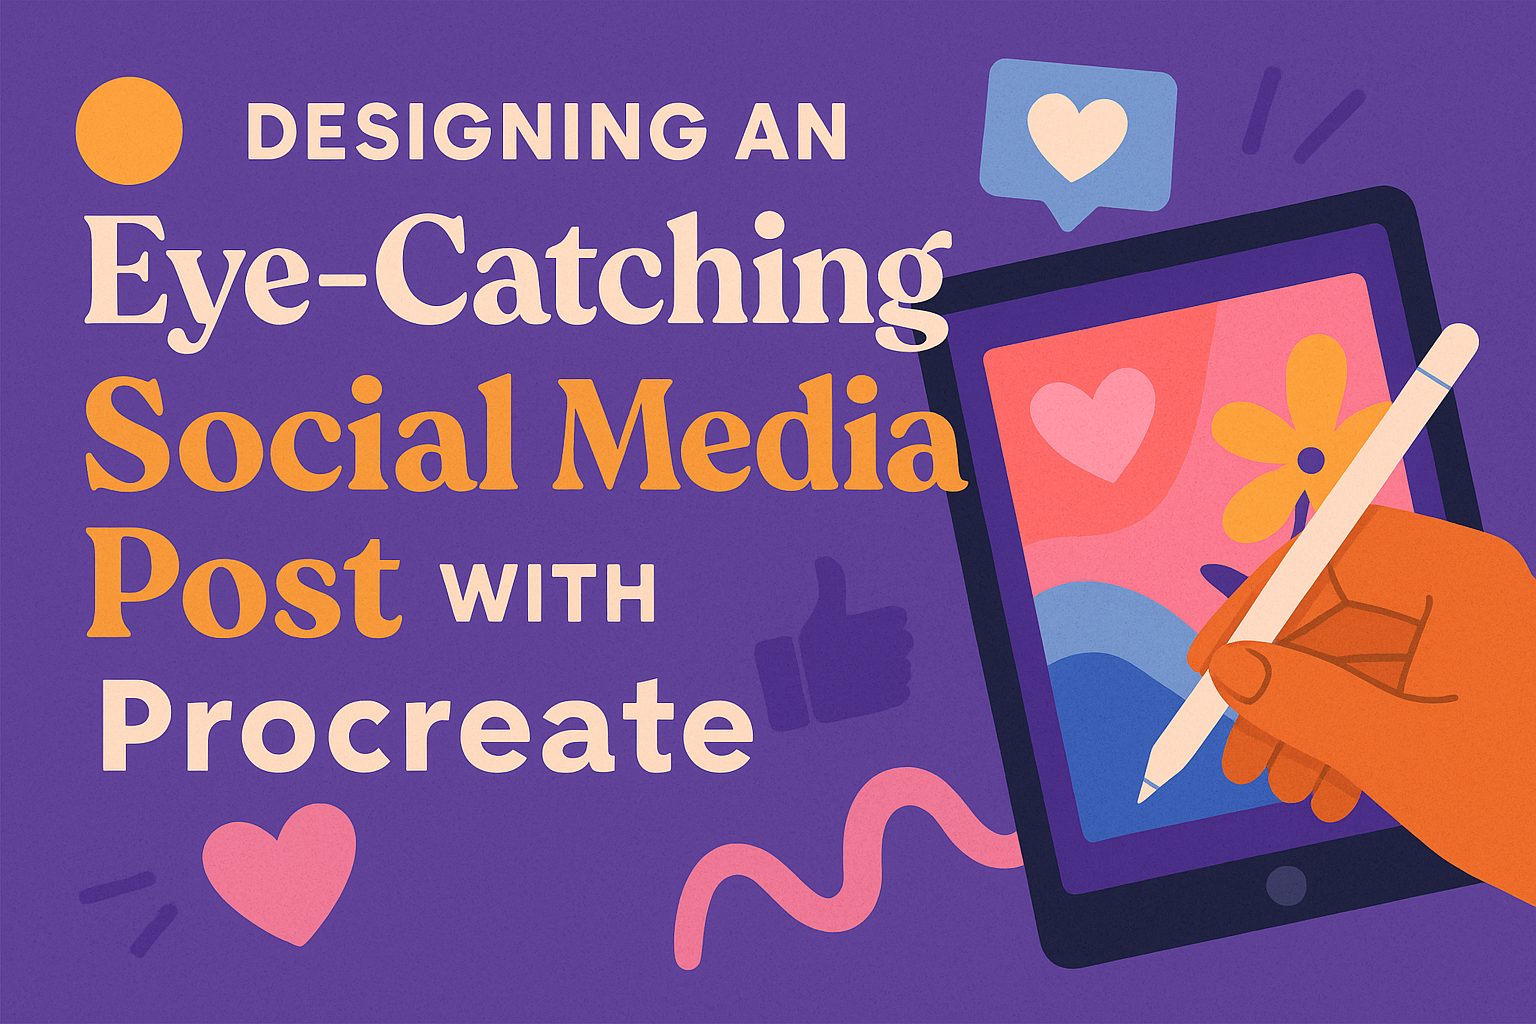
Creating striking social media content is essential for standing out in a crowded digital space. With the right tools, anyone can produce professional-quality designs that grab attention. Procreate is the perfect tool for crafting engaging and visually appealing social media posts.
Procreate offers a range of powerful design features that are easy to use, making it ideal for both beginners and experienced designers. By understanding how to effectively set up canvases and utilize design tools in Procreate, anyone can transform their creative ideas into vivid social media visuals.
Those eager to explore creative possibilities will find Procreate tutorials invaluable. These guides teach users to select the right color palettes and craft dynamic posts, turning ordinary images into captivating showcases.
Getting Started with Procreate
Getting the hang of Procreate is essential for creating engaging social media graphics. This part focuses on key elements like understanding the app’s layout, setting up a new project, and how to find your work in the app.
Understanding the Interface
Understanding the Procreate interface is crucial for maximizing productivity. Procreate’s design is intuitive with a focus on creativity. On the screen’s top, users will find the toolbar which provides quick access to tools like brushes, layers, and adjustments.
Each tool serves a unique purpose. For instance, the Brush tool allows for various strokes while the Layer tool helps in managing different elements separately. Familiarizing oneself with these tools enables the creation of detailed artworks.
There is a visual navigation bar that helps users move around. Becoming comfortable with these elements streamlines the design process.
Setting Up Your Canvas
Choosing the right canvas size is important for your design goals. Procreate allows users to customize canvas dimensions, resolution, and color profiles. Start by tapping the “+” in the gallery to open a menu and select a preset or create a custom size.
Users can set the canvas size based on the platform. For instance, standard Instagram posts are 1080×1080 pixels. Adjust the DPI (dots per inch) for better quality. A higher DPI means more detail but takes more memory.
Once the canvas is set, tools like background color are easily accessed. Selecting a suitable canvas setup ensures your design looks its best.
Navigating the Gallery
The Procreate gallery is where projects live. Users can organize their work and find past projects here. The top section shows the most recent works, making it easy to pick up where they left off.
Projects can be organized into stacks, similar to folders, for better management. Creating a stack involves dragging one project over another. Naming stacks helps keep track of different projects.
Additionally, users can import photos or other art pieces directly into the gallery. A well-organized gallery ensures that designers spend less time searching and more time creating.
Basics of Design Theory
Creating an engaging social media post involves understanding key elements of design. These include how colors influence emotions, the importance of font choices, and how to arrange elements visually.
Color Psychology
Colors impact emotions and can change the way a person feels about a design. Warm colors like red and orange can evoke energy and excitement, while cool colors like blue and green are calming and soothing. Designers should choose colors that reflect the brand’s message and purpose. For social media posts, it’s helpful to use a color wheel to find complementary colors that enhance each other. Consistency can build brand recognition, so sticking to a specific palette is recommended. Designers may use bright colors for calls to action or to draw attention to specific elements.
Typography Essentials
Typography plays a crucial role in readability and mood. The right font can make a message clear and inviting. Serif fonts might give a classic look, while sans-serif fonts often feel modern and clean. It’s important to choose fonts that are easy to read, especially on smaller screens. Using a limited number of fonts helps the design stay clean and professional. Mixing font styles, such as bold for headings and regular for body text, can create contrast and hierarchy. Alignment and spacing are key to keeping text easy to follow.
Composition and Layout
A well-balanced layout draws the eye naturally to the most important parts of the post. Designers use grids to help align elements and create a sense of order. The rule of thirds is a common technique where the canvas is divided into a 3×3 grid, and focal points are placed at intersections. White space allows the design to breathe, improving how the viewer processes information. Grouping related items together can guide the viewer’s attention, while symmetry and asymmetry create different effects depending on the desired tone. Consistency in layout translates to a recognizable brand style and can make social media posts more appealing.
Creating Your Artwork
Creating artwork in Procreate involves making choices about brushes, layers, blending modes, and selection tools. These aspects are key to producing a polished and captivating social media post.
Choosing the Right Brushes
Selecting the right brush in Procreate is essential to achieve the desired texture and effect. The app offers a wide variety, including pencils, inks, and artistic brushes.
Users look for brushes that suit the style of their artwork. For textured effects, they might choose a watercolor or charcoal brush. For cleaner lines, a fine-tipped ink brush could be perfect.
Experiment with the Brush Library to find what works best. Custom brushes are also an option for those who want to tailor their tools to specific needs. This flexibility allows artists to enhance their creative vision.
Layers and Blending Modes
Layers are a powerful feature in Procreate that help artists organize and separate elements of their design. Each new layer can hold a different part of the artwork, such as the background, main subject, or text. This structure makes it easier to edit individual components without affecting others.
Blending modes are equally important. They change how layers interact with one another. Options like Multiply, Overlay, and Soft Light can add depth and interest to designs. These techniques can make artwork look more dynamic and professional.
Artists frequently use blending modes to achieve realistic shading and color effects. They enable users to experiment and adapt their art with subtle adjustments.
Using the Selection and Transform Tools
The selection tools in Procreate allow artists to isolate parts of their work for detailed edits. After selecting an area, they can transform, move, rotate, or resize specific elements. This precision is useful for adjusting proportions or altering the arrangement of components within a composition.
Selecting tools such as the Freehand and Rectangular selections give flexibility in defining areas to edit. Paired with the Transform tools, which offer scaling, distortion, and more, they provide powerful options to refine artwork.
Together, these tools enable artists to fine-tune their creations, ensuring every detail is perfect before finalizing their social media design.
Incorporating Text Elements
In Procreate, adding and styling text can enhance the visual impact of your social media posts. Focusing on elements like placement, font choice, and special effects makes your text stand out and contribute to the overall design.
Adding Text to Your Design
To start adding text, open your Procreate canvas and select the wrench icon to access the Actions menu. From there, choose Add, then select Add Text. This creates a new text layer where you can type your content.
Proper placement is key. Consider centering the text or aligning it with other visual elements. Think about the message you want to convey and how text placement can support this. Procreate offers a grid option to help align text accurately.
Make sure your text is clear and readable. Avoid cluttering the space with too many words. If you have a longer message, think about using bullet points or breaking it into smaller sections. This helps maintain the viewer’s interest and delivers the message effectively.
Styling Your Text
Styling involves selecting fonts, colors, and sizes that complement your design. Procreate allows you to choose from a variety of fonts. Tap on the text layer, and a range of font options will appear.
Pick a font that matches the tone of your post. For a playful design, you might choose a casual script. For something more formal, a clean sans-serif could work well. Adjusting the size is simple; just pinch or expand the text box to your desired size.
Color adds another layer of style. Choose a color that contrasts with the background to make your text pop. Procreate’s color wheel lets you experiment with different shades. You can even select colors directly from your existing design for a cohesive look.
Creating Text Effects
Text effects are a powerful way to grab attention. Procreate offers different effects like shadows, outlines, and gradients.
By applying a shadow, text can have a 3D appearance. To add a shadow, duplicate your text layer, choose a darker color, and offset it slightly behind the original.
Outlines can also make text stand out. Use the selection tool to outline text and fill it with a contrasting color. Text gradients can add a vibrant effect. Use the Gradient Map found in the Adjustments menu to apply a smooth color transition.
Experimenting with these effects can lead to unique and eye-catching designs that enhance your social media posts.
Enhancing Visuals with Effects
Using effects in Procreate can transform your social media posts from simple to extraordinary. By applying adjustments, adding textures, and using advanced drawing techniques, designs can become more engaging and professional. These enhancements help your posts stand out and attract more attention.
Applying Adjustments and Filters
In Procreate, adjustments and filters let users alter colors, brightness, and contrast. These adjustments can add depth and drama to any design. The Curves tool is a powerful way to change the mood of an image by tweaking the light and dark areas.
Filters such as Gaussian Blur smooth out harsh edges and create a sense of movement. Another favorite is the Noise filter, which adds a textured or vintage feel.
Experimenting with blend modes can also produce unique effects, influencing how colors merge and interact in your artwork.
Pro tip: Use filters sparingly. Too many adjustments can overwhelm the design and make it less effective.
Adding Textures and Patterns
Textures and patterns give designs a tactile quality, making them feel more real. Procreate’s brush library offers a variety of options that mimic real-world materials, from watercolor to charcoal. These brushes help create backgrounds or highlight specific elements in a design.
To make your posts more cohesive, use consistent patterns throughout the artwork. Textured overlays, like fabric or stone, add depth without being overpowering. Consider merging multiple textures for a layered effect, which can give your overall image dimension and richness.
Additionally, creating custom patterns or importing them can provide a unique signature style to all your social media posts.
Drawing with Advanced Techniques
Mastering advanced techniques in Procreate can elevate your designs. Techniques like layer masking allow parts of a layer to be hidden, offering more control over designs without permanent changes. This method is useful for complex illustrations where precision is key.
Symmetry tools make creating balanced and beautiful designs easier by mirroring strokes. Used for mandalas or mirrored images, this feature saves time while maintaining accuracy.
Dynamic pencils and inking brushes assist in adding intricate details. These tools offer diverse line textures, enhancing the quality of illustrations. The right brush adds personality to artwork, ensuring every post is unique and eye-catching.
Optimizing for Social Media Platforms
When designing a social media post, consider platform-specific requirements like image sizes and the export process. Following best practices ensures your creations are engaging across different platforms.
Social Media Image Sizes
Each social media platform has specific image size requirements. For instance, Instagram prefers square images at 1080×1080 pixels, while Facebook cover photos are best at 820×312 pixels. TikTok requires vertical images for maximum impact.
These sizes ensure that your content displays properly without cropping or distortion. Creating templates in Procreate with these dimensions saves time and guarantees consistency. Refer to a complete guide on social media image sizes for detailed specifications across platforms.
Exporting Your Design
After creating your design in Procreate, exporting it correctly is crucial. Formats like JPEG and PNG are the most common for social media. JPEG files compress well, perfect for photos, while PNG files retain quality for images with text or logos.
Make sure the resolution is set to at least 72 DPI to maintain quality on digital screens. Procreate offers direct export options to popular apps, simplifying the sharing process. Adjust settings carefully to preserve the vibrant colors and details in your design.
Best Practices for Sharing
Once your image is ready, timing and presentation are key. Use captions that engage viewers and include relevant hashtags to increase visibility. Posts during peak times—such as mid-morning or early evening—tend to receive more engagement.
Consider the audience’s preferences and platform algorithms when deciding the number of hashtags. Sharing consistently builds your presence and helps you reach a wider audience. Checking analytics regularly helps refine your strategy for even better results.
Growing Your Skills
Developing skills in Procreate involves a combination of continual learning, finding inspiration, and participating in community events.
Continuing Learning Resources
To enhance skills, exploring educational resources is crucial. Platforms like Skillshare offer courses on basics and advanced techniques of Procreate. These courses guide learners through tasks such as setting up canvases and using design tools effectively.
Additionally, there are numerous YouTube tutorials where creators demonstrate step-by-step processes for various projects. These videos often provide tips and shortcuts that can enhance one’s proficiency quickly. Following these resources can build more confidence in creating diverse designs.
Community and Inspiration
Engaging with Procreate’s community can be hugely beneficial for growth. Online forums and social media groups offer platforms where artists share their creations, offer feedback, and provide support to one another. For example, joining such groups on platforms like Instagram or Reddit helps artists discover new styles and trends.
Visiting exhibitions or participating in virtual art shows can also spark creativity. Observing how others incorporate unique techniques or color palettes into their work can be inspiring. Finding a mentor within these communities can offer personalized advice and motivation.
Challenges and Competitions
Participating in art challenges and competitions is an effective way for artists to test their skills. Many online platforms host regular competitions that encourage artists to create under various themes or constraints. This pushes them to think outside their comfort zones and experiment with new styles.
Competitions also provide opportunities for feedback from judges or peers, which is invaluable for improvement. Winning or even participating can boost an artist’s profile and connect them with a broader audience. Moreover, these events are excellent ways to stay motivated and keep creating regular content while pushing artistic boundaries.