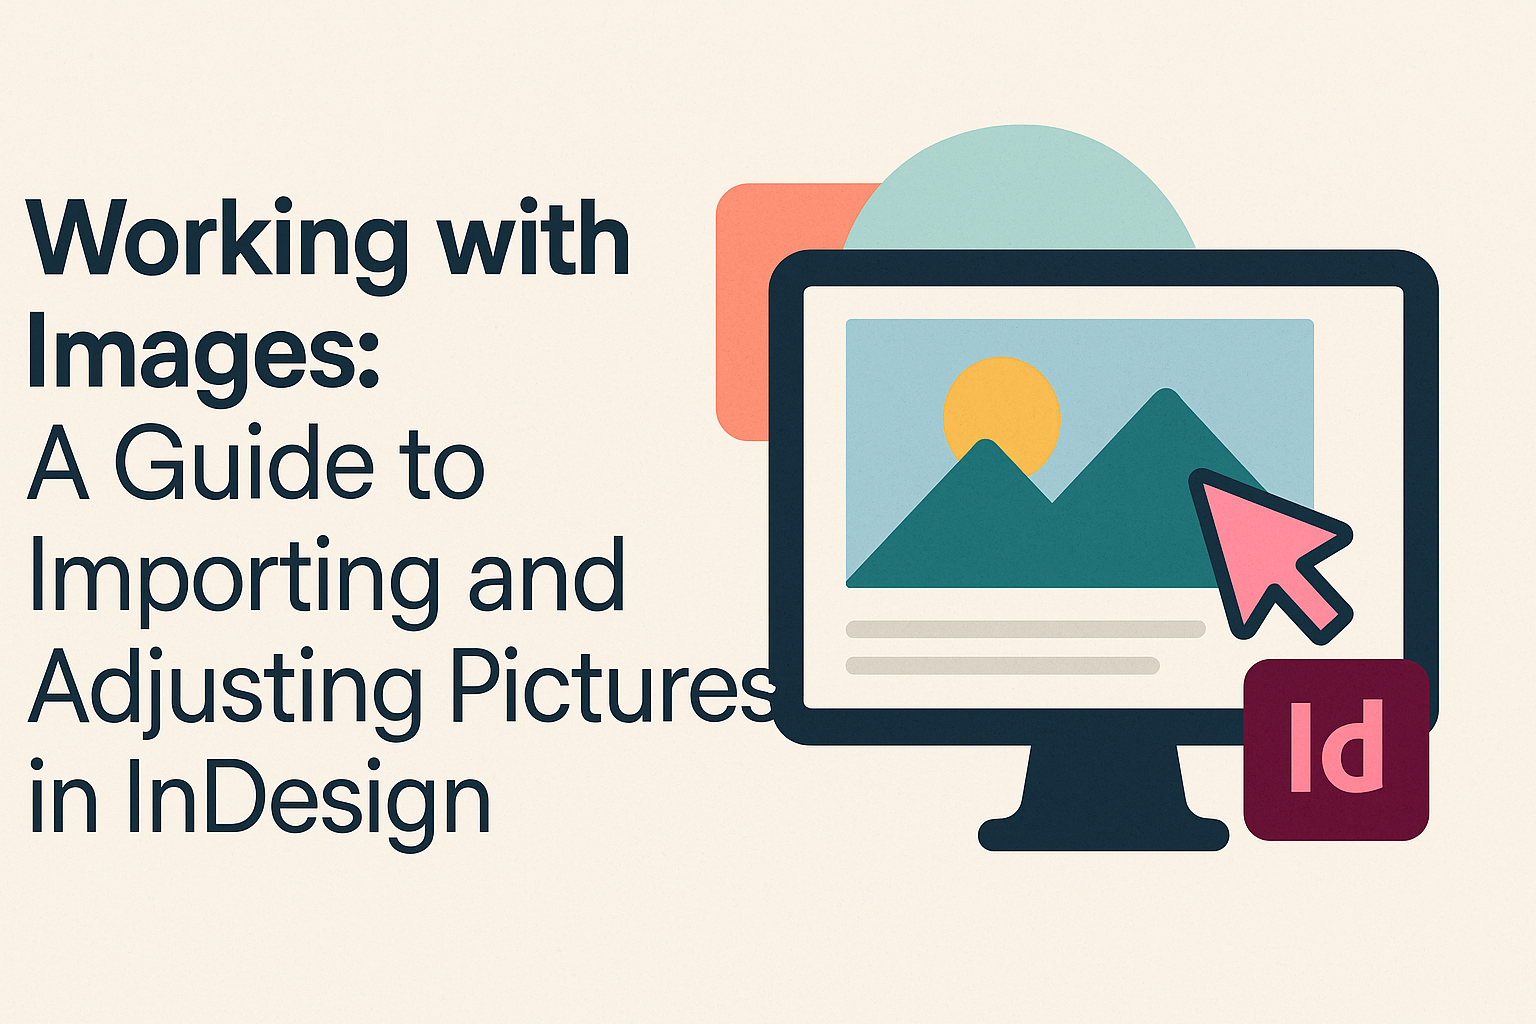
Working with images can make a big difference in graphic design projects. Knowing how to import and adjust pictures in InDesign enhances the overall quality of designs and helps create visually appealing layouts.
With the right techniques, anyone can learn to effectively manage and fit images into their work.
InDesign offers various tools that simplify the process of introducing images into a project. This software not only allows users to import images easily but also provides options to adjust their size and position.
By mastering these skills, designers can improve their workflow and achieve better results in their projects.
Understanding how to work with images is essential for creating engaging content. Whether it’s for print or digital media, mastering image importing and adjustment will elevate any designer’s work. Taking the time to learn these skills can lead to more polished and professional designs.
Getting Started with InDesign
Starting with Adobe InDesign is exciting. It offers a powerful platform for creating and adjusting images.
Understanding how to set up a document, navigate the workspace, and import images is crucial for a smooth workflow.
Setting Up Your Document
Creating a new document in InDesign begins with selecting the right settings.
Users can choose the document size, orientation, and margins from the New Document dialog box.
Key settings to consider:
- Page Size: Select from standard sizes or create a custom size.
- Margins: Set margins to control how close text and images come to the edge.
- Bleed and Slug: Use bleed settings if the design extends to the edge of the page.
These options will help create a well-structured document that meets specific design needs.
Understanding the Workspace
InDesign’s workspace is designed for efficiency. It consists of panels, menus, and a main canvas to display the document.
Important elements include:
- Control Panel: Offers quick access to tools and options.
- Panels: The Layers, Pages, and Links panels are vital for organization.
- Toolbox: Contains selection, drawing, and type tools.
Familiarity with these components allows for quicker navigation and better control over design elements.
Importing Images
Importing images is a straightforward process.
Users can bring images into their document by selecting File > Place or using the shortcut Command+D (Ctrl+D on Windows).
Steps to follow:
- Navigate to the desired image file in the Place dialog box.
- Select the image and click Open.
- Click on the canvas to place the image where needed.
Users can import multiple images at once by selecting them before clicking Open. This saves time and enhances productivity when designing complex layouts.
Working with Image Frames
When working with images in InDesign, understanding frames is key. Frames are containers that hold images, allowing for precise control over how pictures appear in a layout. This section explains how to create frames, resize and crop images, and use fitting options effectively.
Creating Frames
To start using images, one must create a frame. InDesign provides various tools for this task, including Rectangle, Ellipse, and Polygon tools.
- Select a Tool: Choose the desired shape tool from the toolbar.
- Draw the Frame: Click and drag on the page to create the frame.
- Frame Appearance: A newly created frame will show an “X,” indicating it is empty.
After making the frame, images can be placed inside by selecting the frame and using the “File > Place” command.
Resizing and Cropping
Once a frame is created, resizing and cropping images is straightforward. This allows them to fit better within the layout.
- Resizing a Frame: Click on the frame and drag the handles to adjust its size. Holding the Shift key maintains the frame’s proportions.
- Cropping the Image: To crop, select the frame and choose the image you want to adjust. Double-clicking on the image allows the user to move or resize it within the frame.
This method gives control over what part of the image is visible in the frame.
Frame Fitting Options
InDesign offers several options to fit images within frames perfectly. These settings control how images align within a frame.
- Fitting Options: Use “Object > Fitting” to access fitting commands. Options include “Fit Content to Frame,” “Fit Frame to Content,” and “Center Content.”
- Shortcut Keys: The keyboard shortcuts, like Ctrl+Alt+C for “Fit Content to Frame,” can speed up this process.
Using these options ensures the images are displayed attractively while addressing specific design needs effectively.
Adjusting Image Quality
Adjusting image quality in InDesign is crucial for creating professional-looking documents. It involves managing resolution, scaling, and applying color corrections or transparency effects to images. Each aspect contributes to how images will appear in the final output.
Resolution and Scaling
Resolution determines how clear an image appears. In InDesign, images should generally have a resolution of 300 DPI (dots per inch) for print and 72 DPI for screens.
When placing an image, it is vital to maintain its original resolution.
Using the Place command is recommended to avoid unwanted changes. If an image appears pixelated, check its effective resolution in the Links panel.
Scaling images in InDesign can alter quality. If an image is stretched or reduced too much, it may lose clarity.
Keeping the scale proportionate helps maintain quality. Always adjust image sizes within the program instead of resizing in external applications to prevent quality loss.
Color Correction
Color correction enhances the visual appearance of images. It can help adjust brightness, contrast, and saturation, ensuring the colors look vibrant.
Using the Edit menu, one can access adjustment options such as Brightness/Contrast and Hue/Saturation.
These adjustments can bring out details in images that may be too dark or too washed out.
Additionally, InDesign allows for applying effects directly within the program. This includes changing color modes from RGB to CMYK for print. This ensures colors appear as intended when printed, maintaining consistency across different media.
Transparency Effects
Transparency effects can add depth to a layout.
InDesign allows users to modify opacity and blending modes for images. This can create attractive overlays or interesting visual compositions.
To adjust transparency, select the image and go to the Effects panel.
Here, users can change the opacity level to create subtle or pronounced effects. Blending modes can also alter how the image interacts with other objects or background colors, providing unique visual styles.
Using transparency wisely can highlight specific content without overwhelming the design. Balancing effects with clarity ensures the image still conveys its intended message effectively.
Advanced Techniques
When working with images in InDesign, there are several advanced methods that can enhance design projects. These techniques focus on optimizing layout and improving visual quality. They allow users to manage images more effectively and create more dynamic presentations.
Layering and Object Styles
Layering images can significantly improve the design’s depth and visual interest. By using layers, a designer can arrange images, text, and other elements in a way that creates a more engaging layout.
InDesign’s Object Styles allow users to apply consistent formatting to different image layers.
For example, using a specific border or shadow effect for all images can help unify a document’s look.
Designers can create an Object Style and apply it to multiple images with a single click, saving time and maintaining design consistency.
Anchored Objects
Anchored Objects are useful for integrating images with surrounding text. This feature allows images to move along with text, maintaining their position relative to the text even when edits occur.
To use Anchored Objects, the designer can place an image in line with the text or set it to float above or below the text.
This capability is great for magazines and blogs where images need to be close to relevant content, enhancing reader engagement. It gives flexibility in how images are presented and ensures they are contextually relevant.
Exporting for Print and Web
Exporting images correctly is crucial for maintaining quality across different media.
InDesign provides several options for exporting projects tailored to either print or web. For print, designers typically choose high-resolution formats like PDF or TIFF, ensuring that images remain crisp and clear.
Web exports usually require lower resolutions and formats like JPEG or PNG to optimize load times. Adjusting settings like color profiles and compression during the export process can affect the final output.
Using the correct settings will ensure the images look great whether in print or on a screen. Adjustments can be made in the “Export” dialog box, which gives users control over quality and compatibility.