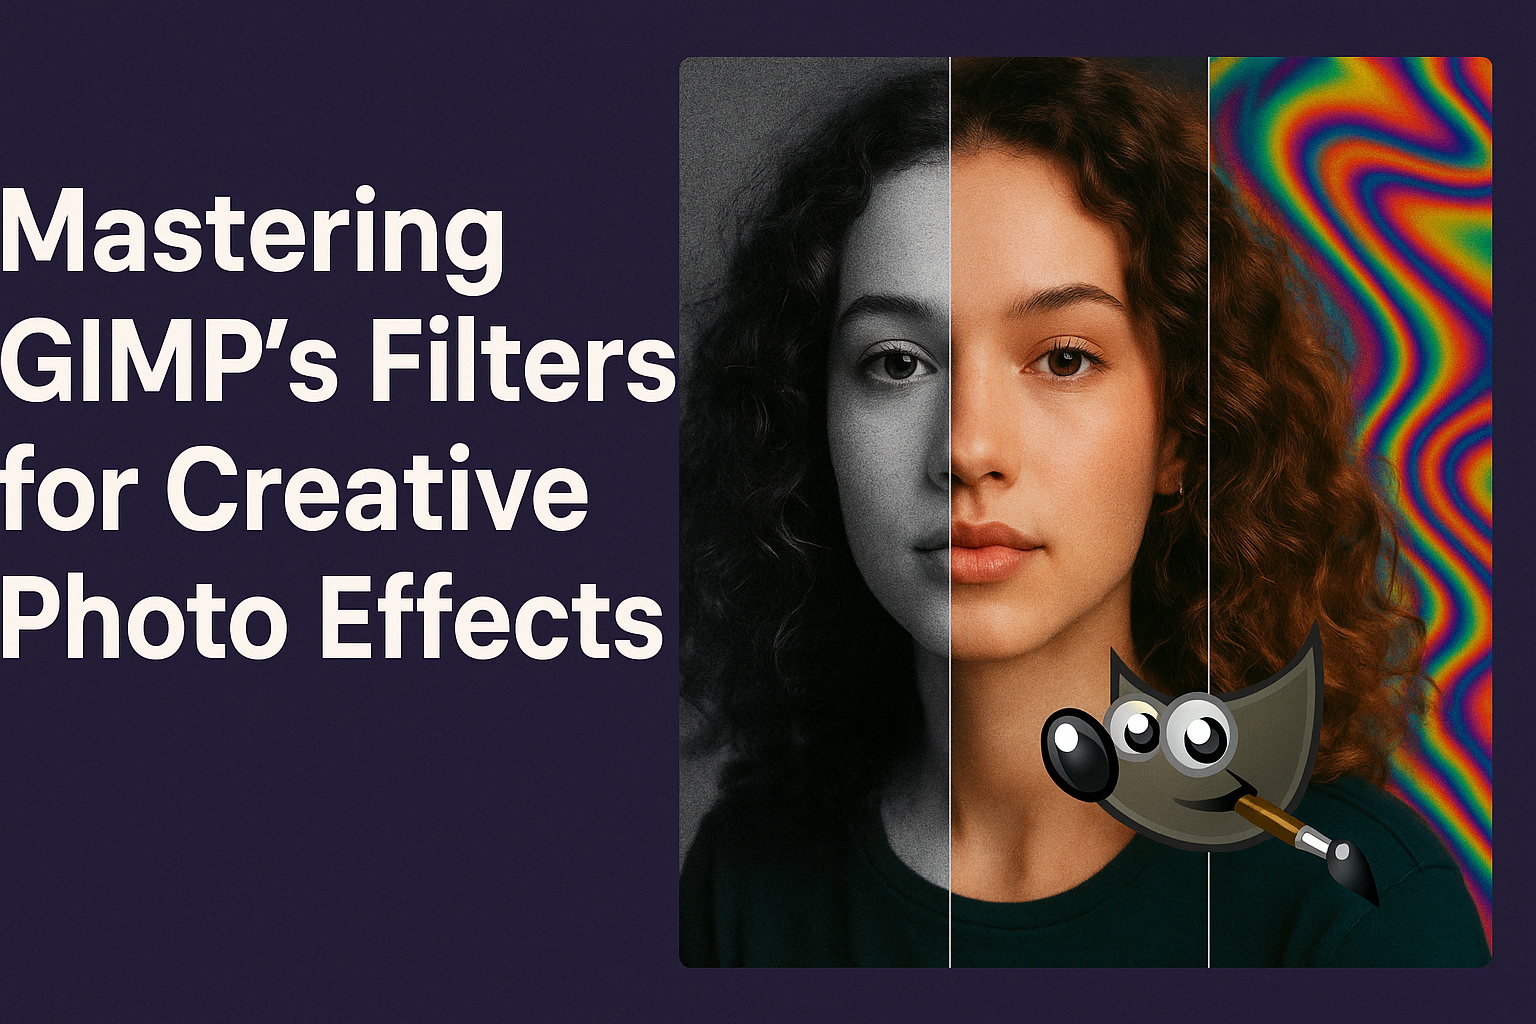
Photo editing can be both an art and a science, and GIMP offers a wealth of tools to help bring creative visions to life. At the heart of this editing software lies its robust filter system, which enables users to enhance and transform their images in countless ways. Mastering GIMP’s filters allows users to create stunning and unique photo effects easily.
For both beginners and seasoned photo editors, understanding how to effectively use filters can open up new possibilities for image manipulation. From blurring backgrounds to sharpening details, GIMP provides a variety of options that suit any creative need. This tool’s flexibility and functionality give users a powerful way to express their artistry.
Besides the technical benefits, using GIMP’s filters also taps into creativity by encouraging exploration and experimentation. Whether applying a simple blur or using advanced effects like compositing, the potential for eye-catching and artistic results is vast. For a deeper dive into enhancing photos creatively, exploring the array of advanced features available on GIMP can be incredibly rewarding.
Getting Started with GIMP
GIMP, a powerful tool for photo editing, offers a wide range of features. New users might find the workspace, tools, and setup options complex at first, but starting with the basics makes learning easier.
Understanding the Workspace
The GIMP workspace is designed with user flexibility in mind. Panels can be rearranged to suit individual preferences. The main area is the canvas, where all editing takes place.
On the left, users will find the toolbox, home to most of the essential tools. The right side features layers, channels, and paths. Each of these plays a crucial role in managing complex edits. Exploring these elements helps users become familiar with how GIMP organizes tools and resources.
Essential Tools Overview
GIMP includes a variety of tools that cater to different needs. Selection tools, like the rectangle and lasso, allow users to isolate parts of an image. The brush tool provides options for painting and drawing.
Transform tools, such as scale and rotate, modify the size and orientation of image elements. Learning these basics equips users with the fundamental skills needed for editing. Familiarity with these tools is key to unlocking more advanced features in GIMP.
Setting Up for Photo Editing
Before diving into photo editing, it’s important to set up GIMP for efficiency. Users should configure preferences to optimize performance. Specific settings like color management can enhance the quality of edits.
Installing additional brushes and plug-ins expands GIMP’s capabilities. They add more creative options and tools. It’s also beneficial to organize files with a consistent naming system. This helps keep track of different projects and edits.
By setting up GIMP properly, users lay the groundwork for a more productive editing experience.
The Basics of Filters in GIMP
Filters in GIMP are powerful tools that can dramatically change an image’s appearance. They work by applying effects to an entire image or specific layers, allowing users to craft unique visuals with ease.
What are Filters?
Filters in GIMP are tools that modify images by applying certain effects. They use mathematical algorithms to make changes, either enhancing or altering the appearance of a photo. Common filter types include blur, sharpen, and artistic effects. Blur filters soften images, while sharpen filters enhance clarity. Artistic filters add creative touches like painting effects.
Using filters, photographers and designers can experiment with styles and add visual interest to their projects. Filters offer flexibility, giving users the ability to highlight key elements or create an entirely new mood.
Accessing and Applying Filters
In GIMP, filters are accessed through the Filters menu located in the top toolbar. It’s important to select the correct layer before applying a filter, as it only affects the active layer. To apply a filter, users navigate to the appropriate category, such as Blur or Artistic, and choose the desired option.
Filters can be applied to the entire image or a specific selection. By using an active selection, modifications are limited to that area. This allows users to selectively enhance parts of an image, leaving the rest unchanged.
Customizing Filter Effects
GIMP allows the customization of filter effects. Once a filter is selected, a dialog box often appears with various options. These can include settings for intensity, direction, or blend modes, depending on the filter type.
Adjusting these settings helps in fine-tuning the effect to match the desired outcome.
It’s beneficial to experiment with different settings to see how they affect the final image. Customizing filters not only saves time but also ensures the effect aligns perfectly with creative goals. Options vary between filters, offering a wide range of possibilities for users to explore and tailor their images.
Enhancing Photos with Built-In Filters
GIMP offers a variety of filters that can help enhance photos by improving quality, adding artistic effects, and creating interesting textures. These tools can make editing an enjoyable and creative process.
Improving Image Quality
GIMP provides several built-in filters to help improve the quality of any photo. Options like Gaussian Blur and Unsharp Mask are popular choices. Gaussian Blur can smooth image details, which is helpful in reducing noise or making certain features blend.
For sharpening, Unsharp Mask is very effective. It enhances the edges and details in photos, making them look crisper and more defined. Photographers often use these filters to refine and polish their pictures before sharing.
Filters from the Enhance menu can adjust brightness, contrast, and color balance, giving the image natural, vibrant tones. Using these filters thoughtfully can significantly improve an image’s look.
Adding Artistic Flair
GIMP’s artistic filters allow users to get creative with their photos. Filters such as Oilify and Cartoon transform regular photos into art pieces. Oilify gives images an oil painting look, making them appear unique and artistic.
The Cartoon filter simplifies details and adds dark outlines, creating a playful and stylized appearance. These artistic tools let users express creativity and give photos a unique touch.
Such effects can be applied to entire images or selected parts, offering flexibility in how the final piece appears. Experimenting with these filters can reveal new ways to enjoy editing.
Creating Textures and Patterns
GIMP also includes filters that create textures and patterns. Filters like Mosaic and Noise change both the look and feel of photos. Mosaic breaks images into tile-like patterns, while Noise adds a grainy texture, making shots appear more dynamic.
Textures can add depth and interest to backgrounds or standalone images. The Render menu has options such as Clouds and Solid Noise. These can be layered over or combined with photos to create original designs.
Exploring these filters in GIMP can lead to discovering new techniques, providing fresh ideas to enhance photography projects.
Advanced Filter Techniques
Diving into advanced filter techniques in GIMP can transform ordinary images into striking visual pieces. Key methods focus on using layer masks with filters, combining various filters for unique effects, and employing smart undo and redo operations.
Using Layer Masks with Filters
Layer masks allow users to apply filters selectively, adding depth and focus to images. By adding a layer mask, an editor can paint over specific areas to either hide or reveal parts of the filter effect. This method creates contrast and emphasis where needed.
For beginners, it’s helpful to switch to the brush tool and use various opacity levels to see how it affects the mask. This practice makes it easier to blend filter effects smoothly with original elements. Artists often use this technique to soften backgrounds while keeping the main subject sharp and clear.
Experimentation is encouraged, and users can easily correct mistakes by switching between black (to conceal) and white (to reveal) on the mask. This flexibility makes layer masks a must-have skill for anyone looking to master photo editing in GIMP.
Combining Filters for Unique Effects
Combining multiple filters can give photographs a distinctive look, unlike any single filter application. By layering effects, users can modify textures, colors, and lighting to create a customized image style. For instance, using a blur filter to soften edges before applying a sharpen filter can produce a unique focal contrast.
Understanding the order of operations is crucial, as sequence affects the outcome. For example, adding a color filter after a blur filter might result in a different effect than reversing the order. Users should keep experimenting with sequences to see what works best for their desired result.
It’s helpful to utilize GIMP’s history panel to revisit various filter combinations that worked well. By building a repertoire of favorite combinations, editors can save time and enhance consistency across projects.
Smart Use of Undo and Redo
Undo and redo functions are vital when trying out new filter techniques or combinations. These tools let users experiment freely without worrying about permanent changes to their images. This freedom encourages exploration and learning within the software.
Having a systematic approach to undo and redo ensures that users can track their steps easily. Noting down successful combinations or filter strengths can be ideal for recreating effects quickly in future projects. Keeping a history of these actions also aids in troubleshooting when something doesn’t look quite right.
Creative Projects to Try
Exploring GIMP’s filters can transform ordinary photos into standout visuals. By experimenting with different effects, from vintage to dreamy, users can create unique and expressive images.
Vintage Photo Effects
Creating vintage photo effects with GIMP gives images an aged, nostalgic feel. Start by applying the Sepia filter, which bathes photos in warm brown hues reminiscent of old photographs. Adjust the brightness and contrast to mimic the soft light of pre-digital era shots.
Add a layer of noise to replicate the grainy texture of film. Use the Vignette filter to darken the edges, drawing focus inward. These steps make modern images appear as though they are treasures found in an attic.
Dramatic Black and White
For a powerful black and white transformation, begin by converting the color image using GIMP’s Desaturate option. This feature removes color while preserving the contrast. Adjust levels and curves to enhance the contrast further, making shadows and highlights pop.
Incorporate dramatic lighting by using the Dodge and Burn tools, which add depth. Adding a slight film grain effect can provide a classic touch, reminiscent of film noirs. This method draws attention to the subject’s details and emotions.
Dreamy Portraits with Soft Glow
Dreamy portraits are achievable by using GIMP’s soft glow effects. Start by duplicating the original layer and using the Gaussian Blur filter on the top layer. This creates a soft, blurry effect.
Change this layer’s blend mode to “Screen” or “Soft Light” to combine it with the original. Adjust the opacity to control the glow intensity. Accentuate eyes by sharpening them slightly, while ensuring the rest of the portrait remains smooth and soft. Adding a gentle vignette can also enhance the focal point, crafting an ethereal atmosphere.
Incorporating External Assets
Using external assets in GIMP can enhance your creative projects. By adding textures, brushes, and patterns, users can expand their artistic toolkit and bring more depth and detail to their images.
Adding Textures from External Sources
Textures add depth to designs and can be easily integrated into GIMP. First, users should find or create a desired texture file, which can be an image of fabric, stone, or any surface pattern. After downloading the texture, it should be opened as a new layer by choosing File > Open as Layers. This method allows the texture to blend seamlessly with existing designs.
Once imported, the texture can be positioned using the “Move” tool or resized with the “Scale” tool. Adjusting the opacity of the texture layer can also help achieve the right blend with the main image. For further customization, users can experiment with layer modes. This can create different effects like overlays or multiplies. For a detailed guide, HogoNext provides a tutorial on adding texture to designs.
Incorporating Brushes and Patterns
Brushes and patterns in GIMP offer endless creative possibilities. To install new brushes, save the brush files into GIMP’s brushes folder. After restarting GIMP, the brushes will be available in the brush selection area. Users can employ these brushes to create unique strokes and effects.
Patterns can be added by copying pattern files into the GIMP patterns directory. Once done, these patterns can be used for filling areas in images, giving a consistent look or texture. The Pattern Fill tool can apply these textures effectively. By accessing a broad range of patterns and brushes, users can enrich their designs and explore different styles. Creative Nerds offers numerous GIMP design tutorials that guide through using such assets creatively.
Designing with Filters
GIMP’s filters offer exciting opportunities for designing unique visuals. They are particularly useful when creating logos and graphics, as well as enhancing text with creative effects.
Creating Logos and Graphics
Filters in GIMP help elevate simple shapes and designs into professional-looking logos and graphics. The Gaussian Blur can soften the edges of a vector, giving it a polished look. For a textured effect, the Noise filter adds depth and uniqueness to flat graphics.
The Emboss filter is popular for creating a 3D effect. It gives logos a raised appearance, making them stand out. By using the Drop Shadow filter, designers can add depth, creating an illusion of layers or distance.
Using combinations of these filters allows for customization, helping designers achieve the exact look they want. Experimenting with various settings can lead to amazing results, turning basic designs into compelling visual art pieces.
Text Effects with Filters
Filters in GIMP offer a multitude of options for enhancing text. The Drop Shadow filter can give text a dramatic effect, making it appear lifted off the page. This is ideal for headlines or any text needing emphasis.
The Bump Map filter adds texture to text, making it look embossed or engraved. This effect works great for vintage-style designs or to add a metallic sheen to text. The Neon filter can create striking, glowing text, perfect for eye-catching signage or digital art.
Exploring these filters unlocks a wide array of styles. Designers can layer multiple filters and fine-tune their settings for a unique, custom effect. With practice, filters can transform ordinary text into standout design elements.
Tips and Tricks for Efficient Workflow
Efficient workflow in GIMP streamlines your photo editing process. Using keyboard shortcuts and automating tasks can save time and improve productivity.
Keyboard Shortcuts for Filters
Keyboard shortcuts are a great way to speed up your editing. In GIMP, you can assign shortcuts to frequently used filters. This reduces the need to navigate menus each time.
For example, pressing Ctrl+F applies the last used filter again. If you often use a specific filter, set a custom shortcut for quick access. Go to Edit > Keyboard Shortcuts to customize them.
Memorizing shortcuts for essential functions can greatly enhance your editing speed. Having these at your fingertips means spending less time clicking through menus and more time on creative tasks.
Automating Tasks with Filter Scripts
Automating repetitive tasks in GIMP makes your work more efficient. Scripts allow batch editing, saving time when applying the same filter to multiple images.
Create scripts using the built-in scripting tools. This is useful for photographers editing large sets of photos. Once a script is ready, run it to automatically apply filters across all selected images.
Using scripts can improve consistency in your edits. Instead of manually repeating steps, let the script handle it while you focus on other tasks. You can learn more about creating and applying scripts for automation here.
Exploring Filter Plugins
Using filter plugins in GIMP can greatly enhance the creative potential of your photo editing projects. These plugins expand the range of effects and tools available, allowing for unique and artistic transformations.
Finding and Installing Plugins
Identifying the right plugins for GIMP involves a bit of research. Users can find compatible plugins on various websites and forums dedicated to GIMP enthusiasts. It’s important to ensure compatibility with the current version of GIMP before downloading.
Installing a plugin is generally straightforward. Download the plugin file, usually a .scm or .py file. Then, place it into GIMP’s plugins or scripts folder. This folder can typically be found in the GIMP configuration directory on your computer. Once added, restart GIMP to activate the new plugin features.
Popular Plugins for Photo Effects
Several popular plugins can elevate photo effects in GIMP. Liquid Rescale is one such tool that mimics Photoshop’s content-aware scaling, allowing users to resize images without losing important details.
Another notable plugin is GIMPressionist, which offers a wide range of effects with its 77 filters, 461 brushes, and 63 textures. This plugin adds a creative twist to any image by providing unique brush strokes and textural elements.
Plugins like FX Foundry introduce an extensive list of effects, including color adjustments and artistic blur effects. Users can access these new options through a dedicated menu in GIMP, making FX Foundry a valuable addition for anyone looking to enhance their photo editing toolbox.
Troubleshooting Common Filter Issues
When working with GIMP’s filters, users may encounter issues such as filters not applying correctly and slow processing times. Understanding the reasons behind these common problems can help improve the workflow and create better photo effects.
When Filters Do Not Apply Correctly
If a filter does not seem to apply correctly, it could be due to the image type or layer settings. For example, filters like Gaussian Blur might not work if an image is too small or if there’s a selection active. Double-check if the correct layer is selected and that the image mode is compatible with the filter.
For older GIMP versions, some filters might be grayed out and unclickable. Updating to a newer version can resolve compatibility issues. Additionally, users can check tutorials that explain how to use filters effectively.
Managing Slow Processing Times
The processing time for filters can sometimes slow down projects. This issue often arises with complex filters or large images. Reducing image size or resolution temporarily can speed up processing. Also, ensuring that no unnecessary applications are running in the background can free up system resources.
Another trick is to apply filters to a smaller test area of the image first. This way, users can see the effect more quickly before applying it to the entire image. GIMP allows for testing and previewing filters efficiently, helping to manage longer processing tasks without much hassle.