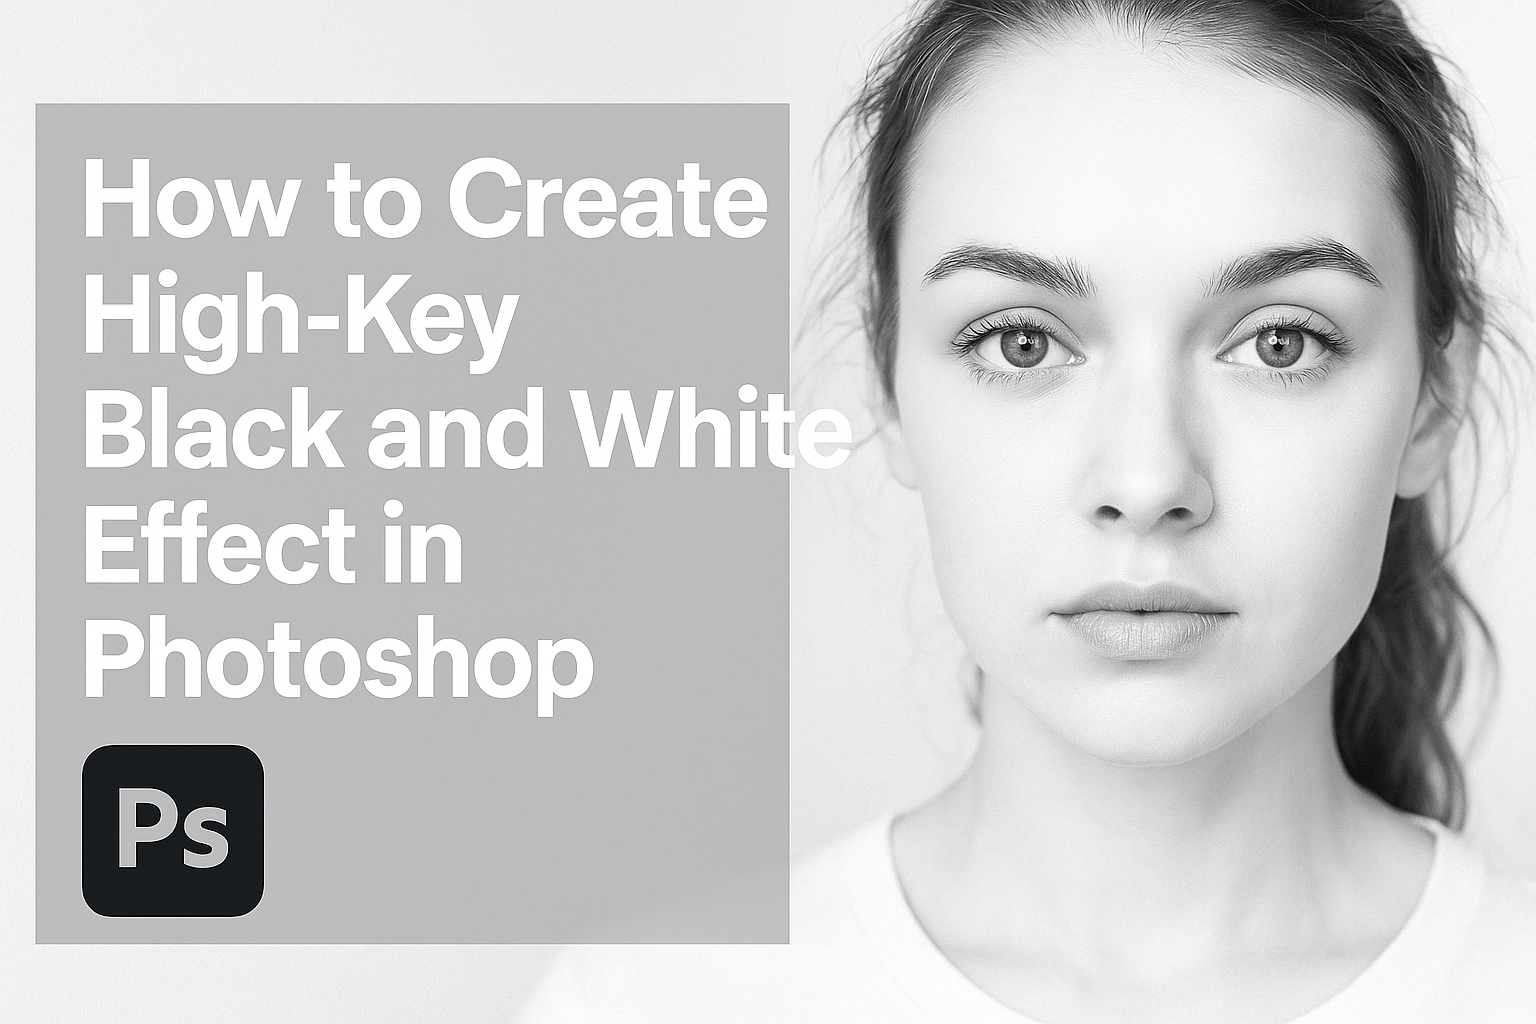
Creating a high-key black and white effect in Photoshop can transform any photo into a striking piece of art. This effect emphasizes the bright areas of an image while toning down the shadows, resulting in a clean and sharp look. Whether it’s a portrait or a landscape, mastering this technique can enhance the visual impact of your photography.
By adjusting different elements like contrast and filtering, anyone can achieve this effect with simple steps. Using tools like curves and Gaussian blur, users can control the light and texture to get the desired look. Begin by experimenting with these tools to discover the best balance that suits your style.
Photoshop offers several features specifically for black and white effects. From channel calculations to red filters, users have a variety of options at their fingertips. These features make it easy to create high-key images that stand out with elegance and clarity.
Understanding High-Key Lighting
High-key lighting creates bright and airy images by using soft, even light. This technique reduces shadows and highlights lighter tones, often leading to a cheerful or ethereal atmosphere in photography.
Origins and Uses
High-key lighting originally came from film and television, where it helped reduce shadows on actors’ faces. It was especially useful in studio settings to create a polished look. Today, high-key lighting is popular in fashion and portrait photography because it gives a clean, uncluttered appearance.
Photographers love this style for subjects like portraits, flowers, or product shots. It emphasizes positive emotions and simplicity and suits various creative projects such as advertising, where a bright and positive image is often desirable. By removing harsh shadows, it helps capture a smooth, refined look.
Characteristics of High-Key Imagery
The main trait of high-key imagery is its lack of dark shadows. These images are dominated by whites and light tones, with a focus on soft contrasts. Details are visible without strong differences in light and dark areas.
Lighting plays a crucial role here. Photographers need multiple light sources to ensure even distribution. Typically, a key light and fill lights are used to eliminate shadows, creating that glowy effect.
High-key images often use a plain white background to let the subject stand out. This style suits both color and black-and-white photography. It brings a dreamy, serene, and clean feeling, which is perfect for conveying a sense of purity and simplicity.
Basics of Black and White Photography
Black and white photography focuses on the use of tones and contrast to convey emotions and details. Understanding the differences between grayscale and true black and white methods is vital for capturing striking images.
Importance of Tones and Contrast
Tones and contrast are key in black and white photography. These elements help to create depth and texture, bringing out the nuances that color might otherwise distract from. When shooting in black and white, photographers often pay close attention to the light and shadows; these can define shapes and give a sense of dimension.
Contrast plays a role in making subjects stand out. A high contrast image might feature sharp differences between light and dark areas, while a low contrast photo might appear softer and more gradual. By mastering these aspects, photographers can highlight the mood or focus of their images, enhancing artistic expression.
Grayscale vs. True Black and White
Grayscale and true black and white are two modes that photographers can explore. Grayscale is a range of shades from white to black, incorporating varied tones of gray. This often results in a more subtle and nuanced look, capturing a broader spectrum of light.
True black and white, on the other hand, features stark contrasts with a focus on black and white without gray tones. This style can create a dramatic impact but may sacrifice some detail. Photographers might choose between these methods based on the desired effect. Understanding these options helps photographers to better express their artistic vision in their work.
Getting Started with Photoshop
To create a high-key black and white effect, it’s important to first set up your workspace for easy access to essential tools. Knowing how to navigate Photoshop and utilize its basic features lays a solid foundation for more advanced techniques.
Workspace Setup
Setting up your workspace in Photoshop helps streamline the editing process. Begin by opening Photoshop and closing unnecessary panels to keep your view uncluttered. You can access the Workspace panel from the Window menu, selecting options like Photography or Essentials depending on your preference.
Once chosen, arrange the panels to your liking. Common panels to have open are Layers, Adjustments, and History. Adjusting the layout based on personal workflow can significantly enhance productivity. If needed, customize and save your workspace by going to Workspace and choosing New Workspace.
This ensures your preferred layout is easily accessible every time you open Photoshop.
Essential Tools Overview
Familiarizing yourself with essential tools is crucial. The Toolbar on the left provides quick access to frequently used tools. Important ones for creating high-key effects include the Brush and Gradient Map tools, useful for adjusting color and tones.
The Adjustments panel is another essential feature, offering options for Hue/Saturation and Brightness/Contrast adjustments. These help in controlling the brightness levels necessary for high-key effects. Using these tools effectively, such as with the Gradient Map, requires understanding how they interact with layers and images.
Finally, the Layers panel is vital for non-destructive editing. It allows for the creation of multiple adjustment layers without altering the original image. This flexibility is key when experimenting with different effects and settings.
Creating a High-Key Effect
Creating a high-key effect in Photoshop involves enhancing the brightness and controlling contrast in a photo. This method uses various adjustments to bring out the light elements, primarily through exposure and the image’s tonal range.
Adjusting Exposure and Brightness
To begin crafting a high-key effect, the exposure and brightness need careful adjustment. Softening shadows while emphasizing highlights creates that airy look. By increasing exposure, the image becomes lighter, helping to highlight more details.
In Photoshop, this can be done using the Brightness/Contrast tool. Boost the brightness slightly, making sure not to lose essential details. It’s all about finding the right balance. Overdoing it can wash out the image while underdoing it might not achieve the desired effect.
Another method is the Exposure tool, which directly affects the light levels. Carefully increasing the exposure can brighten the image uniformly. These tweaks should be subtle to maintain the integrity of the image.
Working with Curves and Levels
Once the brightness is adjusted, using Curves and Levels is crucial for refining the high-key effect. The Curves tool adjusts the tonal range and contrast, making it flexible for bringing out specific areas of brightness or shadow.
In the Curves panel, adjust the line upwards for more light in highlights, enhancing the bright areas while keeping shadows subdued. This creates a balanced look.
The Levels adjustment offers another layer of control. By shifting the midtones and highlights sliders, photographers can fine-tune the distribution of light and dark areas. This helps ensure the image remains vibrant and not overly flat or pale. Correct use of these tools allows for greater control over the high-key effect and produces a more natural and clean look.
Converting to Black and White
Transforming a color image into black and white in Photoshop involves a few key methods. These methods include using desaturation techniques and leveraging the Black & White Adjustment Layer for a high-quality effect.
Desaturation Techniques
Desaturation is one of the simplest ways to remove color from an image. It involves reducing the saturation levels, essentially stripping the photo of its colors. This technique can be done quickly with the Hue/Saturation adjustments in Photoshop. By sliding the saturation bar all the way to the left, you can convert an image into black and white.
However, while easy, this method may not provide full control over the results. Different colors in the original image can convert to similar shades of gray, creating less contrast. For basic needs, though, it’s a quick method to achieve a basic black and white look.
Using the Black & White Adjustment Layer
The Black & White Adjustment Layer is a more flexible method that offers increased control. It allows users to adjust how individual colors convert into shades of gray, meaning you can enhance contrast and details. By using this tool, photographers can create more visually appealing images.
The process involves adding a new adjustment layer in the Layers panel and selecting Black & White. This opens a set of sliders to adjust different hues such as reds, yellows, and blues, tweaking them to achieve the desired contrast. This method is often preferred for its precision and ability to highlight specific elements within an image.
Refining the Image
To create a high-key black and white effect, refining the details can take your work to the next level. Two important techniques in this process are dodging and burning, and adjusting layers for fine-tuning.
Dodging and Burning
Dodging and burning are methods used to brighten or darken certain areas of the image. This technique can help emphasize the light and shadow, adding depth to the final effect. In Photoshop, use Brush Tool with a soft edge to apply these effects gently. Set the brush opacity to a low percentage, like 10-20%, to ensure gradual changes.
Dodge areas that need to be lighter. This could be highlights on a face or background light sources. For burning, darken shadows or areas that need more contrast. This might be areas with textures like hair or fabrics, giving them more detail. Careful application in small passes allows for control and precision.
Fine-Tuning with Adjustment Layers
Adjustment layers are essential for fine-tuning the image. They provide non-destructive editing, which means you can come back and adjust them any time. Use Curves and Levels to further tweak contrast. Curves offer more flexibility in contrast changes, while Levels are great for adjusting overall exposure.
A Hue/Saturation adjustment layer helps to manage any remaining color tones before turning the image monochrome. This ensures no residual colors affect the high-key effect. A Brightness/Contrast layer can add final touches, brightening or deepening the image as necessary.
Adjustment layers stack in the layers panel, letting you manipulate each individually. This control ensures that each element of the image can be isolated and refined for the best high-key effect.
Final Touches
Applying final touches to a photo can make a big difference. Sharpening enhances details, while a vignette effect adds focus to the center of the image. These steps add depth and polish to your high-key black and white photo.
Sharpening the Image
Sharpening your image highlights details and brings textures to the forefront. Start by opening Photoshop’s Sharpen tool. Choose the amount wisely to avoid over-sharpening, which can make the image look unnatural.
A good practice is to use the Unsharp Mask filter. Set the Amount between 50-150%, the Radius between 0.5-2.0 pixels, and a low Threshold. Adjust the settings until the details are clear but not overly harsh. Use a light hand to maintain the photo’s softness.
If there are areas you don’t want sharpened, like skin, employ a layer mask. This lets you paint over areas to exclude them from the sharpening effect.
Adding a Vignette Effect
Adding a vignette effect is a simple way to steer the viewer’s attention to the center of the image. In Photoshop, go to the Lens Correction filter. Here, adjust the amount of the vignette by sliding the Vignette slider.
Use negative values to darken the edges. Better control can be achieved through the Camera Raw filter, selecting the Effects tab. Adjust the Amount to determine how dark the vignette is, and the Midpoint to define the vignette’s placement from the center.
A good vignette is subtle. It shouldn’t distract from the photo but rather guide the eye towards the main subject. Experiment with different settings until you achieve the desired effect.