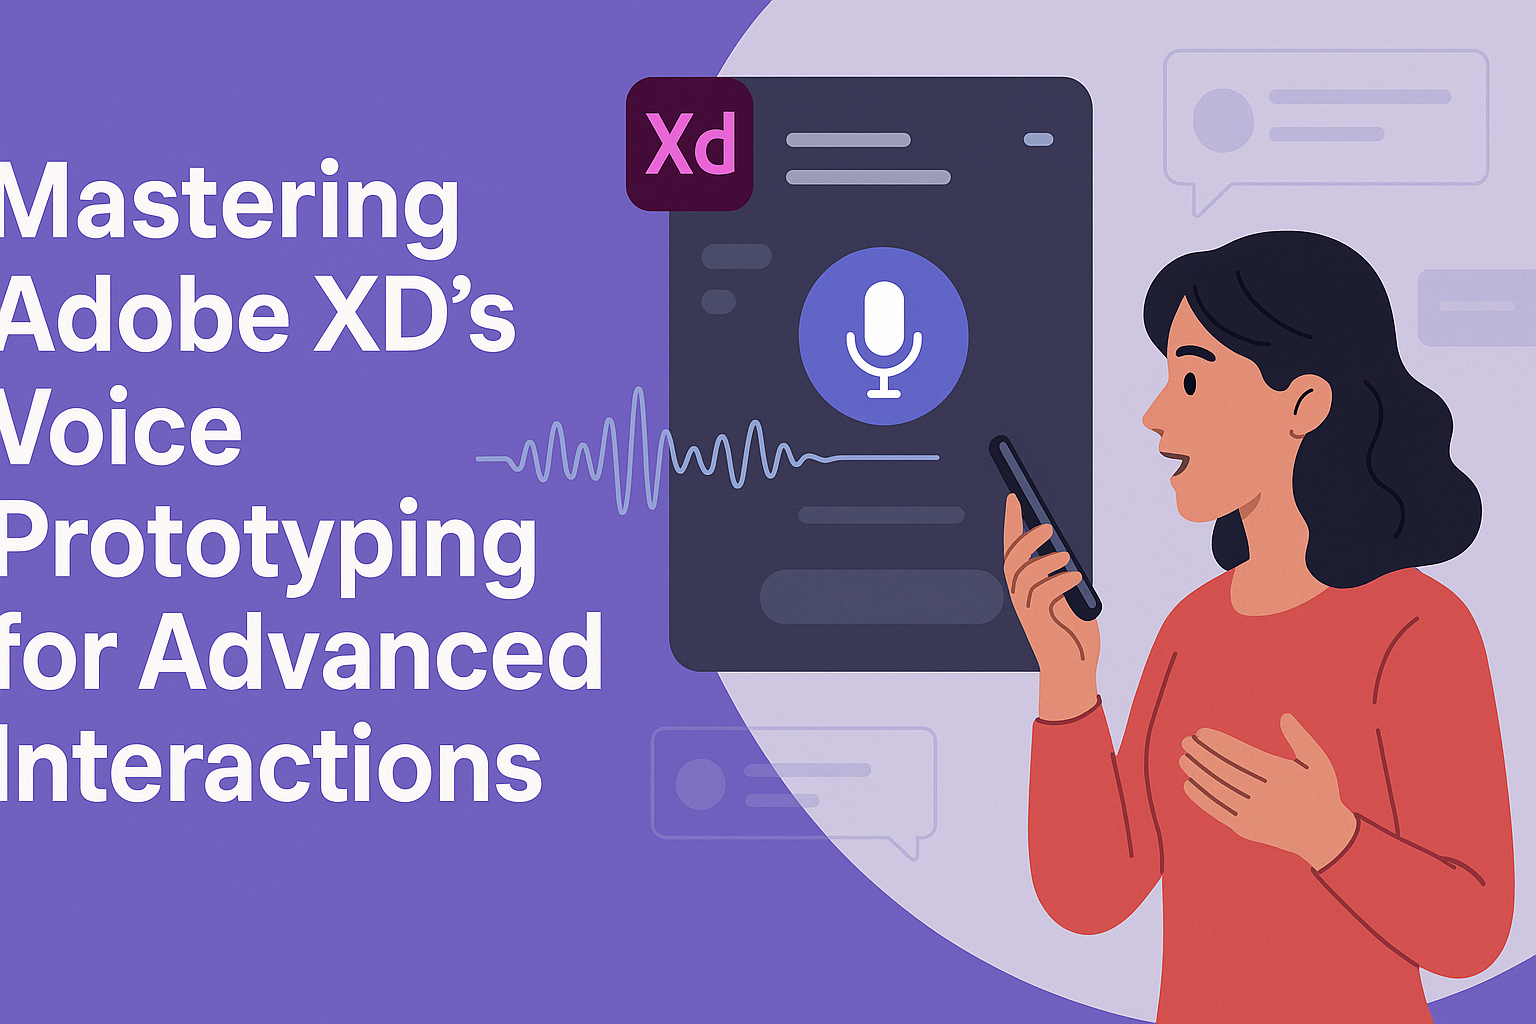
Voice prototyping in Adobe XD is opening new doors for creating engaging user experiences. With the ability to integrate voice commands and interactions, designers can enhance their projects, making them more interactive and accessible. Using Adobe XD’s voice prototyping tools, designers can craft advanced interactions that captivate users and elevate their designs.
Adobe XD’s platform offers easy-to-use options for initiating voice commands in design previews. Whether on a desktop or mobile device, users can seamlessly add voice features to their prototypes. This capability helps tell stories and guide user paths through natural voice prompts, which can be set up by simply following the steps outlined for using voice commands and playback in XD.
As voice technology becomes more integrated into daily life, mastering these tools is increasingly essential for modern designers. By incorporating advanced voice prototyping features, professionals can create more sophisticated and interactive experiences, setting their work apart in a competitive market.
Getting Started with Adobe XD
Adobe XD is a powerful tool for creating dynamic and interactive prototypes. It’s especially useful for crafting voice interactions, allowing designers to enhance user experiences with voice commands.
Overview of Adobe XD Interface
Adobe XD offers a clean and intuitive interface designed to streamline the design process. The main screen is divided into the Design, Prototype, and Share tabs.
In the Design tab, users can create layouts and apply visual elements. The Prototype tab connects these elements with interactions. The Share tab allows users to share their prototypes with others.
The toolbar provides tools for drawing shapes, adding text, and creating artboards. The properties panel offers customization options for each element. Familiarizing oneself with these features is key to leveraging Adobe XD’s full potential.
Setting Up Your First Voice Project
Starting a voice project in Adobe XD is straightforward. Begin by creating a new project using the Web or Mobile template. Design the first screen with basic UI elements.
Next, switch to the Prototype tab, where the magic of voice interactions happens. Use triggers to map out voice commands. Simply select an element and link it to another screen through a voice command.
Prepare the design and prototype, then test the voice interactions using the Preview mode. Here, users can experience firsthand how voice commands transform the user interface, ensuring everything functions smoothly.
Understanding Voice Prototyping Basics
Voice prototyping in Adobe XD allows the addition of voice commands as a form of interaction. This feature transforms traditional navigation by enabling users to operate interfaces hands-free.
To create voice interactions, a designer selects an element and chooses Voice in the trigger options under the Prototype tab. The command is typed into a text box. This allows the system to recognize and respond to specific voice inputs during testing.
Testing these interactions is crucial. Users can try voice commands using the desktop preview with the spacebar or a long press on mobile devices. This hands-on testing ensures voice commands work as intended, offering a seamless experience.
Designing Voice Commands
Designing effective voice commands in Adobe XD involves crafting user intents, utilizing voice triggers, and writing clear speech commands. This process ensures the commands are intuitive and responsive for users.
Crafting User Intents
Crafting user intents is crucial in creating a seamless voice interaction. Understanding what users want to achieve when they use voice commands is the first step. Designers must consider common phrases or questions users might employ.
User intents should be mapped out clearly. This involves brainstorming potential commands and responses, considering context, and predicting user needs. By planning these, designers can develop more intuitive voice interactions.
A well-crafted user intent enables a more natural user experience. This can be achieved by aligning commands with typical user language and behavior. Keeping the intents simple helps in maximizing user satisfaction and minimizing errors.
Utilizing Adobe XD’s Voice Triggers
Adobe XD offers voice triggers that make interaction design straightforward. These triggers allow designers to activate responses based on specific voice commands. Voice prototyping in Adobe XD can enhance the realism of prototypes and guide user testing.
Setting up voice triggers involves selecting an element on an artboard and applying a voice command. This requires clear, consistent voice input that matches the expected user intent.
These triggers can be customized, allowing for flexibility in design. They don’t have to be linked to a visible interface element. This gives designers the freedom to experiment with more fluid, conversational interaction designs. Alignment with user needs and testing is important for the effectiveness of these triggers.
Tips for Writing Effective Speech Commands
Writing effective speech commands involves using clear and simple language. Keeping commands short ensures they are easily understood. Using precise language helps avoid confusion and enhances user interaction.
Speech commands should also reflect natural speech patterns. Designers should aim for conversational language, mimicking how someone might naturally phrase a request or question. This makes the technology feel more intuitive and human-like.
Designers should conduct user testing to see how commands function in real-world scenarios. Feedback helps to refine commands, ensuring they effectively serve user needs.
Creating Voice Responses
Creating voice responses in Adobe XD involves setting up speech playback, customizing voice feedback, and controlling the timing of these responses. Each aspect plays a crucial role in creating interactive and engaging experiences for users.
Building Speech Playback
To create effective voice responses, incorporating speech playback is essential. Adobe XD requires adding a Speech Playback action to specific interactions. Users can start by creating an artboard and setting a trigger event, such as Tap or Time. Once the trigger is set, they can assign a speech playback action to it.
Adding realistic and concise speech playback helps in mimicking real-world applications like voice assistants.
Personalizing Voice Feedback
Personalizing voice feedback can make a voice interaction feel more engaging. Adobe XD offers features that allow users to modify the tone, pace, and gender of the voice responses.
By customizing these elements, designers can match the voice feedback to the brand’s personality or the target audience. For instance, a friendly app might use a warm and casual tone, while a more professional application might opt for a formal and crisp voice.
Beyond tone, incorporating user-specific names or data in responses adds a layer of personalization. This not only improves user experience but also builds a stronger connection between the application and its users.
Managing Response Timing
Managing the timing of voice responses is key to creating a fluid user experience. Adobe XD allows designers to control when a voice response is triggered and its duration, ensuring the interaction feels natural.
Setting the right timing helps in preventing voice overlaps and maintaining a smooth conversation flow. Designers can use the Time Trigger feature in XD to delay responses appropriately.
This can be especially useful in scenarios where multiple voice interactions occur. By fine-tuning the response timing, applications can provide users with a seamless and uninterrupted experience, guiding them clearly through the tasks they wish to perform.
Advanced Voice Prototyping Techniques
Advanced voice prototyping in Adobe XD opens up new possibilities for creating dynamic interactions. By using variables, conditionals, and auto-animation, designers can craft voice experiences that are both engaging and functional.
Incorporating Variables in Voice Prototypes
Using variables can greatly enhance voice prototypes. They allow voice interactions to adapt based on user input, providing a personalized experience.
Designers can set variables within Adobe XD by defining them in the interaction panel and connecting them to voice triggers.
This technique is useful for creating prototypes that simulate real-world applications, such as a virtual assistant remembering a user’s name or preferences.
Variables offer flexibility, enabling prototypes to carry information across different scenarios within the same project. By doing so, voice prototypes can better mimic the complexities of live applications, making the testing phase more insightful.
Creating Conditional Voice Interactions
Conditional interactions add another layer of sophistication to voice prototypes. Designers can create scenarios where different responses are triggered based on user input, resembling real-world decision-making processes.
This involves setting up multiple voice triggers that respond to different inputs or conditions.
To implement conditional interactions, designers can use Adobe XD’s interaction panel to define if-then scenarios. For example, a voice prototype can have different pathways for a virtual assistant asking follow-up questions based on a user’s previous answers.
This approach helps in testing and refining voice prototypes to ensure they handle a range of possible user interactions effectively.
Leveraging Adobe XD’s Auto-Animate with Voice
Auto-Animate is a powerful feature in Adobe XD that enhances voice prototypes by adding smooth transitions and movements. When combined with voice prototyping, it can create a more visually engaging and interactive experience.
Designers can link voice commands to specific animations, ensuring that visual cues align with auditory feedback.
To use Auto-Animate, designers select elements that need animation when a voice command is given. This helps in simulating real-life interactions, like having a virtual assistant carry out a command and reflecting those changes visually in the interface. By leveraging both voice triggers and animations, designers can build comprehensive and immersive prototypes suitable for user testing.
Prototyping for Different Devices
When working with Adobe XD for voice prototyping, adapting designs to fit various devices is crucial. Users need to consider screen sizes, wearables, and multiple testing environments to create effective and versatile prototypes.
Adapting to Various Screen Sizes
Designers often face the challenge of different screen sizes. A good prototype should offer a consistent user experience across various devices like mobile phones, tablets, and desktops.
Adobe XD provides tools to adjust elements so they fit different layouts seamlessly. Adjusting for screen size involves modifying text sizes, rearranging layout components, and ensuring interactive elements remain accessible.
It’s vital to utilize responsive design practices. These include using flexible grids, ensuring fluid media usage, and setting breakpoints to adapt to unique screen dimensions, making designs versatile and user-friendly.
Voice Prototyping for Wearables
Voice technology on wearables, such as smartwatches, presents unique challenges. Unlike traditional screens, these devices rely heavily on audio feedback due to their limited display size.
Adobe XD offers specific features to integrate voice commands into wearable prototypes, enhancing hands-free interaction.
Designing for wearables involves prioritizing quick, simple interactions and ensuring that responses are promptly acknowledged through voice or haptic feedback.
It’s important to test the functionality of voice commands on different wearable devices. Ensuring the commands are intuitive and clear so users can navigate effectively enhances the usability of wearable technology.
Testing Across Multiple Devices
Effective prototyping requires thorough testing across multiple device types to ensure consistency and functionality. Adobe XD facilitates this process by offering features that allow designers to simulate interactions across various environments.
Designers should conduct usability tests on smartphones, tablets, wearables, and voice-activated devices like smart speakers. During testing, it’s essential to gather feedback and make adjustments based on device performance.
Pay attention to the voice recognition quality, response speed, and user satisfaction. Testing in real-world conditions helps identify potential issues and refine prototypes, ultimately leading to a more polished final product.
User Testing and Iteration
Voice prototyping in Adobe XD helps designers create interactive and engaging experiences. For it to succeed, proper user testing and thoughtful iteration are crucial to refining the design and ensuring that voice interactions meet users’ needs.
Conducting User Tests with Voice Prototypes
When testing voice prototypes, it is essential to set clear objectives. Designers can use Adobe XD to simulate voice interactions and observe how users interact with the prototype.
This process begins by explaining the purpose of the test to the participants. Once they understand, participants are invited to interact with the voice features.
During testing, designers can observe and take notes on user behaviors and responses.
Collecting both qualitative and quantitative data provides valuable insights into how users interact with voice commands. This helps identify any issues or areas needing improvement, which can be addressed in subsequent design stages.
Gathering User Feedback
Feedback from users is vital in fine-tuning voice prototypes. Effective methods for collecting feedback include surveys, interviews, and direct observation. Different users bring various perspectives, which help refine and improve voice interactions.
Engaging with users after they have used the prototype allows designers to ask specific questions. Users can share their thoughts on the ease of use, efficiency, and effectiveness of the voice features. Documenting this feedback helps prioritize changes and make informed decisions about the design.
Iterating on Voice Interactions
Iteration involves revising and refining the prototype based on user feedback. It’s an ongoing process where adjustments are made to improve the design. Adobe XD allows designers to make these changes efficiently, testing various iterations without starting from scratch.
Each new version of the prototype can focus on specific enhancements. Whether it’s improving response time, modifying voice commands, or altering the interface, each change aims to create a more user-friendly experience. Regular testing and iteration ensure the voice prototype continually evolves to meet user expectations and technological advancements.
Sharing and Collaboration
Adobe XD makes it easy to share designs and collaborate with team members. It offers a range of features to export your work for stakeholder feedback and enables live collaboration through team projects.
Exporting Prototypes for Stakeholder Review
In Adobe XD, exporting prototypes for review is straightforward and flexible. Designers can generate shareable links that stakeholders can use to view and comment on projects. Users can export designs by choosing the Share tab and selecting the Share for Review option. This creates a link that stakeholders can use to see and interact with the prototype, providing feedback directly on the design.
Furthermore, Adobe XD provides options to control access, ensuring that feedback is gathered securely and efficiently. Links can be password-protected, and view permissions can be adjusted to manage who can see the design. This makes it easier to keep sensitive projects secure while still allowing for wide-ranging feedback from different stakeholders.
Collaborative Editing with Team Projects
For teams working remotely or across different locations, Adobe XD’s team project feature is a game-changer. It allows multiple users to work on a design simultaneously, similar to how documents are edited collaboratively in cloud-based platforms. To enable this, the Coediting feature needs to be activated, allowing teammates to see real-time changes as they happen.
Each team member has the ability to make edits, add components, and make suggestions in a shared workspace. This ensures that everyone stays on the same page and contributes to the project seamlessly. Collaboration features like these make it simple to incorporate diverse ideas and skills, enhancing the final design outcome.