Resizing images can be crucial for creating the perfect design in Canva.
With simple steps, anyone can adjust the size of their uploaded images without losing quality or distorting them. This process ensures that images fit seamlessly into any project, whether it’s for social media, a presentation, or print.
Canva offers user-friendly tools that make resizing images a breeze.
By using features like the “Resize” tool and drag handles, users can easily manipulate their images to meet their design needs. Those who want to enhance their creativity will find that understanding how to resize images opens up new possibilities for their projects.
This article will guide readers through the step-by-step process of resizing an uploaded image in Canva. From beginners to experienced users, everyone can benefit from these quick tips to improve their design skills and make their work stand out.
Getting Started with Canva
Canva is an easy-to-use graphic design platform that helps users create various visual content. Getting started with Canva involves creating an account and familiarizing oneself with its interface, making it accessible for everyone, from beginners to experienced designers.
Creating an Account
To begin using Canva, a user must first create an account. This can be done through the Canva website or mobile app.
- Visit Canva’s Website: Go to www.canva.com.
- Sign Up Options: Users can sign up using an email address, Google account, or Facebook account.
- Complete Profile: After choosing a sign-up method, they will need to follow prompts to provide basic details, such as name and password.
Once the account is created, users can explore templates and design tools. Canva offers a free version and a Pro plan that provides additional features and resources.
Overview of Canva Interface
After signing in, users will find a clean and intuitive interface.
- Home Page: This area features popular design templates, recent designs, and suggested resources.
- Toolbar: Found at the top, this toolbar includes options for creating a new design, uploading images, and accessing projects.
- Design Area: The center displays the active design workspace. Here, users can add elements like text, images, and shapes.
On the left, there’s a panel for templates, photos, and other design elements. Familiarizing herself with these sections will help users navigate Canva confidently and start designing right away.
Steps to Resizing Your Image
Resizing an image in Canva is straightforward. Following these steps will help streamline the process and ensure that the uploaded image fits perfectly in the design.
Uploading the Image
To start resizing, the user must upload the image to Canva.
First, they will need to open their design workspace.
Next, they should click on the “Uploads” tab located in the left sidebar. This will allow them to select files from their computer.
After selecting the desired image, it will appear in the uploads section. Users can simply drag and drop the image onto the canvas or click to add it.
Once placed, they can see the image on the canvas, making it easy to move and resize. If the image isn’t visible, they should check that it is not behind other elements.
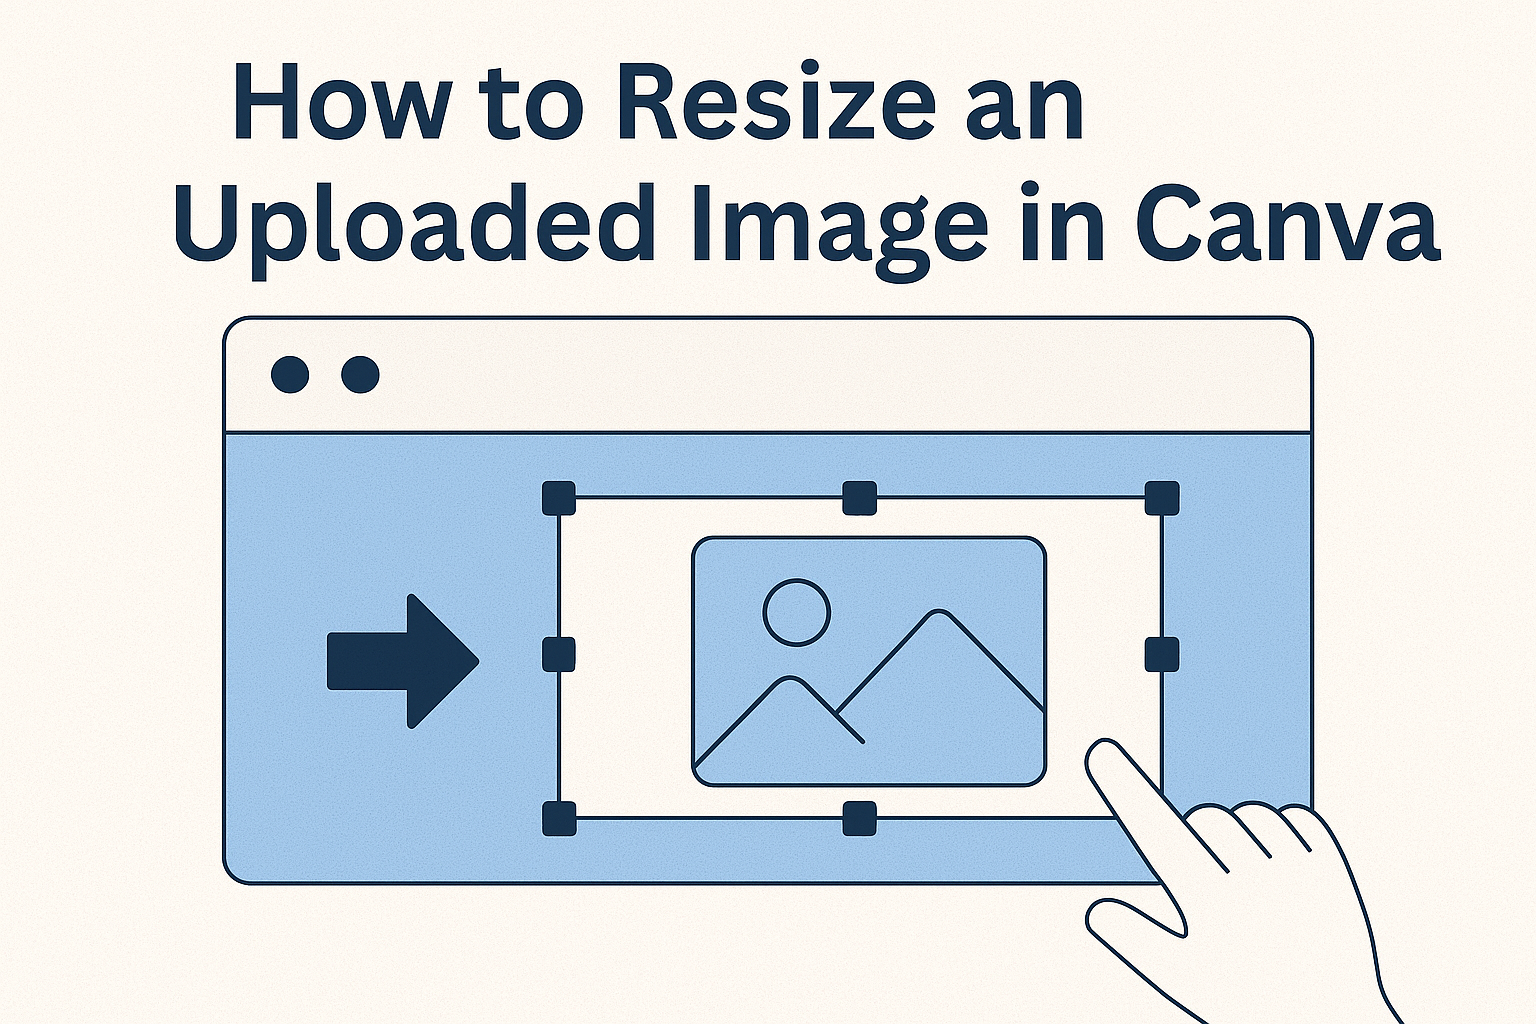
Using Resize Tool
After uploading, the user can resize the image by clicking on it.
Blue arrows will appear around the image, allowing for easy adjustments.
To resize, they can click and drag these arrows. Dragging inward will make the image smaller, while dragging outward will enlarge it.
Users can also hold the Shift key while resizing to maintain the image’s aspect ratio. This ensures that the image does not stretch or distort, keeping its original look intact.
If the user wants to revert the changes, they can simply use the Undo option.
Custom Dimensions
For those needing specific size requirements, using custom dimensions is an excellent option.
After selecting the image, the user should look for the “Resize” option in the top menu.
Here, they can enter their desired width and height.
It’s important for users to double-check that they are using the right units, like pixels or inches.
Once they input the measurements, they can click “Resize” to apply the changes. This feature is helpful for ensuring that images fit precisely within design templates.
For consistent quality, Canva automatically maintains the aspect ratio unless they choose to unlock it.
Tips for Image Quality Preservation
To keep images looking sharp after resizing in Canva, it’s important to focus on the quality settings and file formats chosen. The right adjustments can make a significant difference in how the final image appears.
Adjusting Image Quality Post-Resize
After resizing an image, checking and adjusting its quality is crucial.
First, Canva allows users to select the resolution during the download process. Opting for a higher resolution helps maintain clarity.
Steps to Adjust Quality:
- Select the desired file format, like PNG or JPG.
- Use the Size or Quality slider to pick higher settings.
- Preview the image to ensure it looks crisp.
Using these settings minimizes pixelation and blurriness, preserving the image’s details effectively. Keeping an eye on these adjustments helps ensure that every design looks professional and polished.
Choosing the Right File Format
Selecting the appropriate file format can also play a vital role in image quality. Different formats offer varying levels of compression and quality retention.
Common Formats:
- PNG: Best for images with text or transparency. It retains quality well.
- JPG: Ideal for photographs but can lose detail when compressed.
When downloading an image, choose PNG for high-quality graphics or detailed illustrations. For photographs, JPG may be suitable, but opt for the highest quality settings to preserve detail upon resizing.
Saving and Sharing Your Resized Image
After resizing an image in Canva, it’s important to know how to save and share it effectively. This section will cover the different export options available as well as how to share directly on social media platforms.
Export Options
When ready to save the resized image, users can choose from several export formats.
Click on the “Download” button located in the top right corner.
Users can select formats like:
- PNG: Great for high-quality images.
- JPG: Perfect for photographs with smaller file sizes.
- PDF: Useful for printing or sharing documents.
Before downloading, it’s also possible to adjust settings like image size and quality.
For those needing transparent backgrounds, PNG is the best choice. After making selections, clicking the “Download” button will save the image to the device.
Sharing on Social Platforms
Canva makes sharing images on social media quick and easy. After resizing and exporting the image, users can directly share from Canva.
They can find sharing options under the “Share” tab. Platforms include:
To share, select the desired platform and follow the prompts to connect accounts. Users can add captions or tags before posting.
This feature helps promote designs instantly without leaving Canva, making it efficient for users to reach their audience.