Picture this: you’ve just designed an awesome piece in Canva, and now you want it to fit perfectly in a specific frame.
The good news is that resizing frames in Canva is simple and straightforward!
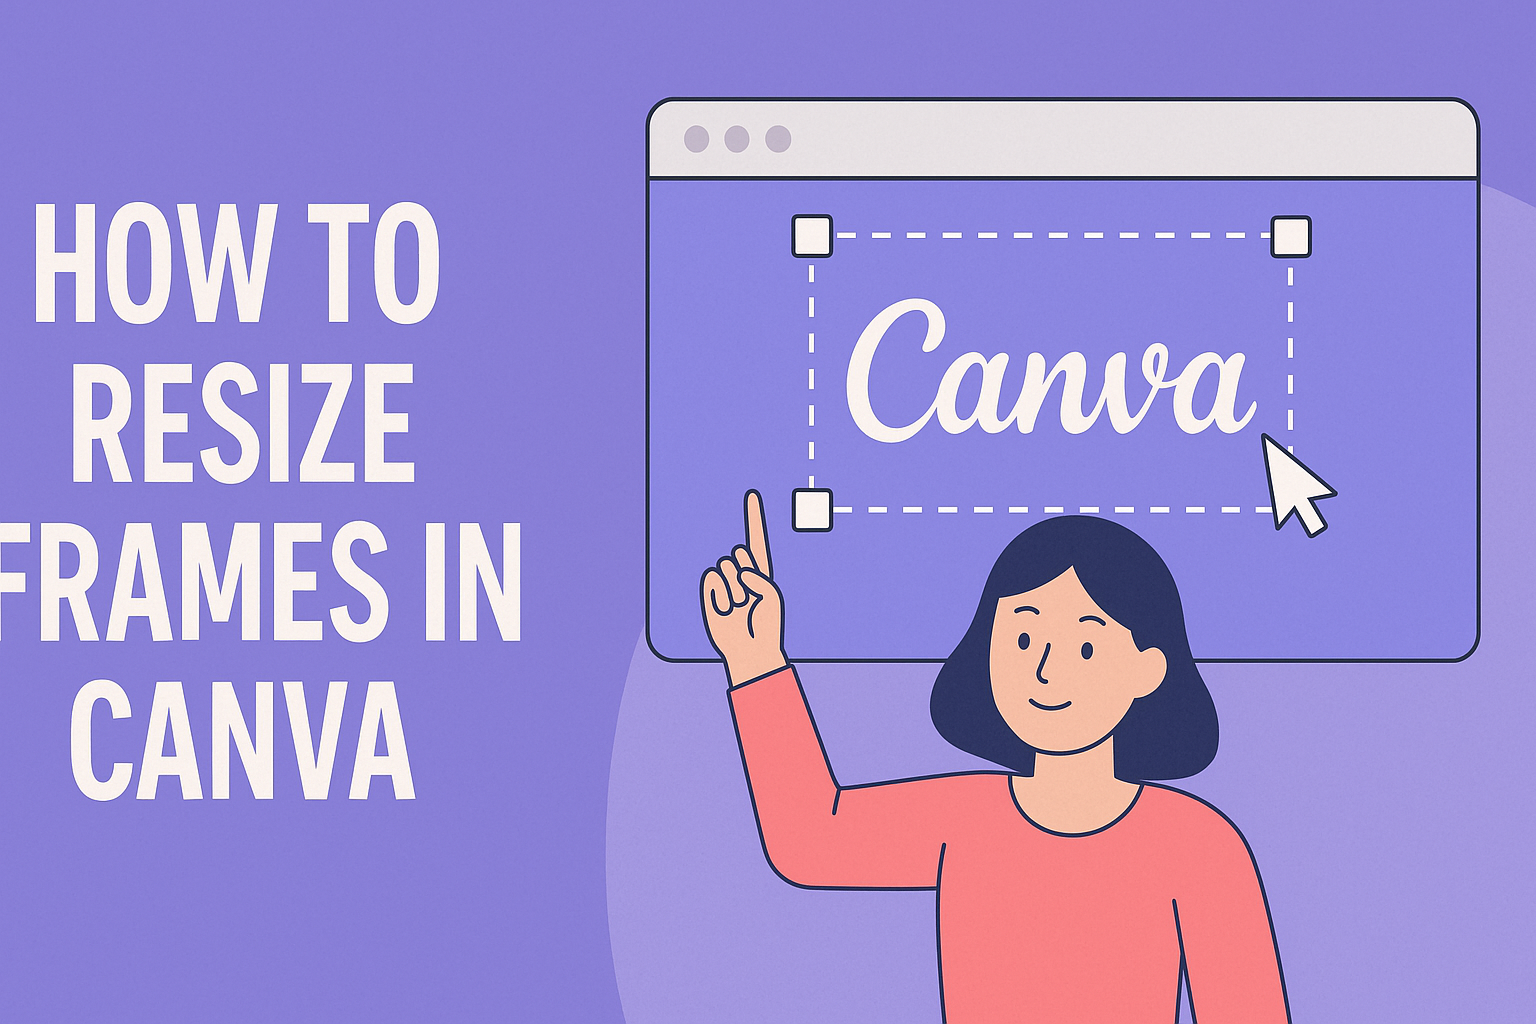
To resize a frame, just click on it, hover over one of the corners until your cursor changes to a resizing arrow, then click and drag the corner to get the desired size.
This feature allows anyone to tailor their designs to their exact needs without any hassle. Also, the flexibility of Canva makes it easy to experiment with different shapes and sizes to enhance your creative projects.
Understanding how to make these adjustments can significantly improve how your final design turns out. For anyone still learning or even those more experienced, this small skill can help unlock a whole new level of design possibilities.
With Canva’s user-friendly tools, creativity knows no bounds. Dive into the article to explore all the ways you can use frames to enhance your visual projects.
Getting Started with Canva
Getting started with Canva is simple and fun.
Users can easily open their designs and navigate the interface to make creative projects.
Opening Your Design
To begin designing, users first need to log into Canva and head to the homepage. They can choose from a variety of templates or start with a blank canvas.
Templates are organized by categories like social media, presentations, and more.
Once a template is selected, it opens in the editor, where users can make changes according to their needs. For new users, starting with a pre-made design can help both with learning the tool and sparking creativity.
Users can choose to customize every element, ensuring their design is unique. Saving work is essential, and Canva provides options to download or share the designs directly from the platform.
Understanding the Canva Interface
The Canva interface is user-friendly and straightforward.
On the left side of the screen, users will find the toolbar, which provides access to elements like photos, text, and templates. This area is where they will select tools and objects to add to their design.
In the center, the main workspace displays the design canvas. Here, users can move, resize, and edit elements.
The top bar includes settings for formatting the text, changing fonts, colors, and more.
A side panel offers additional options, like access to uploads and saved projects.
With this organized layout, users can easily find what they need and focus on creativity.
Key Concepts for Resizing Frames
Resizing frames in Canva involves understanding key differences between frames and borders, as well as the significance of maintaining correct aspect ratios. These concepts ensure that resized images remain visually appealing and true to their original design intent.
Difference Between Frames and Borders
In Canva, frames and borders serve distinct purposes.
Frames act as containers for images, allowing them to be clipped into specific shapes. This feature is useful for creating visually appealing designs while keeping the image neatly contained within a defined area.
By contrast, borders are lines that can be added around images or elements to enhance or highlight them.
Frames often require precise manipulation for desired effects. While resizing, it is crucial to remember that altering frame dimensions may impact how much of the image remains visible.
Users can reshape frames without necessarily altering the image within, offering flexibility in design. Conversely, borders are more about adjusting the thickness and style to complement the design.
Importance of Aspect Ratios
Aspect ratios determine the relationship between the width and height of a frame or image.
Keeping the correct aspect ratio ensures that resized frames do not distort the image. This maintains the visual quality and intent of the original design.
Canva provides options to lock the aspect ratio, which is helpful in preserving image proportions during resizing.
To adjust dimensions while maintaining proportions, users can modify either width or height while letting Canva automatically adjust the other dimension.
This feature is crucial for creators who need to fit their designs into specific spaces without losing visual integrity. When resizing, consider the target platform settings to ensure that aspects like visibility and design layout remain consistent.
Resizing Frames in Your Design
Resizing frames in Canva enhances the look of your designs by maintaining visual balance and harmony. Readers will learn how to keep frame sizes consistent, adjust them easily, and set specific dimensions for better design control.
Using Grids for Consistency
When working on a Canva project, grids are a fantastic tool for keeping frames aligned and consistent.
By snapping frames to a grid, users can ensure that their designs are evenly spaced and organized.
To activate grids, navigate to the “View” menu and choose “Show Grid.” This feature makes it easy to line up frames with precision.
Designers can also adjust the grid settings to fit their particular needs, allowing for greater flexibility in design layouts.
Using grids can save time and effort as they offer a guide to follow. This results in cleaner and more professional designs, making it easy to ensure that essential elements are perfectly aligned. Grids also help in maintaining uniformity across multiple pages of a project, which enhances the overall visual appeal.
Adjusting Frame Size with Drag-and-Drop
Drag-and-drop is an intuitive way to resize frames in Canva.
Users can quickly change frame dimensions by clicking on the frame edges and dragging them to the desired size. This method allows for hands-on control and flexibility in designing.
For those looking to resize multiple frames at once, select multiple frames by holding the Shift key and clicking on each frame. Then, drag the resize handles to adjust all selected frames simultaneously.
This technique is useful for creating designs with uniformity.
Using drag-and-drop not only simplifies the process but also gives a visual representation of changes in real-time. Designers can easily see how their adjustments affect the overall look of their design, ensuring that resized frames fit perfectly within the layout.
Setting Custom Dimensions for Frames
In Canva, setting custom dimensions is key for precise frame sizing.
Users can enter specific height and width values to achieve exact dimensions suitable for their projects. This is particularly useful when a design requires exact sizing, such as when creating social media posts or marketing materials.
To set dimensions, select the frame and navigate to the toolbar where dimensions can be adjusted. Here, users can input custom measurements, giving them control over the size and aspect ratio.
Custom dimensions ensure that frames are consistent with brand guidelines or specific design requirements, offering a tailored approach to design. This level of customization helps in maintaining consistency across different design elements, resulting in a cohesive overall appearance.
Styling Your Frames
Styling frames in Canva allows users to add a personal touch to their designs. Not only can colors and textures make a frame pop, but effects can add an exciting layer of creativity.
Adding Colors and Textures
In Canva, users can customize frames with various colors and textures to complement their design.
Selecting the frame lets them change its color by clicking on the color palette tool. From there, they can choose from preset colors or enter a specific color code for accuracy.
Additionally, Canva offers a variety of textures, which can give the frame a unique look.
Textures such as wood, metal, or fabric can add depth to the design, creating a more tactile visual experience.
Furthermore, users may explore patterns like stripes or polka dots. Adding these elements can help draw attention to specific parts of the design.
Experimenting with both colors and textures ensures the frame not only supports the image but also enhances overall aesthetics.
Applying Effects to Frames
Apart from colors and textures, frames in Canva can have various effects applied to them.
Effects can range from shadows and highlights to blur or glow enhancements. These additions can give the design a three-dimensional feel, making it stand out more vividly.
To apply effects, users can select the frame and navigate to the effects panel in Canva. Here, they can experiment with different levels of intensity for each effect, adjusting them until the desired appearance is achieved.
Users can explore using a light shadow to give the frame depth or a glow effect for a more vibrant look.
Each effect can transform a flat image into a layered masterpiece, making it engaging and visually appealing. These settings can be fine-tuned, ensuring the design aligns with the overall theme and mood desired.
Organizing Layers and Frames
Organizing layers and frames in Canva is crucial for creating clean and professional designs.
Paying attention to layer order helps manage the visual hierarchy, while aligning frames ensures a cohesive look. These tasks can make your designs appear more polished and easy to understand.
Managing Layer Order
Managing layer order allows designers to control which elements appear on top or underneath others. This is vital when working with overlapping objects.
In Canva, users can adjust layer order by selecting an element and using the “Position” option in the toolbar. Choose “Forward” or “Backward” to move layers as needed.
Another option is to right-click the element and select “Bring to Front” or “Send to Back”. This can quickly rearrange the stacking order.
It’s useful when multiple layers overlap and you want certain elements to stand out.
By keeping the most important visuals on top, designers maintain focus where it’s needed. Frequently using these tools helps ensure elements are easily accessible and visually appealing.
Aligning and Distributing Frames
Aligning and distributing frames creates balanced compositions.
Canva offers an intuitive way to align frames through the alignment toolbar.
Select multiple frames, then click on alignment tools like “Align Left”, “Align Center”, or “Align Right”. Vertical options like “Align Top”, “Align Middle”, and “Align Bottom” are also available.
For equal spacing between frames, use the “Tidy Up” feature. Select frames and click the “Position” button, then choose “Tidy Up”. This distributes frames evenly, making the layout pleasing to the eye.
Well-aligned frames contribute to a professional look by ensuring each element is precisely placed. These tools simplify achieving consistent spacing, which is essential for creating visually harmonious designs.
Practical Tips for Frame Resizing
When resizing frames in Canva, it’s important to focus on keeping a good visual balance and ensuring that designs look great on different devices. The following subsections offer practical advice to help with these aspects.
Maintaining Visual Balance
Visual balance plays a key role in designing appealing layouts. When resizing frames, users should consider the overall composition.
They can start by positioning key elements in a way that draws attention to the focal points of the design. Using the rule of thirds can help, where important elements are aligned with the imaginary lines dividing the layout into thirds.
Typography also affects balance. Choosing a font size that complements the frame size keeps the design proportional.
It’s helpful to experiment with different font weights and alignments to see what works best.
Color and contrast are other critical aspects. A balanced color scheme that includes contrasting hues can highlight the main focus without overwhelming the viewer.
Users may find it useful to test various color combinations to maintain harmony in the composition.
Ensuring Responsiveness Across Devices
Making sure that designs look good on all devices requires some attention to detail.
Frames must be adaptable to different screen sizes to keep the design effective and visually appealing. One approach is to create a fluid design by using frames that can automatically adjust to screen width.
Image resolution is essential for responsiveness. Using high-resolution images that remain sharp on both small and large screens is important.
It’s a good idea to test designs on various devices to catch any issues beforehand.
Paying attention to text readability is crucial.
Text should resize proportionally with frames to remain readable on all platforms. Consider using Canva’s preview feature to see how the design appears on different devices. This ensures that the layout remains both functional and visually pleasing.
Troubleshooting Common Issues
Resizing frames in Canva can sometimes cause unexpected problems. Users may encounter issues like frames snapping unexpectedly or images becoming pixelated. The following sections provide practical solutions to these common challenges.
Solving Frame Snapping Problems
Frames in Canva may snap to certain grid points when resizing. This can be frustrating if precise placement is important.
When a frame snaps into place, users should check if the “Snap to grid” option is enabled in the toolbar. Disabling this feature can allow for more precise adjustments.
If the problem persists, use the arrow keys for fine-tuning the frame’s position after getting it close with the mouse. This method gives more control and lessens the need for mouse adjustments.
Holding the Shift key can also help in moving frames freely, offering further control over placement.
Fixing Pixelation in Frames
Pixelation occurs when an image is stretched beyond its resolution capacity. To address this, always upload high-resolution images to Canva.
Images with higher quality maintain clarity better when resized. Users should also check the image’s dimensions compared to the frame size.
If an image becomes pixelated, consider reducing the frame’s size. Alternatively, replace the image with a vector graphic, which does not lose quality when resized.
Utilizing Canva’s built-in image enhancements, such as adjusting sharpness or clarity, can also help improve the visual quality of pixelated images.