Changing the background of an image can breathe new life into a design.
For those who want to give their graphics a fresh look, Canva offers some easy-to-use tools that make this process quick and simple.
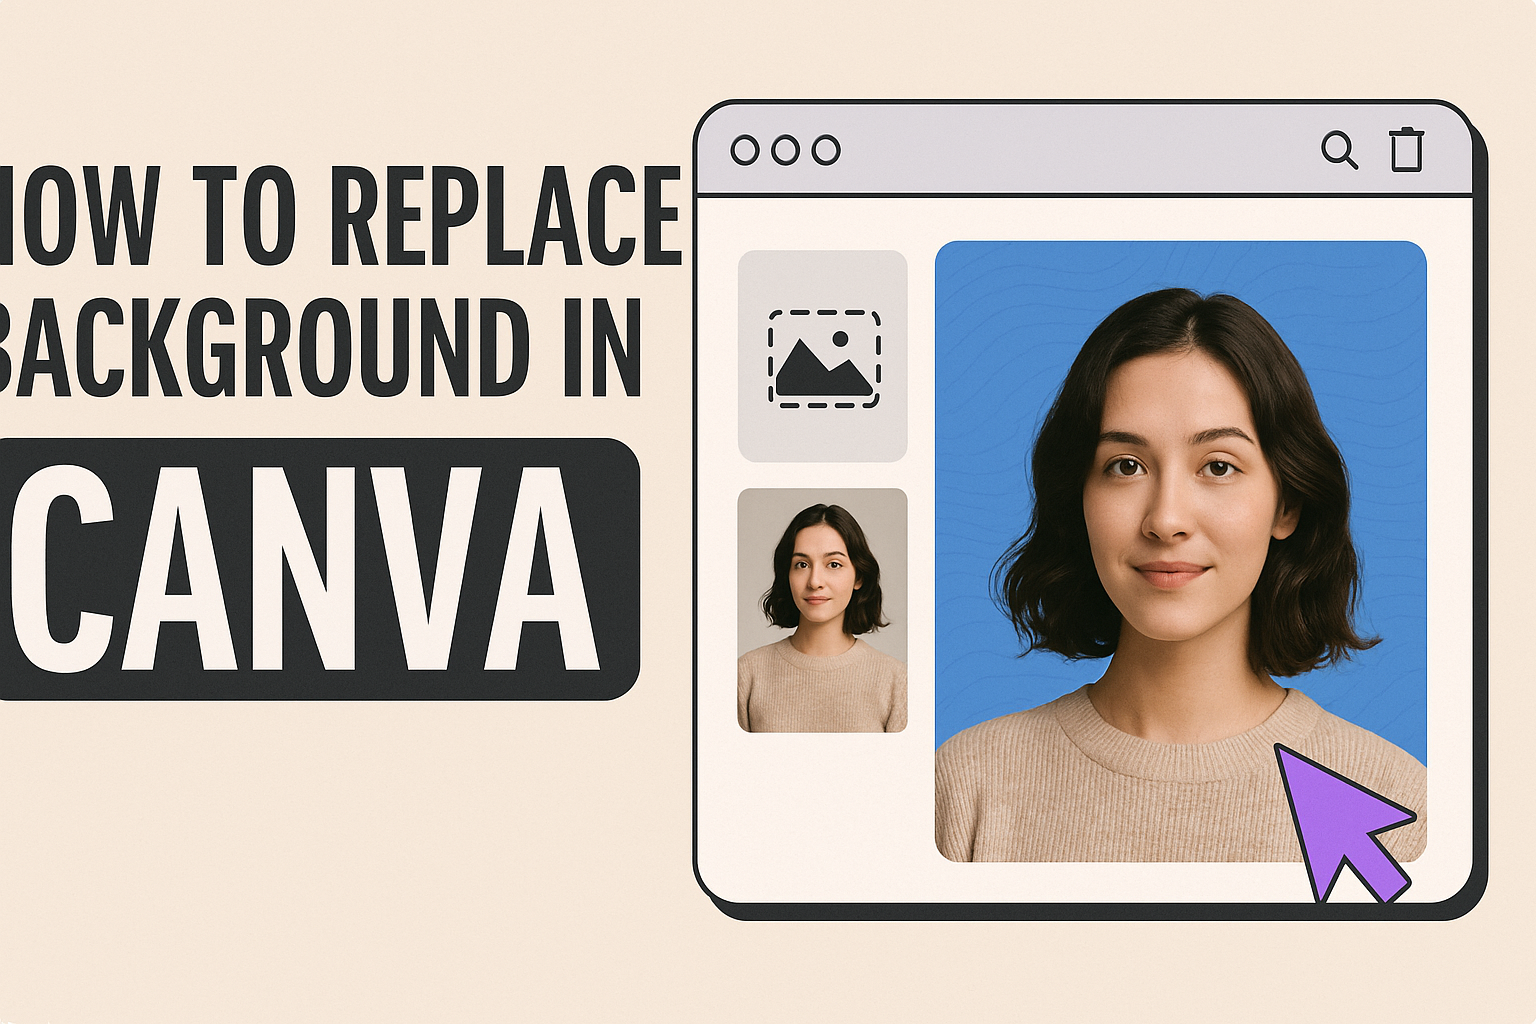
To replace a photo background in Canva, users can utilize tools such as the BG Remover or Magic Grab. This feature allows anyone to create stunning visuals without advanced design skills.
Canva provides a user-friendly interface that invites creativity.
Users can access and apply these background changes in seconds, making it ideal for creating polished presentations, social media posts, or personal projects.
By providing access to both free and advanced features via Canva Pro, it suits different levels of design needs.
For those curious about learning more details or looking for a step-by-step guide, plenty of resources are available online. Whether using it for professional use or personal enjoyment, Canva’s tools open up a world of design possibilities.
Getting Started with Canva
Canva is a versatile tool that offers easy graphic design solutions for both beginners and seasoned designers.
The first steps to using Canva involve setting up an account and getting familiar with its interface. These are crucial for accessing its wide range of features and tools.
Creating an Account
To begin with Canva, users need to set up an account. They can do this quickly by visiting Canva’s website.
Signing up can be done via email, Google, or Facebook, allowing flexibility based on preference.
Once users provide their details, Canva sends a confirmation email. This step helps keep the account secure.
By confirming the email, users finalize the setup and gain full access to the design features.
Canva offers both free and paid versions. The free version is robust with its features, but for more advanced tools, users consider upgrading to Canva Pro.
Exploring the options, such as templates and design elements, even in the free version, gives a feel of Canva’s potential for creating impressive visuals.
Overview of Canva Interface
Canva’s interface is user-friendly, emphasizing a straightforward design process.
When users log in, they see the homepage, which offers quick access to recent designs, templates, and the option to start a new project.
The sidebar on the left includes key tools. Users find sections like Templates, Elements, and Text. There’s also an option for uploads, enabling the addition of personal images.
On the main design space, the top menu offers essential tools for editing, undoing actions, and adjusting the view.
Each element in a project can be individually selected and customized, enhancing creativity and efficiency.
This balance of simplicity and functionality ensures even newcomers can navigate Canva effortlessly, making the design process both fun and productive.
Preparing Your Design Canvas
Getting your Canva design canvas ready involves choosing a template that fits the project’s needs and understanding the various design elements at your disposal. These steps will help ensure a smooth design process.
Selecting the Right Template
Choosing the correct template is crucial to starting your design on the right foot.
Canva offers a wide variety of templates for different types of projects like social media posts, presentations, and print materials.
To pick the best one, think about your project’s purpose and the platform where it will be shared.
Consider the size and layout that will best present your content. For example, a poster template is ideal for large graphics, while a square format is great for Instagram posts.
Once a type is identified, browse through the available options and select a design that matches your style preferences.
It’s also helpful to customize the chosen template to align with any specific brand guidelines or style themes. This way, the initial setup saves time and serves as a solid foundation for the design work that follows.
Understanding Canva Design Elements
Canva provides a vast array of elements to enhance your creations. These include text styles, images, shapes, and illustrations.
Each element adds visual interest and helps convey the message more effectively.
Text elements, for example, come with pre-designed font combinations to suit various content types.
Selecting the right font and size is important for readability and design cohesion.
Images and shapes add context and structure. Users can insert their own images or choose from Canva’s extensive library.
Shapes can be used to segment information, create emphasis, or enhance the visual flow.
Familiarity with these design elements ensures more effective use of Canva’s features, allowing users to craft engaging, professional-looking designs more easily.
Uploading Images to Canva
In Canva, uploading your own images is simple and efficient. This section guides users on the types of images they can upload and the steps to upload directly from a device.
Supported Image Formats
Canva supports a variety of formats to ensure compatibility and ease of use.
Users can upload images in JPEG, PNG, and SVG formats. These formats are commonly used and often provide high-quality images suitable for both digital and print designs.
JPEG images are great for photographs because they maintain quality while keeping file sizes small.
PNG formats are popular for images that need transparent backgrounds, making them ideal for layering on top of other designs.
For those who require scalable images, SVG is perfect due to its ability to resize without losing quality.
Being aware of the supported formats helps users save time by ensuring their images will upload smoothly and function properly in the design editor.
Uploading from Your Device
To upload images directly from a device, users need to navigate Canva’s user-friendly interface.
First, they should open a new design or select an existing one to begin the upload process.
On the left side panel, there’s an “Uploads” button where users can click “Upload files”.
Once selected, a file browser will appear, allowing them to navigate through their device’s files.
By choosing the desired image, it will automatically upload to their Canva library.
After uploading, images are immediately available in the design interface.
Users can drag and drop them into designs, resize, and manipulate them as needed.
This straightforward process helps users get creative without any technical hurdles.
Working with Backgrounds
Working with backgrounds in Canva allows users to enhance their designs by selecting from various options. Users can either choose pre-made backgrounds from Canva’s library or customize designs with solid color backgrounds.
Choosing a Background from Canva’s Library
Canva offers a vast library of background options, providing users with lots of creativity.
To choose a background, navigate to the Background tab in the editor side panel. If you don’t see it right away, click on Apps first.
Once there, browse through the selection. Whether you’re looking for vibrant patterns, subtle textures, or themed designs, Canva has plenty to offer. Use the search bar if you need something specific.
Images can be added as backgrounds by clicking on them. For further customization, right-click an image and select Set Image as Background or Replace Background to adjust the image in your design.
Adding a Solid Color Background
For a more straightforward design, adding a solid color background can be effective.
Start by clicking on the Background tab or selecting the existing background of your project. You’ll see a color box appear on the right of the editing panel.
Clicking this box lets you choose from a wide range of colors. You can pick a color from Canva’s palette or use the color picker tool to find your perfect shade.
If you need to match specific branding colors, enter the color hex code directly to ensure consistency.
Solid color backgrounds can provide a clean and professional look to your designs, making them perfect for presentations or business graphics.
Removing Existing Backgrounds
Removing a background in Canva is straightforward with tools that make the process simple and precise. Two essential steps involve using Canva’s Background Remover tool and refining the results for a clean look.
Using Canva’s Background Remover Tool
Canva offers a handy tool called the Background Remover to erase backgrounds effortlessly.
First, users need to upload their image onto the Canva platform. Once the image is on the canvas, selecting the “Edit photo” option reveals the Background Remover.
When activated, this tool automatically detects and removes the background, leaving the main subject isolated.
It’s worth noting that the Background Remover is a premium feature, so access requires a Pro account.
This tool is especially useful for creating polished designs without the hassle of using complex software.
Fine-Tuning the Edges
After removing the background, the image might need some fine-tuning, especially around the edges.
Canva provides options to adjust these details.
Users can utilize tools like the “Erase” and “Restore” brushes.
These brushes are effective for correcting any errors or refining intricate areas that the automatic remover might miss.
The “Erase” tool can be used to remove any leftover bits of background, while the “Restore” tool helps bring back parts of the image that might have been accidentally removed.
This ensures that the final image looks neat and ready for use in any project configuration. With these features, users can ensure all parts of their designs look just right!
Adding New Backgrounds
Changing the background in Canva can transform a project. This can be done by uploading custom backgrounds and adjusting their transparency and position to fit the design perfectly.
Uploading Custom Backgrounds
To add a custom background, they should first access Canva’s editor. They can click the Uploads tab to bring in an image from their device.
After selecting an image, it’s essential to drag it onto the design canvas.
Once placed, using the Set Image as Background option will fit it perfectly. This feature ensures the image covers the entire canvas.
If the image doesn’t fit well, it might be beneficial to choose a higher resolution photo or adjust the image size before uploading.
Adjusting Background Transparency and Position
After setting the background, adjusting transparency can create a softer look.
They should select the background image and click on the Transparency icon. This will allow them to slide to the desired transparency level.
Positioning is equally important for design balance.
By clicking and dragging the background, it can be repositioned easily. Using the arrow keys on the keyboard offers more precise adjustments.
It’s also helpful to use Canva’s Position feature to align the image perfectly, either centered or towards the edges as per their design needs.
Design Tips and Best Practices
When replacing backgrounds in Canva, it’s important to match the background to the content, ensuring a cohesive design. Also, maintaining image quality helps create professional and visually appealing designs. The following sections provide specific tips to achieve these goals.
Matching Background to Content
Matching the background to the content is crucial for a harmonious design. It ensures the main subject stands out while the background complements rather than competes.
Choosing colors that are in the same palette as the main elements can help tie everything together.
For example, using soft pastels for a spring-themed design or bold, vibrant colors for a summer theme can set the mood effectively.
Consider the theme and tone of your design. If your design is lighthearted or whimsical, a playful background would be fitting. For more serious or professional designs, a simple, clean background might be appropriate.
A well-chosen background can enhance the overall message you wish to convey.
It’s also useful to experiment with different textures and patterns. Subtle textures can add depth without being overwhelming. Canva offers a wide range of options to experiment with, allowing the user to try different looks before finalizing their design.
Maintaining Image Quality
Maintaining image quality is vital to ensure your design remains clear and professional.
When adding a background, it’s important to use high-resolution images. Low-quality images can make a design look pixelated or blurry, which detracts from the overall impression.
Using Canva’s tools, like the crop and adjust features, can help optimize image quality.
Adjusting brightness, contrast, and saturation can ensure the background doesn’t overshadow the main content and maintains a balanced look.
Avoid over-editing, which can lead to loss of detail and make the final work appear unnatural.
In particular, when replacing backgrounds, ensure the new background fits seamlessly with the foreground. This can involve subtle blending or adjusting to make transitions look natural.
With Canva, maintaining quality while replacing backgrounds is straightforward if done with care.
Saving and Sharing Your Design
Once you’ve perfected your design in Canva, the next steps are to save it and share it with others. Canva offers multiple formats for exporting your design and provides tools to make collaboration easy.
Exporting in Different Formats
Canva provides flexibility in exporting designs.
Users can choose from formats like PNG, JPEG, and PDF. For high-quality images, PNG is recommended. JPEG is ideal for web use due to its smaller file size. If the design needs to be printed, using a PDF ensures high-quality output.
To export, click the “Download” button in the top right corner of the Canva editor.
A menu will appear with format options. Select the desired format and quality settings, then click “Download.” Canva will process and prepare the file for download.
Using Canva to Collaborate
Collaboration on Canva is straightforward. Users can invite others to view or edit designs by sharing a link.
Clicking the “Share” button reveals options to send the design via email or generate a shareable link.
Additionally, users can set permissions to view-only or allow editing. Teams can leave comments on designs, making it easier to give feedback and work together.