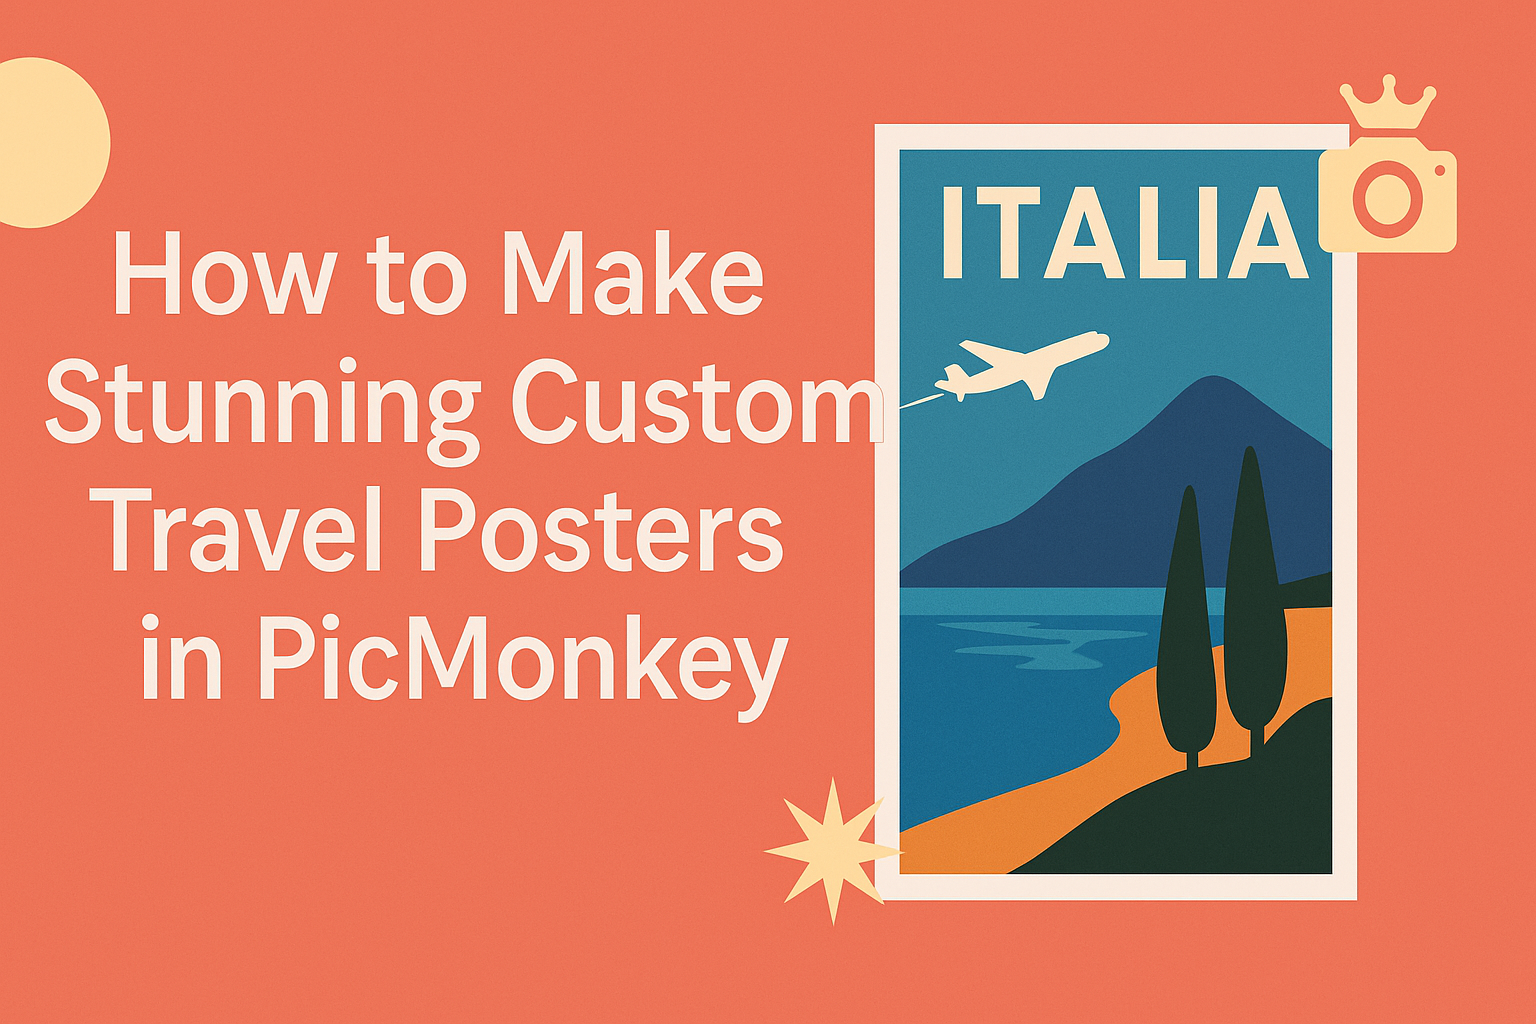
Creating custom travel posters can be a fun and rewarding project. With PicMonkey, anyone can design eye-catching posters that capture the spirit of their favorite destinations.
Making stunning custom travel posters in PicMonkey is easy and requires just a few simple tools and steps.
From selecting vibrant templates to personalizing images and text, PicMonkey provides everything needed for a creative experience.
Users can draw inspiration from their travel memories and incorporate personal touches that truly reflect their journeys.
By the end of the process, they’ll have a beautiful poster ready to showcase their adventures.
Whether it’s for decorating a room or sharing with friends, these travel posters can be a wonderful way to relive moments spent exploring the world. With the right guidance, anyone can unleash their creativity and make a unique piece of art that stands out.
Getting Started with PicMonkey
PicMonkey makes it easy for users to create stunning custom travel posters. To begin, users need to set up their accounts, navigate the interface, and understand the essential tools available.
Setting Up Your Account
Creating an account is the first step to using PicMonkey. Users can sign up with their email address or connect through social media accounts.
After entering some basic information, they will need to verify their email to complete the setup.
Once the account is active, users can choose between free and paid plans. The paid plan offers more features, such as additional templates and graphics. This choice will depend on their design needs.
Navigating the Interface
PicMonkey’s interface is user-friendly and straightforward. Upon logging in, users are greeted with a clean workspace. Here, they can select various options to start a new project.
The main toolbar contains buttons for creating new designs and accessing templates. Users can easily find travel poster templates by using the search function.
Different sections are clearly labeled, making navigation simple. Users can quickly switch between their designs and access saved projects with ease.
Understanding the Tools
PicMonkey offers a variety of design tools that empower creativity. Users can choose from thousands of graphics and images to enhance their posters.
The photo editor allows for easy adjustments, such as cropping or filtering images.
Designing is made easier with customizable templates. Users can add text, change fonts, and use color tools. This flexibility helps in personalizing travel posters to fit their style.
PicMonkey also includes options for layering and arranging elements. This feature gives users control over the placements of graphics and text in their designs. Understanding these tools is key to creating beautiful posters.
Designing Your Travel Poster
Creating a captivating travel poster involves several key steps. Focusing on a theme, selecting the right images, using effective typography, and arranging the layout are crucial to making a stunning design.
Choosing a Theme
The theme sets the tone for the travel poster. It can reflect a specific location, an adventure, or a cultural experience.
For instance, a tropical beach theme might focus on relaxation and fun, while a historical city theme could highlight culture and exploration.
To choose a theme, consider the destination’s unique features. Think about the colors, vibes, and emotions associated with that place.
Once a theme is decided, it will guide the choice of images, colors, and typography. This clarity helps create a cohesive look that draws viewers in.
Selecting Images and Graphics
Images are powerful in travel posters, making them visually appealing. Choosing high-quality images that resonate with the theme is essential. A stunning sunset, famous landmarks, or local activities can capture attention.
Using tools like PicMonkey, individuals can access a wide range of graphics and templates. They can also upload personal travel photos to give a unique touch. Layering images with graphics, like borders or icons, enhances the overall effect.
When selecting images, consider how they work together. Avoid clutter by using images that complement rather than compete for attention. This creates a harmonious design that effectively communicates the travel experience.
Playing with Typography
Typography plays a significant role in conveying the message and emotion of a travel poster. The right fonts can bring a theme to life, whether it’s playful, elegant, or adventurous.
It’s crucial to choose fonts that are easy to read yet visually interesting.
PicMonkey offers various fonts to match different styles. Sticking to two or three font types helps maintain balance. Headings should be bold and attention-grabbing, while body text should remain legible.
Consider using different font sizes to create hierarchy. This way, important information stands out. Combining fonts with colors that match the theme enhances the overall look of the poster.
Arranging Layout and Composition
A well-arranged layout guides the viewer’s eye through the poster. Start by placing images and graphics in a way that flows naturally. The focal point should grab attention first, followed by supporting elements.
Using the grid feature in PicMonkey can help align elements neatly. Balance is key; distribute images, text, and white space evenly. Too much clutter can overwhelm the viewer, so simplicity is often more effective.
Incorporating borders or frames can unify the design. This makes the poster feel complete. Lastly, previewing the poster helps identify any areas that might need adjustment for overall balance and appeal.
Adding Special Effects
Special effects can take a custom travel poster from ordinary to eye-catching. By using filters, textures, frames, and overlays, the design can come alive, capturing the essence of the destination.
Using Filters and Textures
Filters and textures can dramatically change the look of a poster. They help set the mood and can make images pop.
Here are some tips for using filters:
- Choose Wisely: Select filters that enhance the colors and vibe of your travel photo. For beach scenes, consider warmer tones.
- Adjust Settings: Don’t be afraid to tweak the intensity. A subtle touch might be all that’s needed.
- Layer Textures: Adding a subtle texture can bring depth. For instance, a light grain can give a vintage feel, while a watercolor texture adds artistic flair.
Using filters creatively can highlight details in the images, making them more compelling.
Incorporating Frames and Overlays
Frames and overlays give structure and style to posters. They can draw attention to important elements or create an interesting backdrop.
Here’s how to use them effectively:
- Select a Frame: Choose a frame that complements the poster’s theme. Travel posters benefit from frames that echo the destination’s culture or environment.
- Use Overlays: Transparent overlays can soften images and add a dreamy effect. This is especially effective when promoting romantic destinations.
- Add Text: Integrating frames and overlays can also help in positioning text. Ensure that the text is clear against the background and easy to read.
Frames and overlays serve as a final touch, making travel posters more engaging and polished.
Finalizing and Sharing Your Poster
Once the poster design is complete, the next steps are saving the work correctly and planning how to share it with others. Both steps ensure the creation is preserved and reaches the intended audience effectively.
Saving and Exporting Your Work
When ready to save a poster in PicMonkey, users should select the Save option in the upper right corner. It’s crucial to choose the right format. Exporting as a PNG or JPEG provides quality, especially for online sharing.
Resolution matters. For posters, a high-resolution file ensures clarity, especially if printing is planned.
Before saving, users can select the design quality. Going for the highest quality is usually best, particularly for intricate designs.
For easy access, saving to the computer or cloud storage is recommended. This way, users can revisit the poster for future edits or variations.
Also, consider naming the file descriptively, like “TravelPoster_Paris2024,” to make it easy to identify later.
Sharing Tips on Social Media
Sharing a custom travel poster on social media can boost engagement.
First, choose the right platform based on where friends and followers interact most, whether Instagram, Facebook, or Twitter.
When posting, write a compelling caption. This should express the inspiration behind the design.
Using relevant hashtags, like #TravelPoster or #Wanderlust, helps reach a wider audience.
Additionally, tagging locations or using stickers can make posts more attractive.
Engaging with viewers through comments encourages conversation about the travel experience.
Lastly, consider posting during peak times when followers are most active. This maximizes visibility and interaction, leading to a more successful sharing experience.