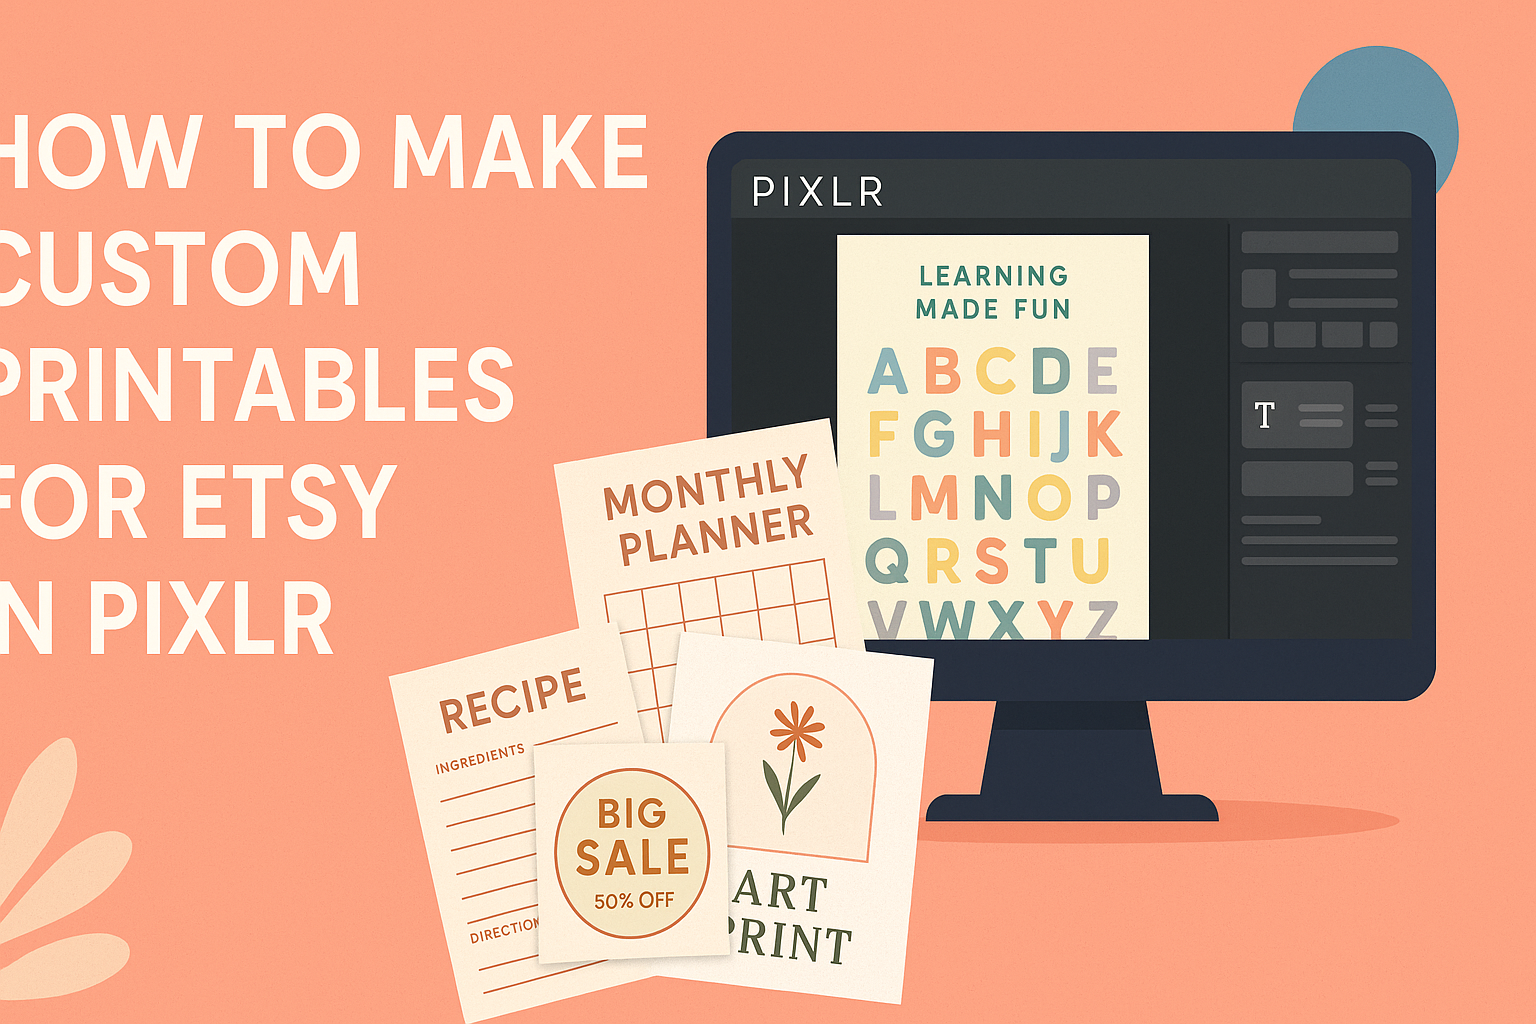
Creating custom printables for Etsy can be a fun and rewarding process. Using Pixlr, anyone can design eye-catching printables that attract buyers with just a few simple steps.
Whether it’s wall art, planners, or educational materials, the right tools make all the difference.
With Pixlr, users can easily access a variety of design features that enhance their creativity. From adjusting colors to adding unique elements, this platform allows individuals to bring their artistic visions to life without needing advanced skills.
The potential to sell custom designs that reflect personal style adds excitement to the journey of becoming an Etsy seller.
Exploring the possibilities with Pixlr enables crafters to tap into trending themes and create printables that truly stand out. By learning how to navigate this user-friendly tool, sellers can build a distinctive brand that keeps customers coming back for more.
Setting Up Your Pixlr Workspace
Creating an effective workspace in Pixlr can make the design process smoother and more enjoyable. By understanding the interface and customizing the canvas size, users can set themselves up for success.
Navigating the Pixlr Interface
When opening Pixlr, users are greeted with a clean interface that includes several important sections.
The main toolbar on the left holds essential tools like the selection, brush, and text tools.
Across the top, users will find menus for file management and editing options. It’s helpful to familiarize oneself with these items for a smoother experience.
The right side features layers, which allows users to manage different elements of their design. Understanding how to navigate these components can significantly enhance creativity and productivity.
Customizing the Canvas Size
Canvas size is crucial for creating custom printables. When starting a new project, users should click on “Create New” and set the dimensions according to their needs.
Common sizes for printables include 8.5 x 11 inches for standard paper. It’s also important to select the correct resolutions, with 300 DPI being suitable for high-quality printing.
Users can adjust the canvas size later by selecting the “Image” menu and choosing “Resize.” This flexibility allows for easy modification if design requirements change.
By ensuring the canvas is the right size, users can avoid potential issues with printing or display. Taking time to set this up properly pays off when delivering a finished product.
Designing Your Printable
Creating a custom printable requires careful planning and attention to design. Key aspects to consider include selecting appropriate templates, incorporating engaging design elements, and using layers effectively to create a polished final product.
Selecting the Right Templates
Choosing the right template is crucial for setting the foundation of any printable. It should match the purpose of the printable, whether it is for planners, invitations, or educational materials.
Platforms like Pixlr offer various templates that are easy to customize. Users need to consider factors like size and orientation—landscape vs. portrait.
It’s also important to think about the target audience. A bright and playful template might appeal to children, while a sleek, minimalist design may attract adults. Finally, ensure that the template allows enough flexibility for personal touches.
Incorporating Design Elements
Integrating design elements can make a printable stand out. These elements include colors, fonts, illustrations, and graphics.
Choosing a color palette that reflects the theme of the printable enhances its visual appeal. For example, pastel colors might suit a baby shower invitation, while bold colors work well for a birthday party.
Fonts are just as important; they need to be legible and appropriate for the audience. Mixing fonts can add interest but should be done carefully.
Additionally, using graphics or images can enhance the overall design. Make sure to select high-quality visuals that align with the printable’s message.
Using Layers Effectively
Layers are a powerful feature when designing printables in Pixlr. They allow for better organization and flexibility in adjusting individual elements.
By placing each design element on a separate layer, it becomes easy to modify one part without affecting others. Users should label layers clearly for easy navigation.
Additionally, using blending modes can create interesting effects, like making text stand out against a background. It is beneficial to experiment with transparency settings for images to create a cohesive look. Overall, mastering layers can significantly improve the quality of a printable design.
Preparing for Etsy
Getting ready to sell custom printables on Etsy involves understanding the right file formats and creating appealing thumbnails. These steps are crucial for providing quality products and attracting customers.
File Formatting and Sizes
When selling printables, it’s essential to use the correct file formats. A common choice is PDF, as it preserves the quality of the designs.
Recommended sizes for printables can vary, but a standard 8.5 x 11 inches works well for many products. For other sizes, consider these options:
- A4: 8.27 x 11.69 inches
- 5 x 7 inches: Perfect for cards
- Square: 12 x 12 inches for wall art
Ensure the resolution is at least 300 DPI (dots per inch) to maintain sharpness. This helps customers get high-quality prints they’ll love.
Creating Eye-catching Thumbnails
Thumbnails serve as the first impression of a product. A strong thumbnail can significantly increase clicks and sales.
Aim for clear and vibrant images. Including mock-ups of the printables in a realistic setting attracts attention. Here are some tips:
- Use natural lighting for photos.
- Include text overlay that highlights the product’s purpose.
- Stick to a consistent style that matches your brand.
Make sure thumbnails are 2000 pixels wide for optimal viewing on Etsy. A well-designed thumbnail can entice buyers and set a shop apart from others.
Publishing and Marketing
Once the custom printables are ready, the next step is to publish them on Etsy and market them effectively. This involves creating engaging product descriptions and using search engine optimization (SEO) strategies to reach a larger audience.
Writing Compelling Product Descriptions
A compelling product description captures potential buyers’ attention. It should highlight the unique features of the printable and how it benefits the user.
Key elements to include:
- Use Clear Language: Avoid jargon and use straightforward terms that everyone understands.
- Highlight Features: List sizes, themes, and any customization options available.
- Tell a Story: Explain how the printable can be used in everyday life or for specific events. This makes it relatable and appealing.
Adding a personal touch can engage customers. For example, she might share why she created the design or how it can spark joy in their homes.
Leveraging SEO for Etsy Search
SEO is crucial for increasing visibility on Etsy.
By optimizing product listings, sellers can attract more visitors.
Effective SEO strategies include:
- Keyword Research: Identify relevant keywords that potential buyers might search for.
Use tools like Etsy’s search bar to find popular phrases.
- Title and Tags: Incorporate these keywords naturally into the product title, descriptions, and tags.
This helps the listing appear in search results.
- High-Quality Images: Use clear, high-resolution images as they improve the listing’s appeal and can lead to better search rankings.
By focusing on SEO, sellers can effectively reach their target audience and boost sales.