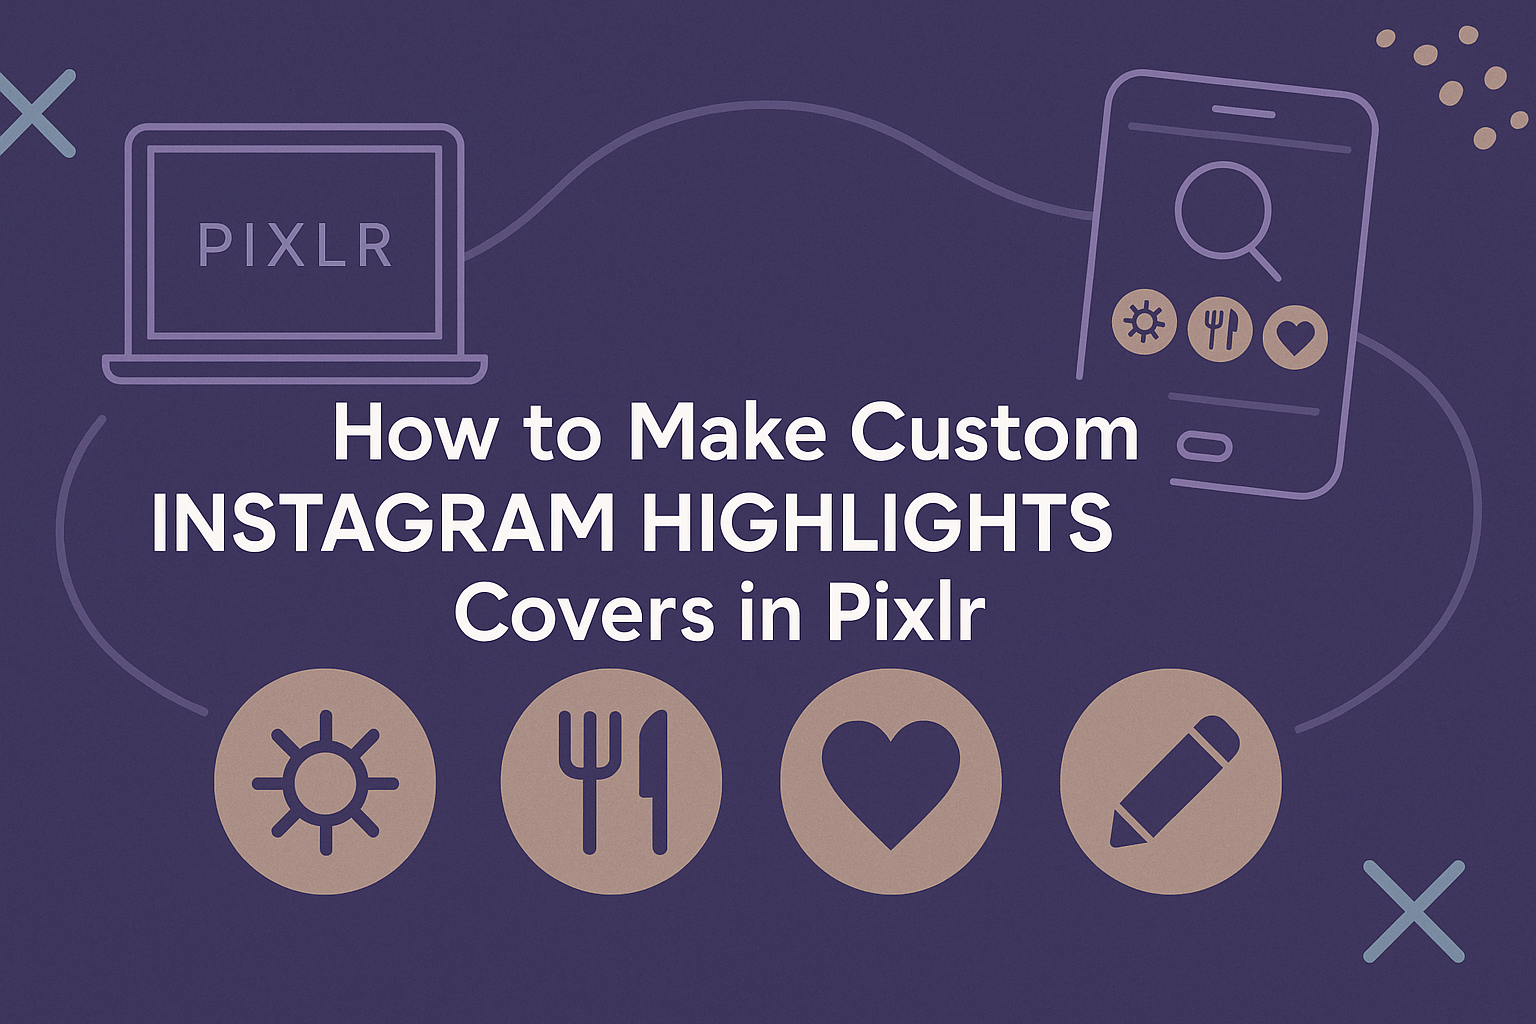
Creating a unique look for Instagram can be fun and easy. Many users want their profiles to stand out, and custom highlight covers are a great way to achieve that. With Pixlr, anyone can design beautiful Instagram highlight covers that reflect their personal style and brand.
By using Pixlr, users can access a range of tools to customize their highlights. The platform allows for creativity without needing advanced design skills.
From selecting colors to adding text or images, individuals can craft covers that truly represent their content.
This guide will walk through the steps to make custom highlight covers in Pixlr. Whether someone is new to design or looking to refresh their Instagram, these simple techniques can make a big impact on their profile’s appearance.
Getting Started with Pixlr
To create custom Instagram highlight covers in Pixlr, it’s important to understand its user-friendly interface and how to set up a new project. This knowledge will help users efficiently navigate the tools and features available.
Understanding Pixlr’s Interface
Pixlr offers a simple and intuitive interface that makes it accessible for beginners.
On the left side, users will find the toolbar, which contains essential tools like selection, brushes, and text.
The canvas is located in the center, where designs come to life. To the right, the layers panel allows for easy management of different elements of the project.
Familiarizing oneself with these areas helps streamline the design process.
Also, menus at the top provide additional options like filters and image adjustments. Exploring these features can reveal more creative possibilities.
Setting Up Your Project
To start a new project in Pixlr, users should click on “Create New” from the homepage. A dialog box will appear, prompting them to set dimensions.
For Instagram highlight covers, a size of 1080 x 1920 pixels is recommended.
Next, they can choose a background color or image. Clicking the Background option allows for customization.
Once the layout is set, hit “Create” to open the workspace.
From here, users can begin adding elements like icons and text. Pixlr’s layer system makes it easy to edit each part without affecting others, enhancing flexibility in design.
Designing Your Instagram Highlights Covers
Creating eye-catching Instagram Highlights covers involves selecting a cohesive theme, picking the right colors, and enhancing with text and graphics. Each element plays a vital role in reflecting the personality of the brand or individual.
Choosing a Theme and Color Palette
A consistent theme helps unify all the Highlights and sets a particular mood.
He or she should consider the style of their Instagram feed. Is it vibrant and fun, or sleek and minimalist? Picking a color palette that aligns with this theme is crucial.
Using tools like color palette generators can simplify selecting complementary colors. A common approach is to choose one or two dominant colors and a few accent colors. This way, the highlights are visually appealing and easy to navigate.
Adding Text and Graphics
Text and graphics are important for making highlights informative and interesting. When adding text, clarity is key. A simple font style ensures that followers can easily read and understand the content.
Icons or small graphics can enhance the visual appeal. For instance, using a shopping cart icon for shopping highlights can make it instantly recognizable.
It’s important to keep graphics aligned with the overall theme to maintain a harmonious look.
Adjusting Layers and Effects
Adjusting layers and effects in Pixlr can elevate the design.
Layering allows for the combination of different graphics and text without losing quality. Users can play with opacity to create unique effects, making certain elements stand out more.
Filters and effects can also be added to give a polished look. He or she should experiment with shadows and outlines to add depth. This attention to detail will help the covers pop on their Instagram profile.
Finalizing and Exporting
Before moving on to export, it’s essential to ensure that the design meets all expectations. Reviewing the design and saving the cover image correctly are crucial steps in this process.
Reviewing Your Design
At this stage, take a moment to look over the cover design.
Check for any typos in the text and ensure that the colors match your brand or theme. This is the final chance to modify any elements before exporting.
It can be helpful to zoom in on the design to catch small details that may have been overlooked. Look at the alignment of icons and text; everything should feel balanced.
Using Pixlr’s preview function allows seeing how the cover looks on a potential Instagram feed layout. If changes are needed, they should be made here to avoid issues post-export.
Saving Your Cover Image
Once satisfied with the design, it’s time to save the cover image.
In Pixlr, navigate to the top menu and select “File,” then “Save.” This opens options for the file format.
Use PNG for high quality or JPG for smaller file sizes.
Consider the dimensions, which ideally should be 1080 x 1920 pixels for Instagram. This ensures that the cover appears sharp and clear on different devices.
After selecting the format and dimensions, simply click “Download” to save the image to your device.
Always double-check the saved file to confirm that it matches the design you reviewed.