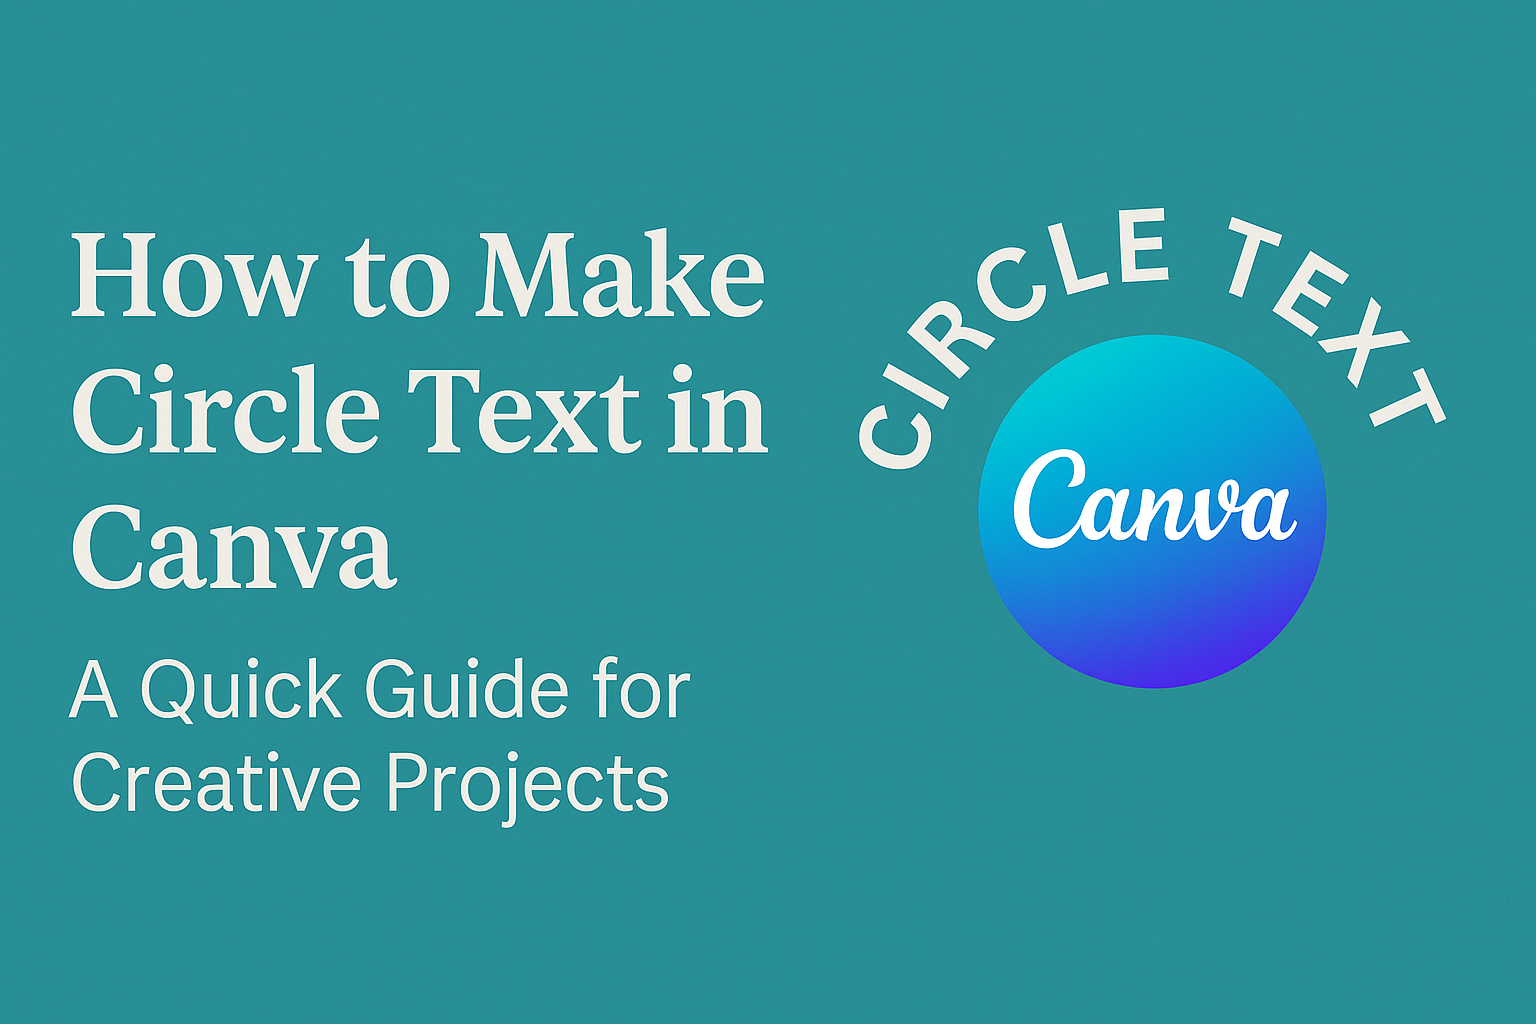
Creating circle text in Canva adds flair and creativity to designs. It’s a fun way to make titles and logos stand out.
To make circle text in Canva, use the curve text feature to bend your text into the shape you want. With a few clicks, you can adjust the curve to make arcs or full circles and change the font, size, and color.
Canva’s tools offer flexibility, whether you’re sprucing up a social media post or designing a unique badge. Users can explore different styles by combining curved text with other elements in their design.
This can lead to eye-catching effects that draw attention.
Customizing text in Canva is straightforward and offers a lot of creative control. By playing around with text placement and color, different looks and vibes can be achieved easily.
Don’t be afraid to experiment and see what works best for your project.
Understanding Circle Text
Circle text is a creative way to arrange letters and words in a circular format, which can add visual interest to designs. This method is frequently used in graphic design to achieve striking and aesthetically pleasing results. It’s useful in various design contexts due to its unique look and versatility.
What Is Circle Text?
Circle text refers to text that is arranged to follow a circular path. Instead of horizontal or standard alignment, letters curve around to form a circle. This style can make text stand out and adds a dynamic element to any design.
It is perfect for logos, badges, and event flyers where a unique touch is beneficial.
Creating circle text involves selecting a font and size, then curving or wrapping the text along a circular path. Tools like Canva provide options to easily manipulate text into this format. This text style helps to direct the viewer’s attention and often enhances the main message or brand identity.
Applications of Circle Text
Circle text finds applications in various fields. Businesses often use it in logos to create memorable and distinct branding. It is also popular in labels and packaging, especially when a product’s name or slogan needs to draw attention.
Event planners and graphic designers frequently incorporate circle text into invitations and promotional materials, adding a festive and creative touch.
Canva’s curved text tools allow users to experiment with different angles and effects, making circle text an appealing choice for personal and professional projects. This flexibility enables designers to customize their work to match specific styles or themes.
Getting Started With Canva
To begin creating with Canva, users must first set up an account. Once logged in, understanding how to navigate the interface is essential. Lastly, choosing a template that fits the project’s needs makes designing quicker and more efficient.
Creating an Account
To get started with Canva, one must first create an account. This can be done by visiting the Canva website and clicking on the “Sign Up” button.
Users have the option to sign up using an email address, Google account, or Facebook account.
Once the user’s email is confirmed, they can log in and access Canva’s features. Besides these standard options, Canva also offers sign-up via Apple ID, providing flexibility for different preferences.
After signing up, users are prompted to select whether they are using Canva for personal, educational, or business purposes.
Tip: It’s beneficial to explore Canva’s premium features by trying a free trial of Canva Pro. This can unlock additional tools and resources that can enhance design capabilities.
Navigating the Interface
The Canva interface is user-friendly and intuitive. It features a main dashboard that showcases all available design categories, recent projects, and any ongoing collaborations.
On the left sidebar, users can access design types, templates, and different folders.
Dashboard Sections:
- Home: Where users find options like “Create a design” and view their projects.
- Templates: Offers a wide range of pre-designed templates.
- Projects: Displays all recent and ongoing projects for quick access.
Users can click “Create a design” and choose from thousands of design types. The drag-and-drop editor in Canva is simple, allowing users to quickly add text, images, and other elements to their canvas.
Selecting the Right Template
Canva provides a vast array of templates suited for different needs. Whether one is working on social media posts, presentations, or posters, selecting the right template is crucial.
Templates are categorized under headings like “Business,” “Education,” and “Social Media,” making it easier to find the perfect starting point.
Users can use the search bar to find specific templates that match their requirements. Each template is fully customizable, allowing changes in font, color, and layout to fit personal or brand aesthetics.
Tip: Exploring various categories can inspire creativity and spark fresh design ideas. By using keywords such as “modern,” “simple,” or “elegant,” users can narrow down their template choices.
Creating Basic Text Elements
Creating basic text elements in Canva is an essential part of design. Users can add text, customize fonts, and adjust the size to fit their project’s theme. This section outlines the key steps involved.
Adding Text to Your Design
To start, users can log into Canva and open a new design. They will see a panel on the side. Here, a user can click the Text button, where options like “Add a Heading,” “Add a Subheading,” and “Add a Little Bit of Body Text” are available.
By selecting one, a text box appears on the canvas.
Once the text box is on the canvas, users can double-click inside the box to type in their desired text. This simple step gets the text ready for further customization. Positioning the text box is easy with Canva’s drag-and-drop feature.
Customizing Font and Size
After adding the text, users can change fonts to give their design a unique touch. On the top panel, there is a drop-down menu with various fonts. By clicking on it, users can select the one that matches their design style.
Adjusting text size is equally simple. Near the font menu, users will find size options. Users can choose from predefined sizes or type in a custom size. This ensures the text fits perfectly within the design’s layout.
Adjusting font style and size adds character and professionalism to any Canva project.
Shaping Text Into a Circle
Creating circle text in Canva allows you to make your designs more dynamic and visually interesting. This section discusses using the circle text template and adjusting the text to fit perfectly within a circle in Canva.
Using the Circle Text Template
Canva offers a simple way to create circle text using its built-in templates. Users can start by selecting the “Text” button in the sidebar. This opens a range of text options. To create a circle effect, choose a template that is already shaped or make your own.
After selecting a template, click on “Effects” at the top of the screen. Among the various effects, click on “Curve.” This tool allows you to bend the text into a curved formation.
Adjust the curvature by sliding a toggle until it fits your design needs.
Using pre-made templates can save time. They provide a quick starting point, especially for beginners. Templates make it easy to ensure text spacing and alignment look visually balanced.
This feature makes Canva a user-friendly choice for anyone looking to create stylish, circular text.
Adjusting Text to Fit the Circle
Adjusting text for a circle involves refining both size and placement. Start by determining the amount of text needed. Longer text will need a wider curve, while shorter text can fit into a tighter circle.
This can be done by adjusting the curve slider as mentioned earlier.
To fit the circle precisely, change the font size and style. Larger fonts can demand more space, so reduce the size gradually until it fits comfortably within the circle. Be mindful of readability; text should not be too small.
When the text fits well, adjust its position within the circle using Canva’s alignment tools. These tools help center and fine-tune the text’s position.
This ensures that the text not only fits into the circle but also looks appealing and professional.
Styling Your Circle Text
Customizing circle text in Canva helps make designs stand out. Two key aspects involve adjusting colors and adding special effects to give the text more personality.
Changing Colors and Opacity
Colors can transform the look and feel of circle text. Canva allows users to switch colors easily by selecting the text and clicking on the color panel. Users can choose from a palette of colors or input a custom color code for more specific needs.
Adjusting opacity is also a useful tool. By clicking on the transparency option, users can make text more or less see-through. This feature helps blend text with background elements or highlights it as needed.
Playing with these settings can greatly enhance the visual interest of any design.
Adding Effects and Textures
Effects and textures bring circle text to life. In Canva, users can explore various text effects to give their text some flair. Options like shadows, glows, or outlines can add depth and interest, making text pop off the page.
Textures can be applied by selecting effects and checking the available texture options. Textures add a layered feel to the design, and with careful selection, they can make the text complement the overall design theme beautifully.
Users should experiment with different styles to find what works best for their specific design needs.
Advanced Circle Text Techniques
There are creative ways to enhance circle text designs in Canva. Adding layers and combining graphics with text can make the design more engaging.
Layering for Depth and Complexity
Layering circle text can add visual interest and depth to a design. By stacking multiple layers of text, designers can create a sense of depth. This is especially useful for creating logos or standout titles.
To start, users can create a base layer with the main message. On top of this, adding curved text layers with varying colors or opacity can highlight specific elements and add dimension.
Aligning the layers properly is key. It’s important to ensure the design remains readable. Experiment with different fonts and sizes to achieve the desired effect.
Using contrasting colors can make different text layers stand out, contributing to a more dynamic look.
Incorporating Graphics and Icons
Adding graphics or icons to circle text can enhance its visual appeal. These elements can help convey a specific message or theme. For instance, if the circle text is part of a brand logo, including the brand icon within the circle can create harmony.
Start by selecting relevant graphics that complement the text. Consider the color scheme and style to ensure the graphics and text work well together.
Simple icons can be inserted into the text circle, either as a central focus or placed alongside the text to balance the design.
Pay attention to spacing and proportions. Properly balancing text and graphics is crucial for maintaining readability and visual appeal. Using Canva’s alignment tools can help position elements precisely, achieving a polished look.
Finalizing Your Design
Once the circle text is created in Canva, it’s important to pay attention to the final touches. These steps ensure the design looks polished and visually appealing.
Key tasks include aligning all the elements to create a balanced look and previewing the design to make any needed adjustments.
Aligning Elements for Visual Harmony
Aligning elements is crucial for a clean design. Consistency in spacing and size will help bring a sense of order.
When the text circles around an image or logo, it’s key to ensure everything is centered. This can be done by using Canva’s built-in alignment tools.
To achieve balance, users should check that all components are evenly spaced. This can be done by selecting the elements and using the alignment options in the top menu.
Doing so will help avoid a cluttered or uneven appearance, making the overall layout more cohesive and professional.
Alignment also extends to color choices. Ensure that the text color complements other areas of the design.
If the background is busy, consider using a solid color or shadow effect for the text to enhance readability.
The aim is to craft a visually pleasing and harmonious design.
Previewing and Making Adjustments
Previewing the design is the next step. It helps to see how the final product will appear.
This is easily done by using Canva’s preview mode, which allows users to view the design without any distractions from editing tools.
This step can reveal any areas that may need adjustments. Users should look for issues such as overlapping elements or text that’s hard to read.
In Canva, adjustments can be made quickly by clicking on the elements that need changes. Text size, color, and curve can all be adjusted for a better fit.
Paying attention to details, like ensuring the text is smooth and flows naturally, can make a significant difference. Make sure all elements align correctly and check spelling and grammar one last time. This ensures the design is not only attractive but also free of any errors.
Exporting and Sharing
When you’ve finished creating your circle text in Canva, it’s important to export it correctly and share it effectively. This ensures your design looks great no matter where it’s seen.
Choosing the Right File Format
Selecting the right file format is crucial for maintaining the quality of your design.
PNG is ideal for designs with transparent backgrounds, while JPEG is great for non-transparent images if you want a smaller file size.
For high-quality prints, PDF is preferred. Canva also offers SVG for vector graphics, which is perfect if you need scalability without losing quality. Before downloading, consider where and how you’ll use the design.
Downloading Your Work
Once you’ve chosen the format, downloading is simple.
Click the Download button located at the top-right corner of Canva. A dialog will pop up, letting you choose quality settings.
For instance, adjust the size slider for a larger image without losing quality. If your design has multiple pages, you can specify which pages to download.
Make sure to review the file before completing the download to ensure it meets your needs.
Sharing on Social Platforms
Sharing directly to social media from Canva can save time. Connect your social media accounts to Canva through the Share button.
This allows you to post directly from the platform. Plus, it includes a schedule feature for planning posts.
Ensure the design fits specific platform requirements, like square images for Instagram or rectangular for Facebook.
Double-check captions and tags for correctness before sharing to engage your audience effectively.