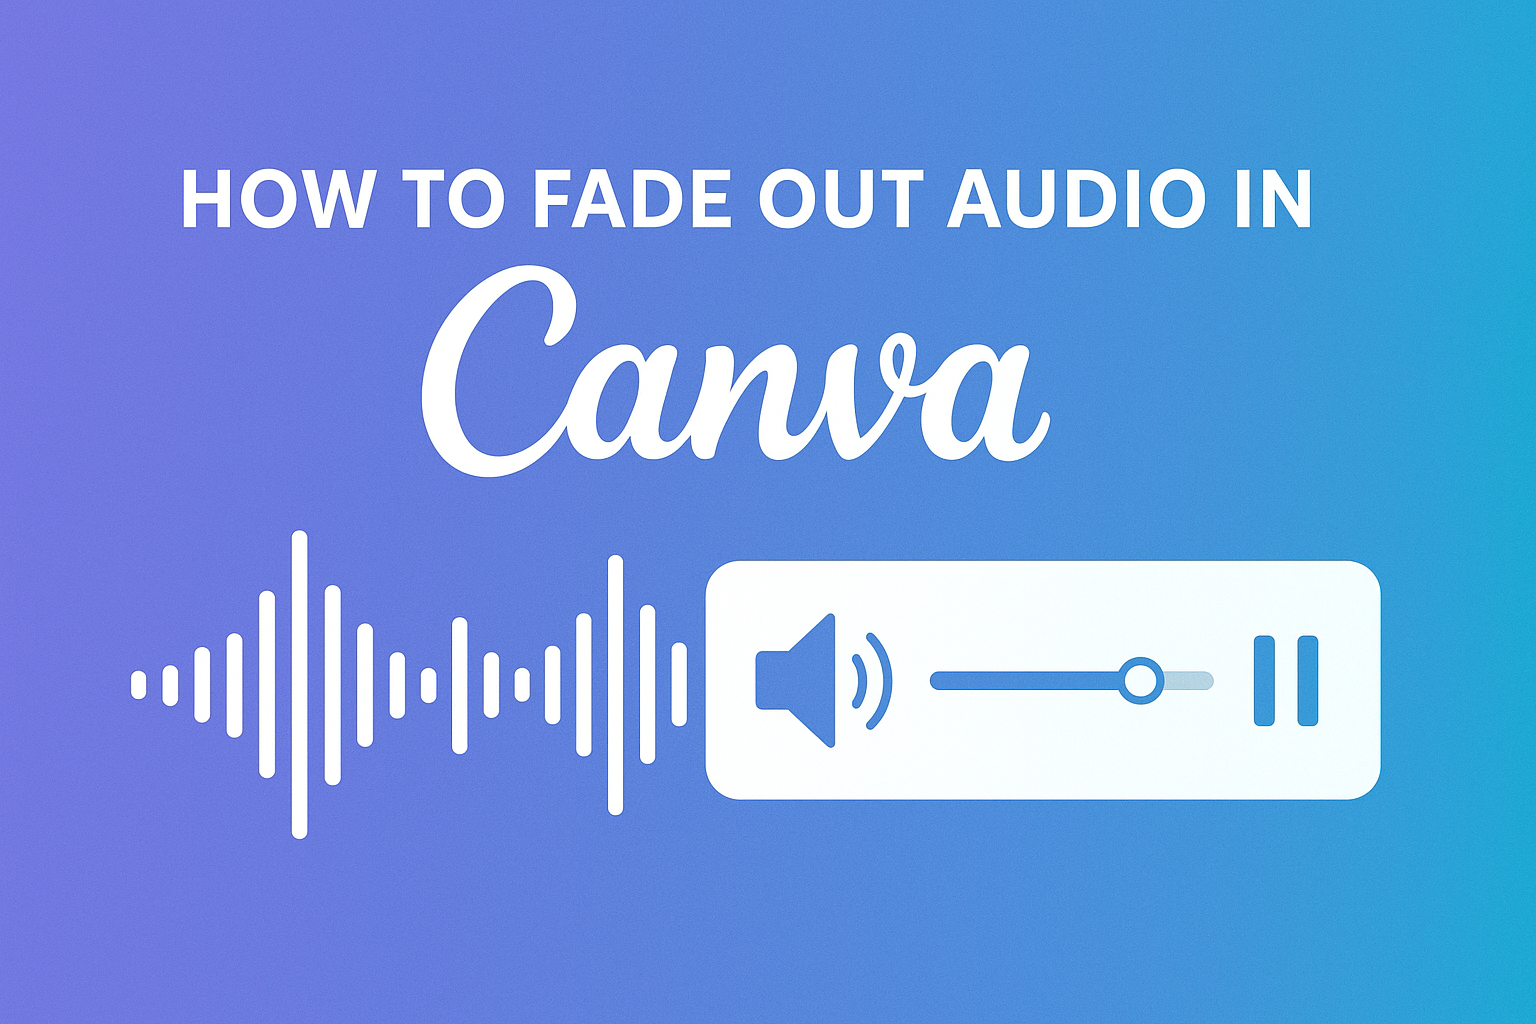
Fading out audio can enhance the quality of any project in Canva. Many creators find that a smooth audio transition makes their videos more professional and pleasing to listen to.
Learning how to fade out audio in Canva will help elevate their designs, ensuring that their audio matches the mood they want to convey.
In Canva, adjusting audio is simple and intuitive. They can easily create a fade-out effect for their audio clips using built-in tools. This feature allows users to maintain a polished sound without needing advanced equipment or software.
With just a few steps, anyone can learn to make their audio fade seamlessly. This skill not only improves presentations and videos but also makes the editing process enjoyable and straightforward.
Understanding Canva’s Audio Features
Canva offers a range of audio features that help users enhance their projects. These tools make it easy to add, edit, and customize audio tracks.
Audio Uploads: Users can upload their own audio files. This allows for a personal touch in presentations or videos.
Audio Library: Canva provides a library filled with various audio tracks. Users can browse and select music or sound effects that fit their project mood.
Editing Tools: Once an audio track is added, users can edit it. They can trim audio, adjust volume, and apply effects like fade in and fade out.
Timeline: The timeline is a key feature for audio management. It allows users to see how audio fits with visuals.
Dragging and adjusting audio tracks is simple and intuitive.
Preview Function: After making changes, users can preview their audio. This helps them ensure everything sounds just right before finalizing their project.
Audio Effects: Canva includes options for adding effects. Users can apply fade in and fade out to create a smooth audio transition.
For fading out audio, one can simply drag the “Fade Out” slider in the audio effects menu to adjust the duration.
These features make Canva a powerful tool for anyone looking to incorporate audio seamlessly into their designs.
Preparing Your Project for Editing
Before starting to fade out audio in Canva, it’s important to set up the project properly. This involves adding your audio file and understanding the audio toolbar. These steps are crucial for a smooth editing experience.
Adding Your Audio File
To add an audio file in Canva, she needs to navigate to the “Uploads” tab on the sidebar. Here, she can click the “Upload Media” button to select audio files from her device.
Supported file formats usually include MP3 and WAV.
Once the audio file is uploaded, she can drag it onto the timeline. This timeline is where all editing takes place.
Proper placement is essential, as it determines when the audio starts during the video. If she needs to adjust the start time, she can easily click and drag the file to her preferred position.
Navigating the Audio Toolbar
After adding the audio, understanding the audio toolbar is next. When the audio track is selected on the timeline, the toolbar appears. This toolbar provides options for adjusting volume, trimming, and applying audio effects.
In the toolbar, she will find an option to adjust the volume of the audio clip. There’s also an option to trim the audio if necessary.
By dragging the ends of the audio track, she can specifically choose which portions to keep. This helps create a cleaner sound and ensures only the desired audio parts are used.
Basic Audio Editing Techniques
Editing audio in Canva is simple and user-friendly. Here are some basic techniques to help anyone get started.
-
Adjust Volume: Users can change the volume of an audio track easily. Click on the audio track and use the volume slider to find the right level.
-
Trim Audio: To remove unwanted sections, select the audio track and drag the edges. This allows for precise cutting of the beginning or end.
-
Fade In and Fade Out: Fading effects can create smooth transitions.
To fade out, select the track, go to Audio Effects, and adjust the “Fade Out” slider.
-
Clip Audio: Clipping allows users to select parts of the audio. Click the track to edit, then drag the audio waves to highlight the desired section.
-
Preview Changes: It is important to listen to changes. Users can play the audio in the editor to ensure everything sounds just right.
These basic techniques make audio editing accessible for anyone. With practice, users will feel more confident making their audio shine in Canva.
Fading Out Your Audio
Fading out audio in Canva can enhance the quality of any project. By following the steps below, users can easily create a smooth audio experience for their audience.
Selecting the Audio Segment
To fade out audio, begin by selecting the audio clip in the Canva design. Click on the audio track from the timeline to reveal the editing options. This allows users to focus on the specific part they want to modify.
Make sure the audio timeline is visible. If it’s not, users can drag the edges of the screen to find it.
Once the track is selected, it is simpler to make adjustments. This step is crucial for ensuring that only the desired audio section is faded out, creating a more professional sound mix.
Adjusting Fade Out Duration
After selecting the audio segment, the next step is to adjust the fade-out duration.
Users should click on the three-dot icon on the audio clip timeline. From there, choosing the “Audio Effects” option will open up a set of controls.
Here, users will see a “Fade Out” slider. By dragging this slider to the right, they can increase the length of the fade-out effect.
Adjusting the duration allows users to create a gentle transition or a more abrupt ending, depending on their project’s needs.
It is important to preview the audio after adjustments to ensure the timing feels just right.
Applying the Fade Effect
Once the fade-out duration is set, the next step is to apply the fade effect. Simply confirm the changes made in the audio effects menu. This action finalizes the fade-out setting.
Users can also play the audio to listen to the result. If adjustments are needed, they can revisit the slider to fine-tune the effect.
Having a well-applied fade enhances the listening experience and keeps the audience engaged. Following these simple steps allows for a polished audio finish in Canva projects.
Advanced Audio Editing Tips
When working with audio in Canva, there are several advanced tips to enhance your projects.
1. Use Audio Effects
Canva allows users to add effects to their audio tracks. To do this, click on the audio clip and look for the Audio Effects option. This can help create a more dynamic sound.
2. Control Volume Levels
Adjusting the volume of individual audio tracks is simple. Select the audio track and drag the volume slider to set the desired level. This ensures that the music complements the other elements in the design.
3. Fade In and Fade Out
Fading audio in and out can make transitions smoother.
To fade out, click the three-dot icon on the audio timeline, then choose Audio Effects. Drag the Fade Out slider to the right for a gradual decrease in volume.
4. Layering Sounds
Combining multiple audio tracks can create depth. Use different sound elements, like music and sound effects, and adjust their volume levels to balance them effectively.
5. Preview Before Finalizing
Always preview the audio before finalizing the design. This allows for adjustments in timing and volume, ensuring everything sounds just right.
By using these tips, users can take their audio editing skills in Canva to the next level. Each feature provides a way to craft a professional sound that enhances any project.
Reviewing Your Audio Fade Out
After setting up the audio fade out in Canva, it’s important to review the effect. This ensures that the audio transitions smoothly at the end of the clip.
To review the audio fade out, follow these steps:
-
Play the Clip: Click the play button in the editor. This helps to hear the fade out in action.
-
Listen Carefully: Note how the audio decreases in volume. It should feel natural and not abrupt.
-
Adjust as Needed:
- If it fades out too quickly, drag the “Fade Out” slider to the right for a longer duration.
- If it fades out too slowly, move the slider to the left.
-
Preview Multiple Times: Play the clip several times. This helps to catch any issues or areas that may need tweaking.
By taking these steps, she can fine-tune the audio fade out until it sounds just right. It’s a simple process, but it makes a big difference in the final product.
Remember, audio quality can enhance the viewer’s experience. Taking the time to review will help ensure the project looks and sounds professional.
Exporting Your Final Project
Once the audio fades are set, it’s time to export the final project. This is an important step that ensures everyone can enjoy the work.
To export a project in Canva, follow these simple steps:
-
Click on the Share Button: Located at the top right of the screen.
-
Select Download: Choose this option to begin the exporting process.
-
Choose Your File Type: Options typically include MP4 or GIF. For video projects, MP4 is the best choice.
-
Adjust Settings If Needed: You can set the quality and other options.
-
Click Download: This will start the file download to your device.
After exporting, the file will be saved to your default downloads folder.
Be sure to check the audio quality. Playing it on different devices helps ensure it sounds great. If adjustments are needed, return to the project, make changes, and export again.