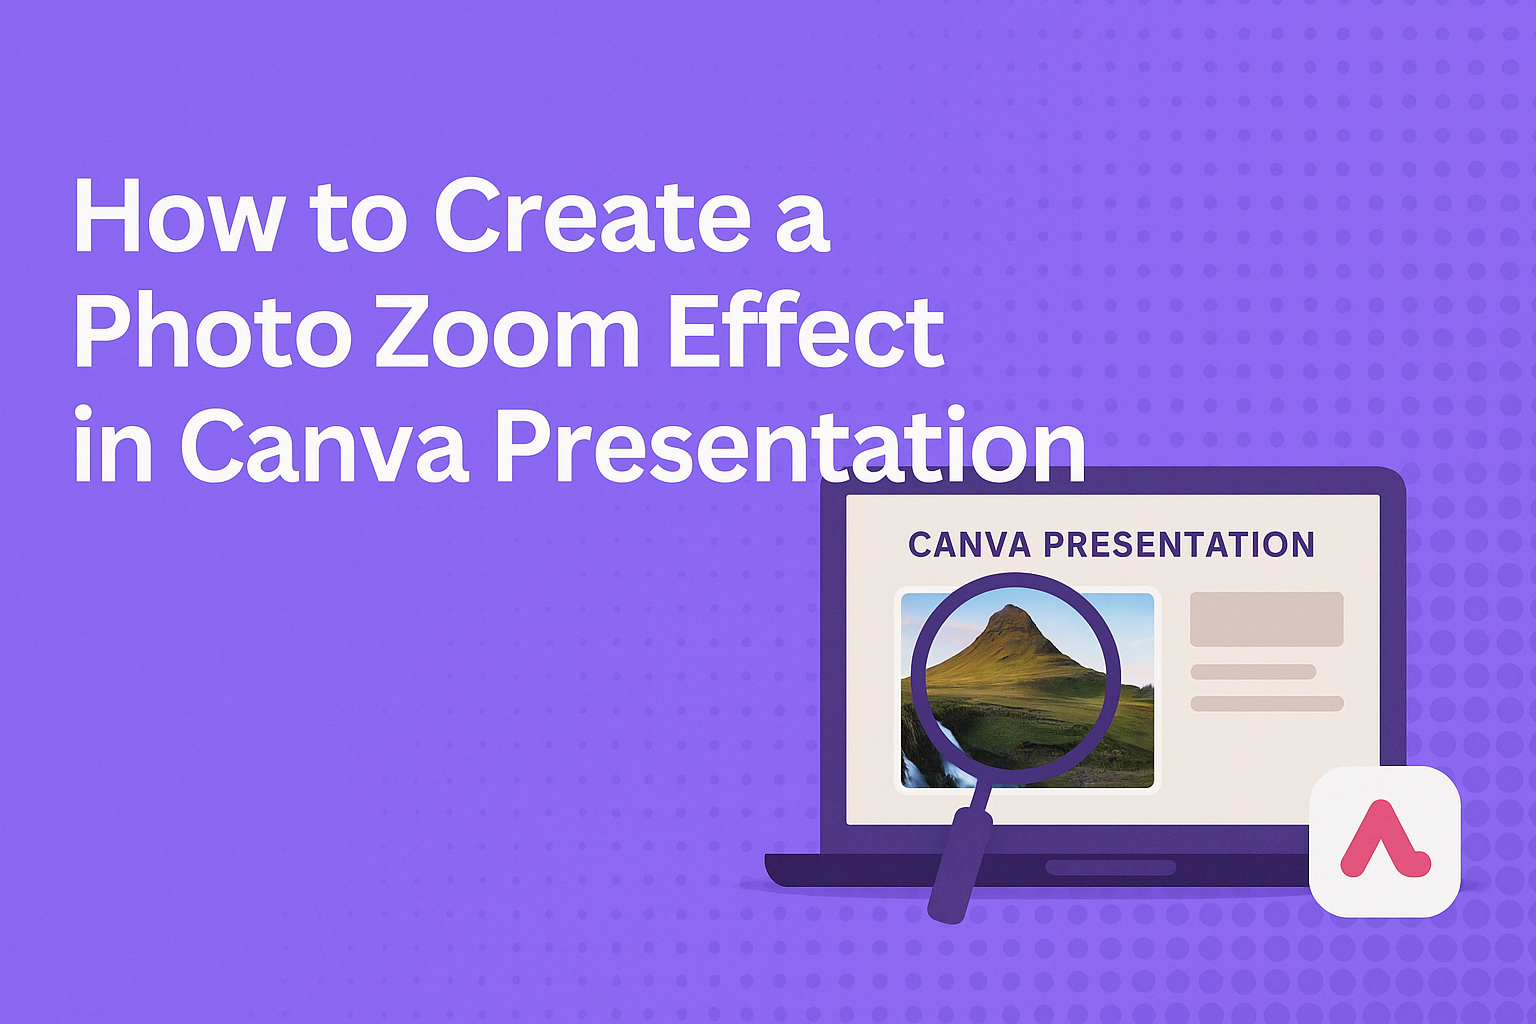
Creating a photo zoom effect in Canva presentations can take visuals to the next level, making your slides more engaging and dynamic. To achieve this effect, simply click on the “Effects” button in Canva, navigate to the “Zoom” option, and adjust the slider to set your desired zoom level. This feature allows presenters to focus on specific details, making the presentation more impactful and interactive.
Readers who dive into this topic will find that mastering this technique is simpler than it seems. Whether crafting a business pitch or a creative project, the zoom effect can highlight specific elements of a design, directing attention exactly where it’s needed.
Using Canva’s intuitive tools, anyone can enhance their presentation’s visual storytelling. This effect not only adds professionalism but also keeps audiences engaged, ensuring key points are communicated effectively. With just a few steps, presentations can be transformed from static to stunningly sophisticated.
Getting Started with Canva
Canva is a powerful tool for creating visually appealing presentations with ease. Getting familiar with its features will allow new users to create impressive designs effortlessly.
Creating a New Canva Presentation
To begin a new presentation in Canva, users first need to set up an account. This can be done quickly by providing an email and creating a password. Once logged in, users will navigate to the homepage where they can select “Presentation” from the list of available templates.
A variety of templates will appear, each offering different styles and themes. Users can use these templates or start designing from scratch. Selecting a template will open a new window where users can begin customizing their presentation with elements like text, images, and graphics.
Canva’s drag-and-drop feature makes it easy to add these elements. Users can click on the left toolbar to access a wide range of design features. By experimenting and exploring, new users can find the perfect look for their presentation. This hands-on approach encourages creativity while keeping the design process simple.
Understanding Canva’s User Interface
The Canva user interface (UI) is designed to be user-friendly and intuitive. At the top of the screen, users will find the main toolbar. This bar includes options such as “File,” “Edit,” and “View,” along with tools for adding text, images, and other design elements.
On the left-hand side, a sidebar provides access to templates, photos, elements, text options, and more. Users can browse a vast library of resources by scrolling or searching with specific keywords. This makes it easy to find exactly what they need without much delay.
Below the design area, a space is dedicated to slides. Users can manage their slides easily by adding, duplicating, and rearranging them. This straightforward layout ensures that even newcomers can navigate Canva without feeling overwhelmed, making it a go-to choice for creating engaging presentations.
Basics of Photo Editing in Canva
Learning the basics of photo editing in Canva opens up a world of creative possibilities. By mastering uploading photos and adjusting image properties, anyone can enhance their designs and make their presentations more engaging.
Uploading Your Photos to Canva
Uploading your photos in Canva is simple and user-friendly. Start by logging into your Canva account. On the left toolbar, find the “Uploads” tab. Click on it, and then select the “Upload Media” button to browse your device. Choose the images you wish to upload, and wait for them to appear in your uploads folder.
It’s important to use high-quality photos to achieve the best results. Canva supports various file formats, including JPEG, PNG, and SVG. Once uploaded, your photos will be available in the uploads section for any of your projects. This feature enables easy access and use of personal images across different designs.
Adjusting Image Properties
After uploading, it’s time to modify your images. Canva offers a range of tools to adjust image properties efficiently. Start by clicking on the photo to reveal the editing toolbar. Here, you can change aspects such as brightness, contrast, and saturation. These basic tweaks can significantly enhance an image’s appearance.
For more advanced options, use the “Effects” button. This allows for adjustments like applying photo filters or specific effects. By experimenting with different settings, users can achieve their desired look. Remember, subtle changes can make a big impact, improving the overall visual appeal of the presentation.
Implementing the Zoom Effect
Creating a photo zoom effect in Canva can enhance any presentation by focusing on specific details. The main steps involve choosing the right image and applying the zoom effect to draw attention.
Choosing the Right Image for Zoom
Selecting the right image is crucial when planning a zoom effect. First, ensure the image is clear and high-quality. Blurry or pixelated images won’t create a nice zoom effect. Check that the image’s main subject is obvious even at a larger scale; this ensures clarity in a presentation.
Consider the context of the presentation as well. An image that aligns with the theme or message will appear more cohesive. For instance, using a vibrant color palette can create a dynamic feel, while muted tones may convey subtlety. Choosing images with clear focal points is also helpful. This guides the viewer’s eye and enhances the impact of the zoom effect.
Adding the Zoom Effect to Your Photo
To add the zoom effect in Canva, first, click on the “Effects” button in the top toolbar. Scroll to find the “Zoom” option and click on it. This action will activate the effect on the selected image.
Using the slider, one can adjust the zoom level of the photo. For finer adjustments, use the “+” and “-” buttons to increase or decrease the zoom incrementally. Once zoomed, move the image around the canvas to position it as needed. Adjusting the image’s position ensures that the most important elements are visible and centered in the presentation. By playing with these tools, the desired focus and creativity can be achieved effortlessly.
Enhancing the Zoom Effect
Creating a photo zoom effect in Canva can make your presentations more engaging. Fine-tuning this effect involves adjusting its intensity and utilizing animation for a dynamic experience.
Customizing the Zoom Effect Intensity
To make the zoom effect more striking, users can adjust the intensity settings. Canva provides tools like sliders to control how much the image zooms in or out. Using the slider helps find the right balance between subtlety and boldness.
Experimenting with small increments can prevent over-zooming, which might distort the image or lose important details. Mixing zoom levels in a presentation can keep the audience’s attention by highlighting specific elements.
Animating the Zoom for Greater Impact
Adding animation to the zoom effect gives presentations a sense of movement. Canva offers the option to animate the zoom, making it appear more alive. This can be achieved by applying transitions like match and move, which seamlessly zoom and pan between frames.
Using animation wisely helps guide the viewer’s focus in a storytelling manner. Incorporating this feature can transform static presentations into dynamic, engaging visual experiences.
Incorporating Text Overlays
Incorporating text overlays in Canva involves carefully choosing fonts and balancing the text with visual elements. The process requires attention to detail to ensure that text remains readable and complements the imagery.
Selecting Appropriate Fonts
When it comes to choosing fonts for text overlays, readability is key. Short and simple fonts ensure the text is easy to read at various sizes and on different devices. Serif fonts like Times New Roman are traditional, but sans-serif fonts like Arial and Helvetica can offer a modern look.
Experimenting with bold or italic styles can add emphasis. Mixing two or three fonts can create contrast and interest. It’s important to maintain consistency by sticking to a similar font family or style. Avoid clutter by using no more than two or three fonts in one project.
Font color should contrast with the background to ensure readability. Light text works well on darker images, while dark text stands out on light backgrounds. Canva provides tools to adjust font size and spacing to ensure everything fits well together.
Balancing Text With Imagery
Images and text should complement each other, creating a unified design. Achieving this balance involves considering the placement of both text and images. Text should not obscure important parts of the image. Instead, it can be placed in areas with less detail to make both elements stand out.
Transparency and blending modes can be used to integrate text seamlessly. Adjusting the transparency can make text appear part of the image without compromising readability. Canva’s tools like the “Effects” menu help create visually appealing overlays by allowing designers to choose different blending modes.
Considering space is crucial, too. White space around text can make it pop and prevent the design from feeling cluttered. Aligning text to follow the natural lines of the image can enhance the overall aesthetic.
Finalizing Your Presentation
When wrapping up your Canva presentation, attention to details, such as the arrangement of slides and applying consistent design elements, is essential. Ensuring smooth transitions and unified style elevates the presentation’s impact.
Arranging Slides for Flow
Ensuring a logical flow in your slides enhances the clarity of your message. Start by organizing slides to follow a cohesive narrative. He or she can arrange slides by grouping related topics together or by maintaining a chronological order if needed. Consistent flow guides the audience, making it easier for them to understand key points.
Transition effects should also be smooth and not distract from the content. It’s helpful to preview the presentation to identify areas where transitions might need adjustment.
Consider creating a storyboard first. It aids in visualizing the entire presentation layout and identifying any content gaps. By planning ahead, your slides will naturally link from one idea to the next.
Applying Consistent Design Elements
Visual consistency is crucial in helping the audience focus on the message rather than variations in design. Use the same font sizes, styles, and colors throughout the presentation. He or she ensures that headings, subheadings, and body text are distinct yet harmonious.
Color schemes should be limited to a select few complementary colors. This approach avoids overwhelming viewers with color variations.
Graphics and illustrations should match the presentation’s theme. If an image style is chosen at the beginning, maintain that style throughout. Consistent design choices reinforce the content and aid in delivering a professional and polished presentation.
Subtle design enhancements, like aligning text and images, also contribute to an organized look. Check for uniform spacing and alignments, ensuring that everything is visually aligned and tidy.
Sharing and Exporting
Once the photo zoom effect is created in Canva, knowing how to share and export the presentation is important. This includes seeking feedback from others as well as preparing the final file for distribution.
Sharing Your Presentation for Feedback
To gather input from others, users can share their Canva presentation directly through email or a shared link. There’s an option to invite others by adding their email addresses, allowing them to view or comment.
For those working in teams, Canva’s collaboration features are helpful. Team members can leave comments and suggest edits in real time. This makes it much easier to gather suggestions and implement necessary changes before the presentation is finalized.
Using Canva’s comment feature can streamline the feedback process. Comments are attached directly to elements on the slides, making it clear what needs addressing. This helps ensure that feedback is specific and actionable.
Exporting the Final Presentation
After refining the presentation, it’s time to export the final version. Canva offers various formats, including PDF, PowerPoint, and video files. Choosing the right format depends on how the presentation will be used.
For standard presentations, exporting as a PDF or PowerPoint might be sufficient. However, if the presentation includes animations or effects, exporting as a video can be more effective to preserve these elements.
Before exporting, users should double-check all slides for errors. It’s also good to preview the exported file to ensure that all visual effects, like the photo zoom, appear as intended. This step helps catch any last-minute issues before sharing the final product.