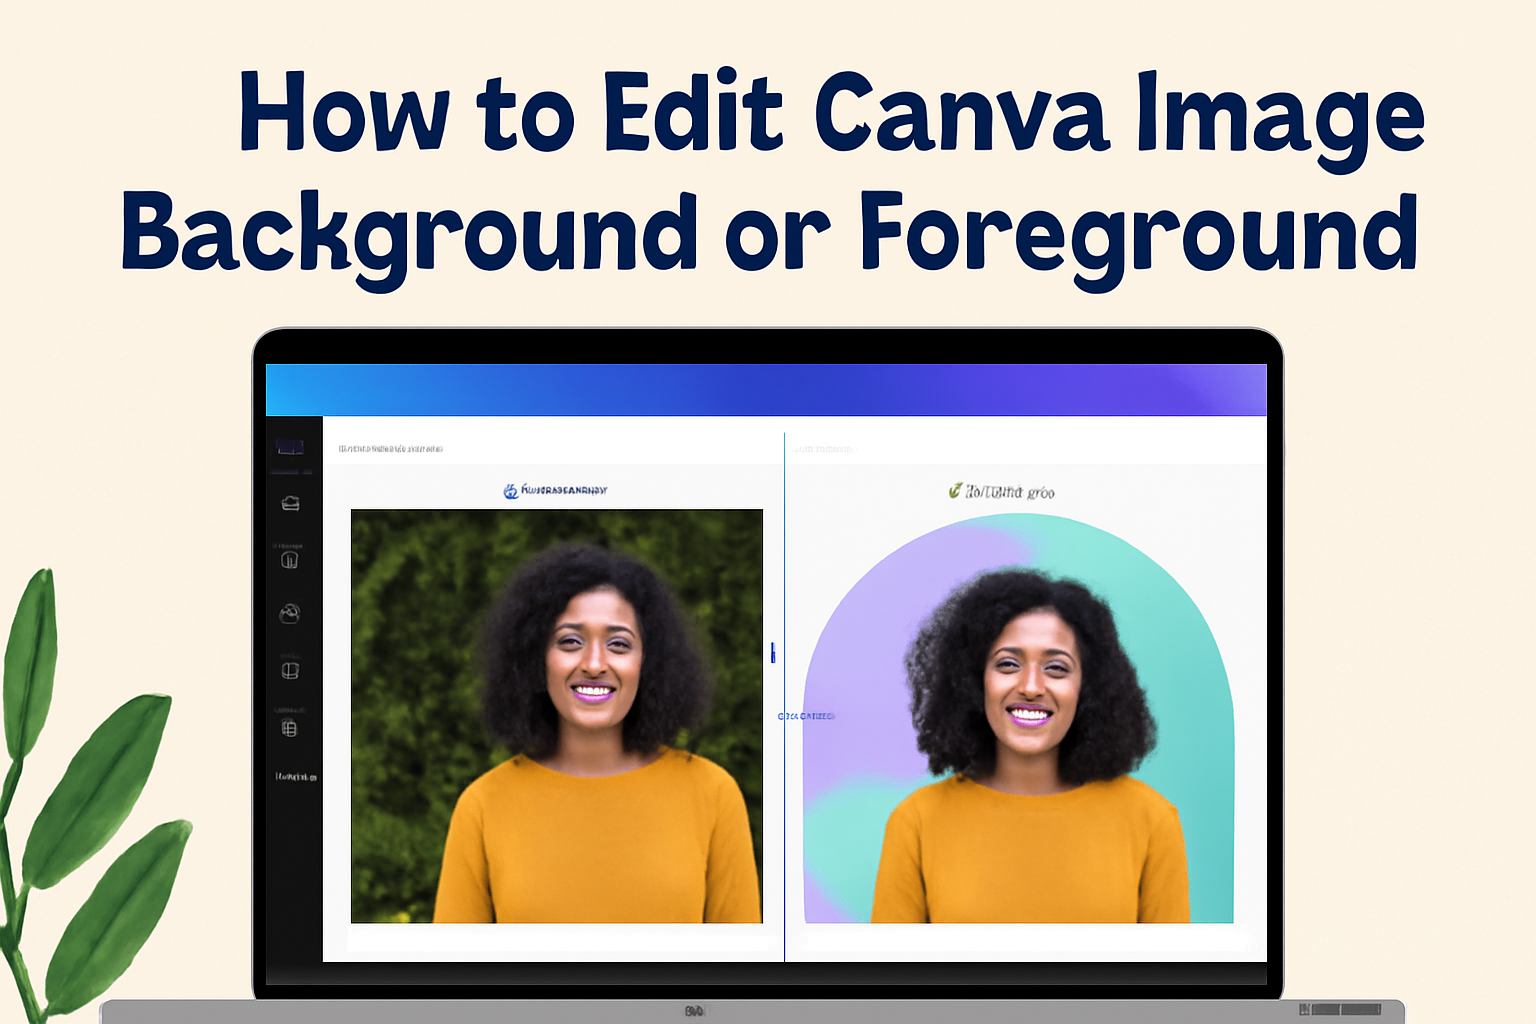
Editing the background or foreground of an image in Canva can completely transform its appearance and enhance its visual appeal.
From creative professionals to casual hobbyists, anyone can easily make these changes to elevate their designs.
With Canva’s intuitive tools, users can manipulate images without requiring extensive graphic design experience.
Canva allows for unique customization of photos. Using features like Magic Grab or the premium BG Remover, users can effortlessly change backgrounds.
The ability to separately edit backgrounds and foregrounds means photos can have depth and focus that stands out, making this tool popular for social media graphics and personal projects.
Whether crafting a marketing campaign or designing personal artwork, knowing how to adjust backgrounds and foregrounds is invaluable.
With Canva’s tools, creativity is made accessible, allowing for seamless adjustments to image elements. This empowers users to bring their visions to life in a few simple steps, making the platform a favorite among design enthusiasts.
Understanding Canva’s Interface
Canva’s interface is designed to be user-friendly, making it easy for beginners and experienced users to create and edit visual content.
Users can efficiently navigate the dashboard and utilize various editing tools to customize images and designs.
Navigating the Canva Dashboard
The Canva dashboard serves as the main hub for all design activities. Upon logging in, users are greeted with a clean layout featuring sections like “Your Designs,” “Templates,” and “Brand Kit.”
Your Designs is where all previous work is saved, allowing easy access for further edits or sharing.
The Templates section provides a wide array of pre-made layouts suitable for different projects such as social media posts, flyers, and business cards.
The Brand Kit enables users to manage and store branding elements like logos and color schemes, ensuring consistency across designs.
Navigating between these sections is smooth, thanks to a consistent top navigation bar and intuitive icons that guide users through the interface.
Overview of Canva’s Editing Features
Canva offers a rich set of editing tools that help bring creative ideas to life. This includes the Photo Background Changer for editing backgrounds, which can be accessed from the main editing screen.
Users can use tools like BG Remover, Magic Grab, and AI photo editing features to modify photo backgrounds, adding impressive effects to their designs.
Apart from background editing, the floating toolbar provides options to adjust image settings. This includes altering colors, applying filters, and adding text.
Users can also insert elements like shapes, lines, and icons for a more detailed design.
The interface allows seamless switching between these tools, making the design process smooth and engaging for users.
Getting Started with Your Image
Before diving into Canva, it’s helpful to know the steps for choosing a template and importing your image. This will set you up for success when working with backgrounds.
Selecting the Right Template
Choosing the correct template in Canva can set the tone for your entire design.
Consider the purpose of your image. Is it for social media, a presentation, or a poster? Canva provides a wide range of templates tailored for different uses.
Using the template library, browse through options that fit your needs. You can filter by category, style, or theme.
Remember that while templates offer a great starting point, you can customize them as you see fit.
It’s crucial to think about dimensions. Make sure the template size matches where the image will be used, such as Instagram or a blog post.
By having a clear vision in mind, you’ll ensure your image fits perfectly.
Importing Your Image
Once you have your template, it’s time to import your image into Canva.
Start by opening the Canva dashboard, then upload your image. Look for the “Uploads” tab on the side panel, where you can drag and drop your image or select it from your device.
Ensure your image has a high resolution. This prevents any blurriness, especially if you need to enlarge it.
After uploading, your image will appear in the “Uploads” section, ready for use.
Select the image and place it onto your template. Adjust the image’s position by clicking and dragging or resizing using the corner handles. This will let you fit it perfectly within the template’s boundaries.
Editing the Background
Making changes to the background of an image in Canva can enhance the visual appeal significantly. It involves altering colors, adding images, or removing unwanted background elements.
Changing Background Color
Changing the background color in Canva is straightforward. Users can select an image and click on the background. A color panel will appear, allowing them to choose from a variety of preset colors or create a custom hue.
This feature is useful for matching brand colors or creating a specific mood.
When selecting colors, consider the overall design to ensure harmony and visual appeal. Experimenting with different shades can lead to unique designs that stand out.
Adding a Background Image
Inserting a background image can add depth and interest to a design.
Users can start by selecting the “Background” tab on the Canva dashboard. They can choose from a vast library of Canva templates or upload their own images.
Adjusting the transparency can help blend the background with the main image.
It’s important to choose images that complement the foreground elements. High-quality images will provide the best visual outcome, ensuring the design remains crisp and professional.
Removing the Background
Removing a background is a handy feature for creating clean and cohesive designs.
To remove the background in Canva, users can select their photo, click “Edit Photo,” and use the BG Remover tool.
This tool helps in isolating the subject by erasing the surrounding elements.
It’s especially beneficial when creating product images or when needing a transparent background.
If needed, manually adjust areas using the brush tool to refine the edges. This ensures that the subject stands out against new backgrounds or when placed in other designs.
Working with the Foreground
When editing an image in Canva, focusing on the foreground can significantly enhance its impact.
By adjusting the colors, brightness, and contrast, users can make the subject stand out.
Layering elements like text and images on top of the foreground creates more dynamic and visually appealing designs.
Adjusting Foreground Elements
Adjusting foreground elements in Canva is straightforward and allows customization of specific parts of an image.
First, select the image and choose the Edit photo option. Here, users can tweak brightness, contrast, and saturation settings.
Changing these can make the foreground pop more, improving the overall look.
Adding effects like shadows or glows also enhances attention to the main subject.
Users can experiment with different styles to find what works best.
Another useful feature is clicking Select Area and choosing Foreground to apply specific adjustments more precisely.
Utilizing these tools effectively helps make the main subject of the image more prominent and visually engaging, ensuring it captures the viewer’s attention.
Layering Images and Text
Layering images and text in Canva is an effective way to add depth to designs.
Users can layer different elements such as photos, graphics, and text over the foreground to enhance creativity.
This process involves using Canva’s drag-and-drop interface to position items exactly where desired.
By aligning text creatively, users can convey important messages without overshadowing the main subject.
Choosing a contrasting color for the text against the foreground ensures readability.
It’s important to manage the layers carefully. The Arrange tool allows users to shift layers forward or backward, providing control over what appears on top.
This helps in achieving the desired visual hierarchy, making sure the design remains balanced and aesthetically pleasing.
Advanced Editing Techniques
In Canva, advanced editing involves the creative use of filters and effects, as well as adjusting transparency and contrast.
These tools help to enhance the image by altering its appearance creatively and balancing visual elements effectively.
Utilizing Filters and Effects
Filters and effects can transform an ordinary image into something unique.
With Canva, users can access a variety of these tools within the Canva photo editor.
Filters allow users to quickly change the atmosphere of an image, adding warmth or coolness based on the desired mood.
Selecting a filter is straightforward: choose between options like “Retro” or “Modern” to match the theme of a project.
Effects add an extra layer of creativity.
For example, users can apply blur effects to soften backgrounds or vignette edges to highlight the center of a picture.
Clicking on the image to open editing options is the first step, then selecting the desired effects under the Effects tab helps in achieving the desired look.
Tools to edit Canva images make these features accessible.
Manipulating Transparency and Contrast
Transparency and contrast adjustments are essential for fine-tuning images.
By modifying transparency, users can blend images seamlessly with the background or create layered designs. This is especially helpful when creating featured text images or overlays.
Adjusting the transparency settings can be done via a simple slider on the editing panel.
Contrast adjustments help define the image’s visual tone by altering light and dark areas.
Increasing contrast makes light areas lighter and dark areas darker, enhancing the picture’s depth. Lowering it creates a more muted look.
Canva’s tools for altering transparency and contrast can be found under the image settings, allowing users to refine their projects with precision.
These options are part of an extensive suite of features aimed at giving users full control over their design process.
Practical Tips for a Professional Look
Creating professional-looking designs in Canva often involves careful attention to detail. This includes ensuring a balanced visual layout and using typography that enhances readability.
Maintaining Visual Balance
Visual balance means distributing the elements in a design so they feel evenly weighted.
When images, text, and other design components are well-balanced, the viewer can focus on the information presented without distractions.
To achieve this, design elements should be organized with clear visual hierarchy. This helps guide the viewer’s eye smoothly across the design.
Using Canva’s grid and alignment tools can help place elements precisely, ensuring that nothing looks out of place.
Colors should also be chosen thoughtfully to create contrast. A balanced color palette can enhance visual harmony by ensuring the colors complement rather than clash.
In using Canva templates, selecting ones that naturally promote balance can save time. Adjust these templates by modifying size and placement to suit your specific needs.
Paying attention to margins and spacing also helps prevent a cluttered look. This keeps the design welcoming and easy to engage with for anyone viewing it.
Ensuring Readability with Typography
Typography is more than just selecting fonts—it’s about making the text readable and appealing.
Choosing easy-to-read fonts is crucial. Fonts like Arial or Helvetica are commonly used for their clarity and simple shapes.
Using Canva, users should experiment with bold or italic styles to add emphasis to key parts without overwhelming the entire design.
Size and spacing are equally important factors.
Larger fonts for headings with smaller body text create a clear visual division. Consistent font size and spacing help maintain rhythm in the design.
Aligning text with the grid lines in Canva ensures a clean look.
Users should also limit their choice to two or three font styles per project to maintain unity while adding variety. This step helps prevent a jumbled appearance, making the design more readable and visually appealing.
Saving and Exporting Your Edited Image
After editing your image in Canva, the final steps are saving and exporting it in the right way.
It’s crucial to choose the best file format for your needs and ensure it looks great whether it’s for web use or printing. Let’s explore these parts in more detail.
Choosing the Correct File Format
Selecting the right file format is important to preserve your image’s quality. Canva offers several options like PNG, JPEG, and PDF.
PNG is excellent for high-quality visuals and images that may need transparency. It’s ideal for graphics that include logos or text.
JPEG is suitable when you need a smaller file size. It maintains decent quality, making it the go-to for many web images.
This format is great if your image is more photographic, such as background photos with lots of colors.
PDF is the top choice for documents or images that will be printed. It ensures that details and colors remain vivid, crucial for professional prints like flyers or posters.
Canva also supports downloading in MP4 and GIF for animated designs, adding a creative flair to your projects.
Downloading for Web or Print
When preparing your image for download, consider how it will be used.
For web use, aim for faster loading times. JPEG or PNG is recommended.
For most online purposes, choosing a lower resolution under the download settings conserves bandwidth without sacrificing visible quality.
When preparing images for print, choose PDF or high-resolution PNG. This is key to preventing any blur or loss in detail.
PDFs are particularly useful for multi-page projects. Canva’s resizing tool can help set the image dimensions to ensure it fits your print layout perfectly.
Keep the intended destination in mind when exporting your image to ensure optimal results in both appearance and performance.