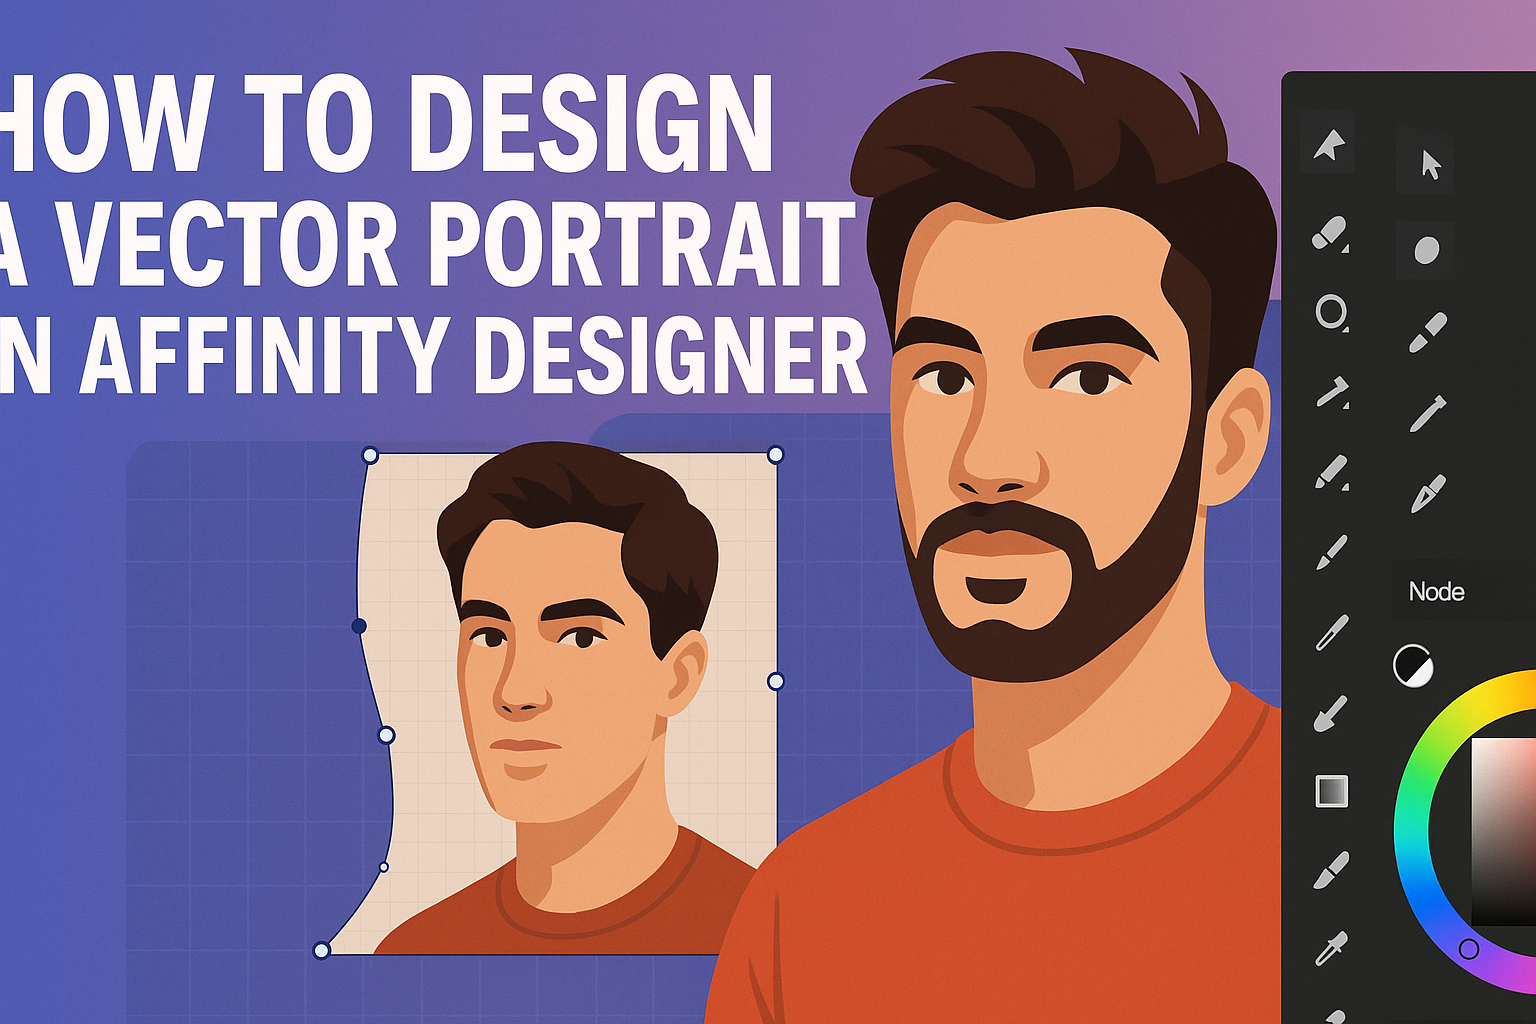
Designing a vector portrait can be an exciting way to express creativity. With the right tools and simple techniques in Affinity Designer, anyone can create stunning and personalized portraits.
This guide will walk through the essential steps needed to transform a photograph into a unique vector piece.
Affinity Designer offers a user-friendly environment that makes vector illustration accessible for beginners and experienced artists alike.
By following some straightforward methods, users will learn how to effectively use tracing, layering, and coloring to bring their visions to life.
Whether it’s for a personal project or a gift, creating a vector portrait can be a rewarding experience. The process not only improves one’s design skills but also allows for fun experimentation along the way.
Get ready to dive into the world of vector art!
Getting Started with Affinity Designer
Affinity Designer is a powerful tool for creating vector art. Understanding its workspace, setting up documents, and familiarizing oneself with vector tools are key steps in starting designs.
Understanding the Workspace
Upon opening Affinity Designer, a user sees a clean, organized workspace. The main areas include the Toolbar on the left, Context Toolbar at the top, and the Studio Panels on the right.
The Toolbar contains essential tools like the Pen, Shape, and Text tools.
The Context Toolbar changes based on the selected tool, providing options to customize elements easily.
Users can access the Studio Panels for layers, swatches, and adjustments.
Each part of the workspace is customizable, allowing users to arrange it to fit their workflow. Exploring these features will help anyone feel more comfortable within the program.
Setting Up a New Document
To start a new project, choosing the right document setup is crucial. Users can click on “File” and then “New” to open the document settings.
In the dialog box, he or she can set parameters such as Size, Orientation, and Units. Popular sizes include A4 or custom dimensions for specific projects.
Selecting a color format is important; RGB is ideal for digital projects, while CMYK works best for print.
After adjusting these settings, clicking “Create” opens the blank canvas ready for design work.
Familiarizing with Vector Tools
Affinity Designer offers a variety of vector tools for creating precise artwork. These tools include the Pen Tool, Shape Tool, and Node Tool.
- The Pen Tool allows users to create custom shapes by placing points.
- The Shape Tool enables quick access to basic shapes like rectangles, circles, and polygons.
- The Node Tool is essential for editing these shapes, allowing users to manipulate points and curves.
Getting familiar with these tools will enable more flexibility in design. Practice using each one to understand how they work together to produce unique vector art.
Creating the Portrait Base
Creating the base for a vector portrait involves careful selection of a photograph, tracing contours, and applying base colors. These steps set the foundation for a detailed and vibrant illustration.
Choosing the Right Photograph
Selecting the right photograph is crucial. The image should have clear lighting and distinct facial features. Look for pictures with good contrast, as this helps in identifying shapes and details later on.
A front-facing photo is often best, but profiles can also work if they capture the subject’s essence. It’s helpful if the photo allows for a clean outline.
Aim for a resolution that can provide sufficient detail for tracing. Higher-quality images will yield better results.
Tracing the Contours
Once the photograph is ready, the next step is to trace the contours. This process involves outlining key features like the face, eyes, nose, and mouth.
Using a pen tool in Affinity Designer is common. Start with the largest shapes, then focus on smaller details.
Zooming in can help with accuracy. It’s essential to get smooth lines. Keep the shapes simple without going too detailed at this stage.
Consider using different layers for each part to keep thework organized.
Applying the Base Colors
After tracing, base colors can be applied. Choose colors that reflect the subject’s skin tone, hair color, and any notable features.
It’s best to begin with flat colors to establish the overall look. Use the color picker tool in Affinity Designer to select matching shades from the original photograph.
Once the base colors are applied, adjust the hues as necessary to ensure they complement each other. This step will help create a more cohesive portrait.
Experimenting with different color combinations can also lead to a vibrant outcome.
Adding Details and Textures
To make a vector portrait come alive, adding details and textures is essential. This enhances the overall depth and realism of the artwork. Key techniques include using brushes, working on facial features, and experimenting with blending modes.
Working with Brushes and Gradients
When adding textures, brushes offer great flexibility. They allow an artist to create unique effects that can enhance the portrait’s look.
Affinity Designer provides various brush options, including paint, texture, and vector brushes.
Using gradients can create smooth transitions and depth. For example, use a soft gradient on the skin to give it a natural look. Adjusting the opacity can help blend colors seamlessly. Set the gradient angle to highlight features like cheeks or foreheads.
Layers can help manage brush strokes. By creating a new layer for each detail, artists can edit their work without losing progress.
Using a combination of different brushes can add unique textures, such as hair or fabric.
Detailing the Facial Features
Facial features are vital for character in a portrait. Focusing on the eyes can make a significant impact. Use lighter colors for highlights and darker shades for shadows. This adds dimension to the eyes.
The mouth and nose should also be carefully detailed. Subtle changes, like the shape of lips or the bridge of a nose, can influence expression.
Adjusting the color slightly on these features can add realism.
Adding small textures around features like the eyebrows can enhance the overall effect. A brush with a textured finish can replicate hair’s natural appearance. This helps create a more lifelike image.
Experimenting with Blending Modes
Blending modes allow artists to control how layers interact. By changing the blending mode of a texture layer, artists can achieve interesting results.
For instance, the “Multiply” mode darkens the color beneath, adding depth.
Using the “Overlay” mode can brighten colors while retaining detail. This is useful for highlights on the skin or hair.
Experimenting with different modes helps find the perfect look for the portrait.
Artists can stack several textures, applying different blending modes to each. This creates a rich, complex visual. Regularly toggling layers on and off can show what works best and what needs adjustment.
Final Touches
The final touches can enhance the overall quality of a vector portrait. By adjusting contrast, adding background elements, and exporting correctly, the design can truly come to life.
Adjusting Contrast and Saturation
Adjusting contrast and saturation is essential for making a vector portrait pop.
The user should start by selecting the entire artwork. Using the Adjustments panel, they can find options to tweak contrast and saturation levels.
Increased contrast can add depth, making light areas brighter and dark areas deeper. Users should be careful not to overdo it, as too much contrast may lose detail.
A moderate increase in saturation can make colors more vivid without looking unnatural.
Experiment with the sliders and observe how each adjustment impacts the artwork. A good balance will ensure the portrait looks striking yet remains true to the original design.
Adding Background Elements
Incorporating background elements can transform a vector portrait from simple to stunning. A well-chosen background can enhance the character or story of the subject.
Users can choose a solid color, gradient, or even a pattern that complements the portrait. For example, softer backgrounds work well with detailed portraits, allowing the subject to stand out.
Additionally, layers can be used to create depth. By placing the background behind the main subject and applying some blur, the user can achieve a nice separation between elements.
Contrast between the portrait and the background is key. It ensures that the main focus remains on the subject.
Exporting the Final Design
Once the portrait is complete, exporting the design correctly is crucial.
Affinity Designer allows exporting in various formats, such as PNG, JPEG, or SVG.
For web use, PNG or JPEG is ideal. They provide good quality and transparency options.
If the user intends to print the artwork, they should select a higher resolution to maintain clarity.
To export, navigate to the File menu, then select Export.
Users should choose their desired format and ensure the settings match their needs.
Lastly, save a version of the project file. This allows for future edits if necessary.
Proper file management makes it easy to revisit and adjust the portrait later on.