Creating a digital business flyer can be a fun and rewarding process. With the right tools, anyone can design eye-catching flyers that grab attention and convey important information.
Using Pixlr, designers can easily craft high-quality flyers by leveraging customizable templates, images, and text options.
Users appreciate Pixlr for its user-friendly interface that makes design accessible to all skill levels. They can start with a template or create a flyer from scratch, allowing for creativity while still ensuring professionalism.
By following a few simple steps, they can produce a polished digital flyer that effectively promotes their brand or event.
Whether for a special promotion or an upcoming event, a well-designed flyer can make a huge difference. Understanding how to use design features and customization options in Pixlr can help them create standout marketing materials.
Readers will discover practical tips and techniques that lead to a successful flyer design.
Getting Started with Pixlr
Starting with Pixlr is simple and user-friendly. Users can easily create an account, navigate through the interface, and choose the right flyer template to begin their design journey. Here are the essential steps to help anyone get started.
Creating a Pixlr Account
Creating a Pixlr account is quick and free. To do this, users need to visit the Pixlr website. From there, they can choose to sign up using an email or their Google account.
After entering the required information, a confirmation email may be sent for verification. Once verified, the account will be ready for use. This account allows users to save their projects and access them anytime, ensuring flexibility in design.
It’s recommended to choose a strong password for added security. Having an account makes it easier to collaborate on projects, as well.
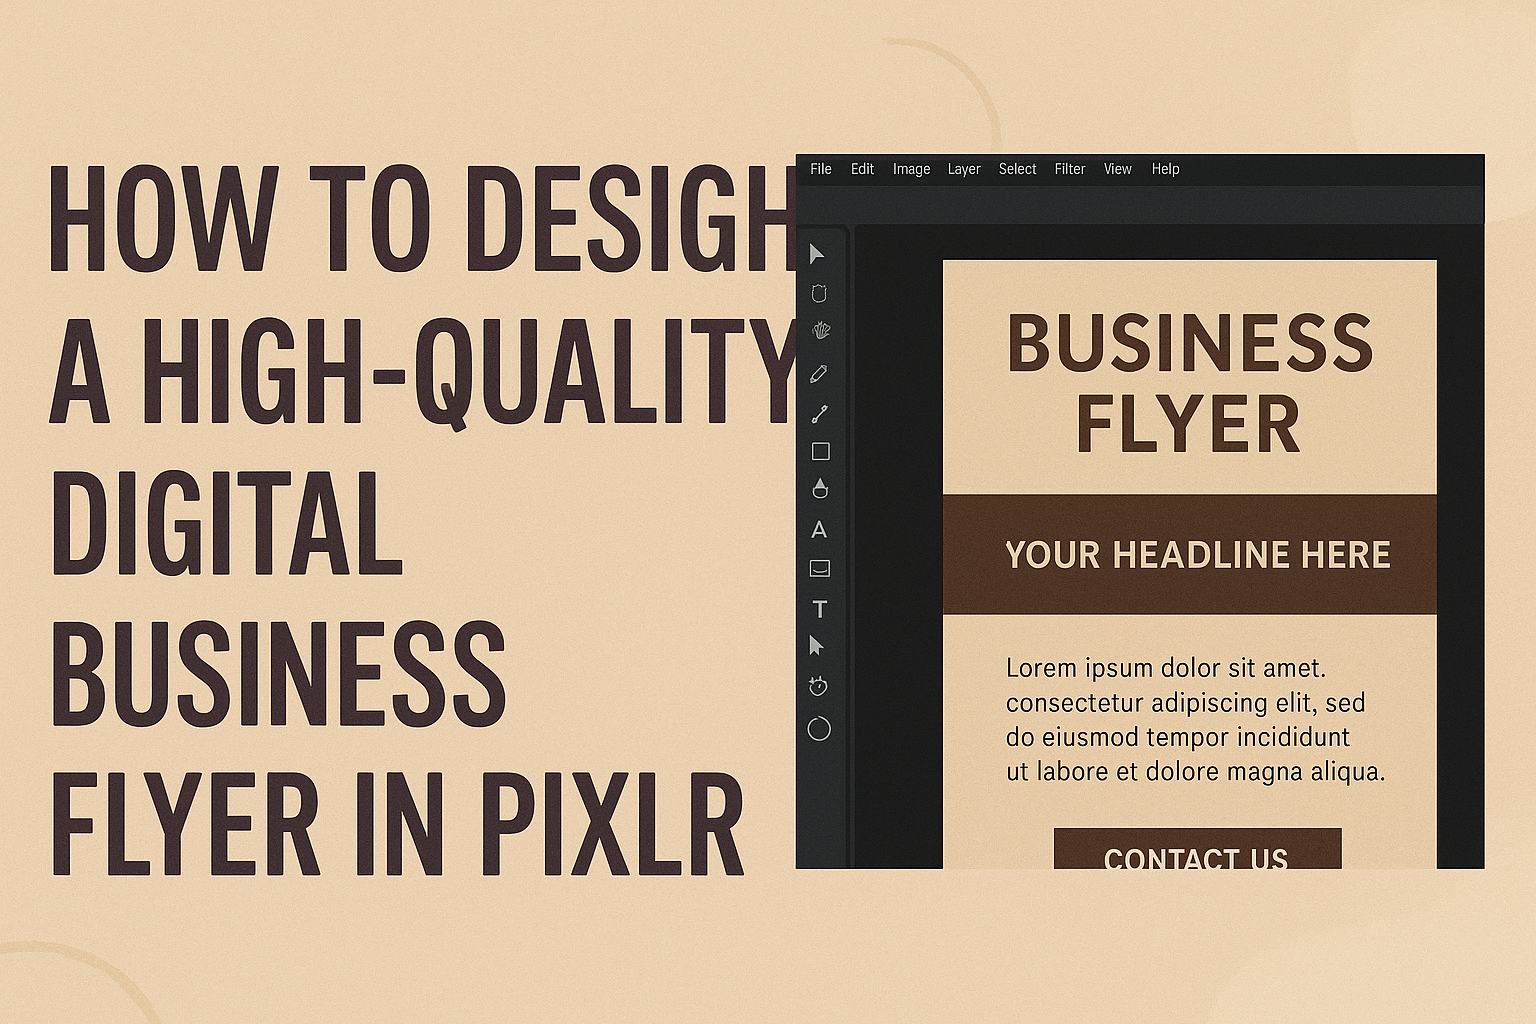
Navigating the Pixlr Interface
Once logged in, users will see the main Pixlr interface. It features a clean layout with tools readily accessible.
The left side contains essential editing tools, such as cropping, layering, and text options. On the right, the user can find properties and settings that adjust the selected tool.
At the top are menus for easy access to features like file management.
Familiarizing oneself with the layout is crucial. It helps users efficiently navigate through various editing options without getting lost in the design process.
Selecting the Right Flyer Template
Choosing the right flyer template is an important step in designing a high-quality digital flyer. Pixlr offers a variety of templates tailored for different purposes.
Users should browse the available options and select one that best fits their needs. They can filter templates by category or type to simplify the search.
After selecting a template, users can customize it by adding their images, text, and branding elements. This personalization helps to create a unique flyer that captures its audience’s attention.
Design Principles for Flyers
When creating a digital business flyer, paying attention to specific design principles can greatly enhance its effectiveness. Key aspects like color theory, visual hierarchy, and font choices can help grab attention and convey messages clearly.
Understanding Color Theory
Color plays a vital role in flyer design. It can evoke emotions and set a mood. Each color has its own meaning: for instance, blue often symbolizes trust, while red can create excitement.
A good approach is to use a color scheme that aligns with the brand. Limit the palette to three main colors for harmony. Using contrasting colors can help important information stand out. For example, a dark background with light text can enhance readability.
Consider color accessibility as well; ensure that color combinations are easy for everyone to see, including those with visual impairments. Incorporating colors that stimulate interest while remaining on-brand can make a flyer more impactful.
Incorporating Visual Hierarchy
Visual hierarchy helps guide the reader’s attention to key information on the flyer. It’s essential to establish a clear order. Start with a bold headline that grabs interest.
Using size and style effectively can emphasize important details. For instance, headlines should be larger than body text, while key details may be highlighted in a different font or color. Bullet points can also break up text and showcase important points quickly.
Spacing should not be overlooked. Adequate white space around elements allows the flyer to breathe and keeps it from looking cluttered. This organization helps ensure that the message remains clear and engaging.
Choosing Fonts Wisely
Font selection can dramatically affect how a flyer is perceived. It’s essential to choose fonts that enhance readability.
Combining a sans-serif font for headlines and a serif font for body text can create a nice contrast. Limit the flyer to two or three fonts to maintain a clean look. Avoid overly decorative fonts that could confuse the reader. Instead, focus on fonts that reflect the business’s personality.
Emphasizing essential information through bold or italic styles can help draw attention where needed. Additionally, maintaining proper spacing between letters can boost readability. Thoughtful font choices can transform a flyer from ordinary to compelling.
Creating Your Flyer
Designing a digital business flyer in Pixlr can be a fun and creative process. By focusing on text, images, and effects, a user can produce an engaging flyer that catches attention.
Adding and Editing Text
Starting with text is crucial. Choose fonts that align with the flyer’s purpose. Pixlr offers various font styles. It’s important to select a size and color that stand out against the background.
To add text, use the text tool and click on the flyer. A text box will appear where the user can type their message. After adding text, it can be easily edited. Users can change the font, size, and color using the toolbar.
Remember to align text appropriately. Keeping it centered or left-aligned often looks best. Adding emphasis with bold or italics can enhance important information.
Working with Images and Graphics
Images play a key role in flyer design. The right image complements the text and creates interest.
Users can upload their own images or choose from Pixlr’s free stock photos. Once an image is added, resizing and positioning are easy. Click on the corners to adjust size. Dragging the image around allows for perfect placement.
Layering images can create depth. Users can send images backward or forward in the layer order. Don’t forget to use transparent backgrounds on images for a polished look.
Applying Filters and Effects
Filters and effects can elevate the flyer’s design. Pixlr provides a variety of options.
Users can adjust brightness, contrast, and saturation. To apply a filter, select the image and choose the filter tool. Experimenting with filters can lead to unique styles. For instance, a vintage effect could suit a retro-themed flyer.
Adding shadows can give text and images a 3D effect. This can help important elements stand out. Users should also consider border options to frame images neatly.
Finalizing and Sharing Your Flyer
Getting your flyer ready for sharing is an important step. This involves ensuring that the layout is clean, previewing the design, and choosing the right formats for different platforms.
Ensuring a Clean Layout
A clean layout is key to making a flyer appealing. It should direct the reader’s eye to important information without clutter. Use consistent fonts and colors throughout the design.
Make sure to leave enough white space to avoid overwhelming the reader. Use alignment tools in Pixlr to keep elements organized.
It’s also useful to zoom in and check for any visual issues or typos. A fresh pair of eyes can help. Consider asking a friend to review the design to catch mistakes that might have been overlooked.
Previewing and Exporting the Final Design
Previewing the flyer before exporting is crucial. Pixlr allows users to see how their design looks on screen. A thorough look can reveal any last-minute adjustments needed.
Once satisfied, it’s time to export the flyer. For online use, formats like JPEG or PNG are recommended. These formats are widely used for easy sharing and display on social media.
If the flyer needs printing, a PDF format ensures high quality. Always choose the resolution based on the intended use to preserve the design’s clarity and impact.
Sharing Across Different Platforms
Sharing the flyer can be done easily across social media and email.
Each platform might have unique requirements for image sizes.
When sharing on social, research the preferred dimensions. This ensures the flyer appears correctly without cropping important details.
Consider using scheduling tools to organize posts.
For email, attach the flyer as a PNG or PDF. Make sure to include a short, engaging message explaining its purpose.
Using these methods can help maximize the flyer’s reach and effectiveness in promoting the intended message.