Creating custom t-shirt prints for a business can be an exciting venture. With tools like Pixlr, anyone can design eye-catching prints without needing advanced graphic design skills.
Whether starting from scratch or using templates, Pixlr makes it easy to bring unique t-shirt ideas to life.
By using Pixlr, users can take advantage of a range of features that allow for customization, such as adding text, images, and adjusting colors. This platform is user-friendly and accessible, making it a great choice for beginners and experienced designers alike.
With just a few simple steps, anyone can produce professional-looking designs that reflect their brand’s identity.
As they follow along, they will discover practical tips and techniques to enhance their designs. From brainstorming ideas to finalizing prints, this guide will help them navigate the creative process smoothly. Making custom t-shirt prints has never been easier or more fun!
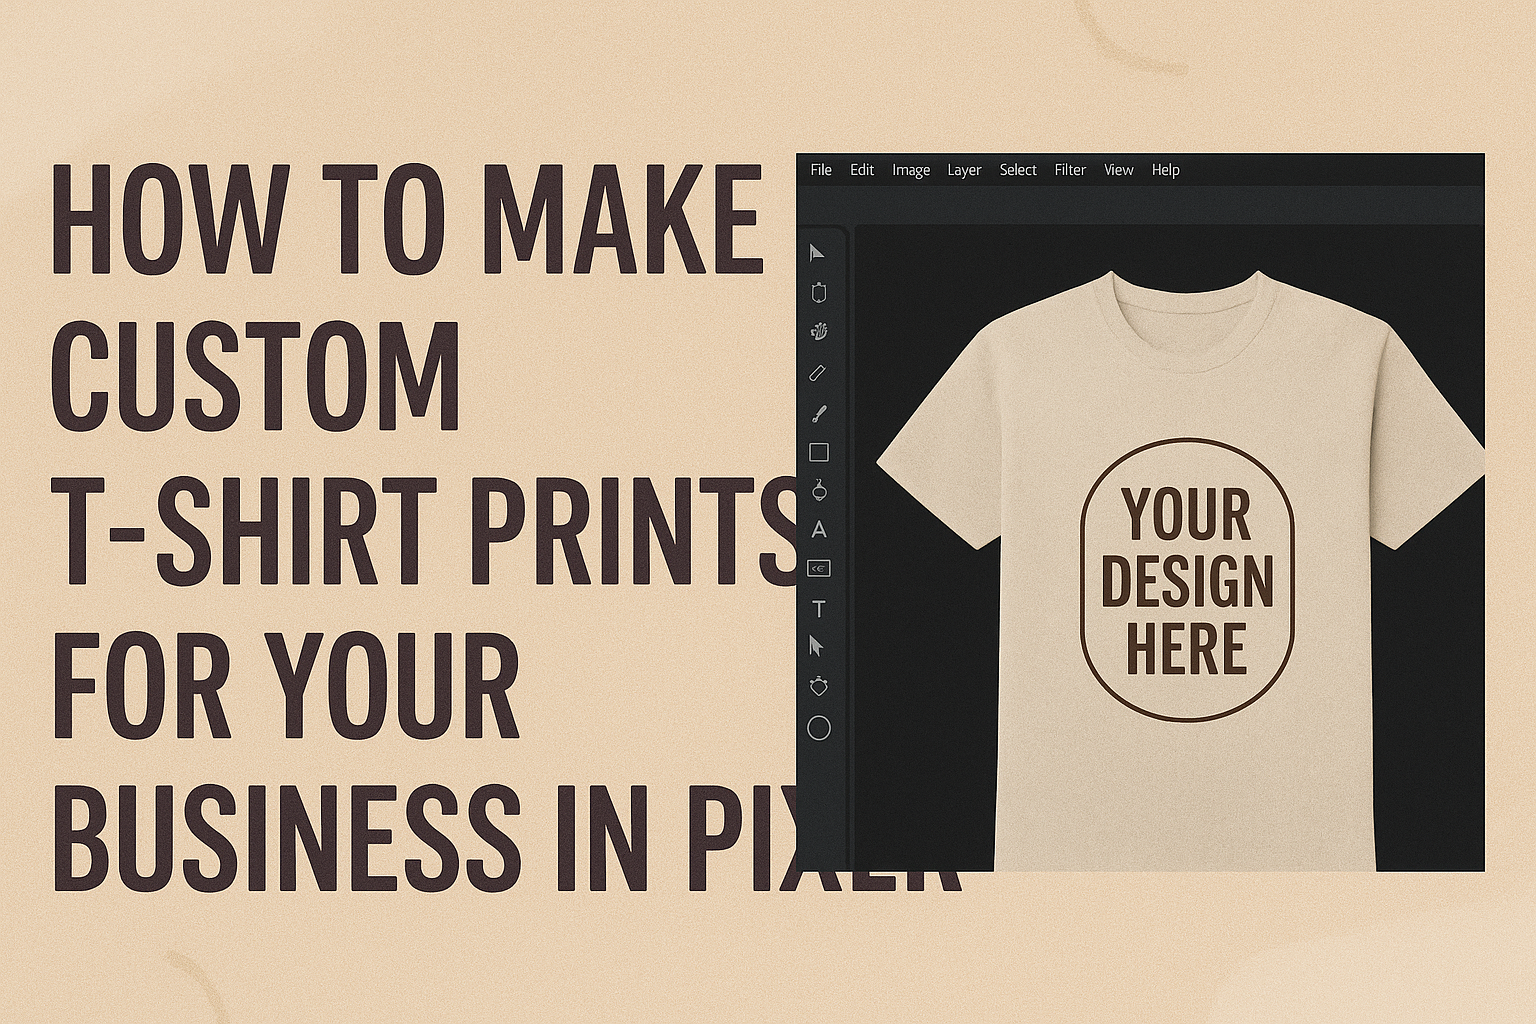
Setting Up Your Pixlr Workspace
Setting up the Pixlr workspace correctly helps streamline the design process.
Familiarizing oneself with the interface, selecting templates, and organizing design elements are key steps in creating custom T-shirt prints.
Understanding Pixlr Interface
When using Pixlr, it’s essential to grasp the layout of the interface.
The main dashboard displays tools on the left side, offering options for selection, brushes, and shapes. The top menu includes actions for editing and saving work.
On the right side, there are panels for layers and adjustments. Layers allow for easy manipulation of different design elements, making it simple to edit without starting over.
Exploring these tools will enable users to maximize their productivity and creativity in the design process.
Choosing the Right Template
Selecting the appropriate template is crucial for an effective design.
Pixlr provides a variety of templates that cater to different styles and needs. Users can start by browsing Pixlr Templates.
Users are advised to choose a template that matches their brand’s aesthetic. It is helpful to look for templates that allow for straightforward customization. Once a template is selected, it can be adjusted to suit specific requirements, ensuring a personal touch is added to the design.
Preparing Your Design Elements
Before diving into the actual design, gathering necessary elements is important. This includes logos, images, and text that represent the brand.
Organizing these components ensures a smoother workflow later on.
Users can upload images directly into Pixlr by dragging and dropping them into the workspace. It’s also beneficial to decide on color schemes and fonts ahead of time. Creating a mood board can help in visualizing how these elements will come together on the T-shirt print.
Designing Your Custom T-Shirt
Creating a custom t-shirt design in Pixlr can be a fun and rewarding experience. By using the right tools and techniques, anyone can make their vision come to life.
Using Pixlr’s Tools for T-Shirt Design
Pixlr offers various tools that can help with t-shirt design.
The brush tool allows for freehand drawing, which is great for adding unique touches. The shape tool is useful for creating geometric designs.
Using the color picker, designers can select precise colors that fit their brand. Additionally, the zoom feature makes it easier to focus on details.
Familiarizing oneself with these tools is essential for making effective designs. With practice, anyone can navigate them confidently and create appealing visuals.
Adding Text and Graphics
Text and graphics are vital elements in t-shirt design.
Pixlr provides multiple font options to suit any style. Users can adjust size, color, and positioning to match their design’s theme.
Importing graphics is simple, whether it’s a logo or custom artwork. Using the overlay option, one can blend images seamlessly into the design.
Mixing both text and graphics adds personality and meaning to the shirt. Balancing these elements ensures the final design is visually appealing and communicates the intended message.
Working with Layers and Effects
Understanding layers in Pixlr is crucial for efficient design.
Each element, such as text or graphics, can be placed on a separate layer. This makes it easier to edit specific parts without affecting others.
Applying effects like shadows or glows can enhance the visual impact. Pixlr has built-in filters that can give designs a unique flair.
Layer management allows for smooth adjustments, creating a polished final product. This flexibility fosters creativity, enabling designers to experiment with different looks until they are satisfied.
Finalizing and Exporting Your Design
Before finishing the design in Pixlr, it’s important to ensure that the resolution is correct and the file format is suitable for printing. These steps are crucial for a professional-looking custom T-shirt print.
Ensuring Proper Resolution and Format
To achieve a high-quality T-shirt print, the resolution of the design should be at least 300 DPI (dots per inch). This ensures that the image remains sharp and clear when printed.
Pixlr allows users to check the resolution by viewing the image size in the settings.
Users should also consider the file format. Common formats for print include PNG and TIFF, as these support high quality and transparency. Before exporting, they should double-check that the dimensions match the actual size of the T-shirt area intended for the print.
Saving Your Design for Print
After finalizing the design, saving it correctly is the next step.
In Pixlr, users can click on “File” then “Export” to choose the preferred format. When selecting PNG, check the “Transparency” box if needed, ensuring that the background isn’t printed.
When saving, it’s helpful to create a clear file name that reflects the design. This avoids confusion later.
Users should also consider saving a copy in Pixlr’s format for future edits.
Once everything is set, they can confidently export the file, ready for printing!