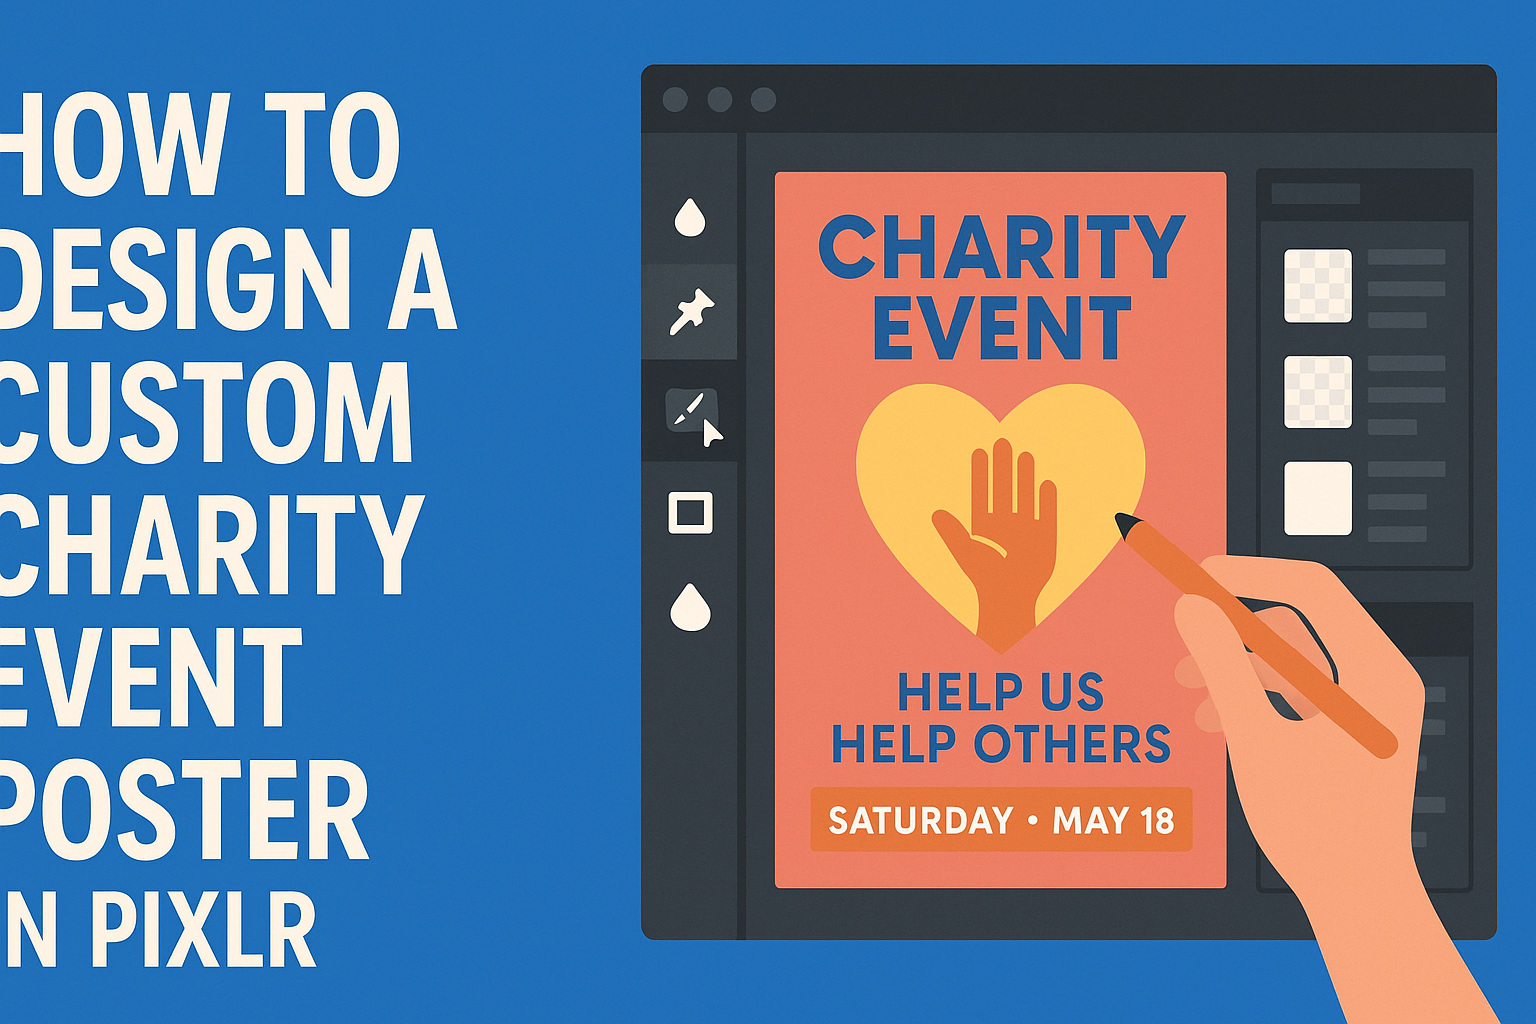
Creating a custom charity event poster can be an exciting way to promote a cause.
Using Pixlr makes this process easy and fun, allowing anyone to craft stunning designs without needing advanced skills.
By following simple steps in Pixlr, individuals can create eye-catching posters that effectively draw attention to their charitable events.
Pixlr offers various tools and templates that simplify the design process. From colorful backgrounds to engaging fonts, users have plenty of options to express the spirit of their event.
With a little creativity and the user-friendly interface of Pixlr, anyone can make a poster that not only looks great but also inspires action.
Getting started is simple, and the results can be powerful. With the right guidance, creating a visually appealing charity event poster can help raise awareness and boost attendance.
This article will provide helpful tips on designing a standout poster that resonates with the audience.
Getting Started with Pixlr
To create a custom charity event poster in Pixlr, it’s important to first familiarize oneself with the interface.
Understanding the tools available and setting up the canvas correctly will make the design process smoother.
Understanding Pixlr Interface
When opening Pixlr, users are greeted with a clean and user-friendly interface.
The toolbar on the left contains essential tools like selection, brush, and text. On the right, panels display layers, properties, and adjustments.
Navigating through the interface is straightforward. Shapes can be added for backgrounds or accents.
Text tools allow for adding event details clearly. Users can also access numerous filters and effects to enhance the design.
Taking time to explore these features can greatly improve the poster’s appeal. Trying out different tools will help users discover what works best for their design.
Setting Up Your Canvas
Setting up the canvas is a crucial first step in the design process.
When starting a new project in Pixlr, users can choose from various preset sizes or create a custom size suitable for printing or online sharing.
Users should select dimensions that fit their event’s needs. A common poster size is 24×36 inches, but smaller sizes may work better for social media.
After selecting the size, resolution is also important. A resolution of 300 DPI is recommended for print quality.
Once the canvas is set, users can begin layering backgrounds and images. Saving the canvas frequently ensures that no work is lost during the design process.
With the right setup, users can focus on making an eye-catching poster for their charity event.
Design Elements and Principles
Effective charity event posters rely on thoughtful design elements and principles.
Key aspects include selecting the right colors, using appropriate text and typography, and incorporating striking images or graphics. These choices help to convey the message and attract attention.
Choosing a Color Scheme
Color plays a crucial role in attracting viewers and setting the mood. A well-chosen color scheme can evoke emotion and draw people in. For a charity event, colors that reflect the cause or theme often work best.
Using a limited palette typically leads to a cleaner look. For instance, a combination of two or three complementary colors can create harmony.
Tools like the color wheel can help in selecting colors that match and enhance each other.
Consider testing colors with your target audience. Making sure they resonate can improve engagement.
It can also be beneficial to use colors associated with the charity’s mission, helping to reinforce the message visually.
Incorporating Text and Typography
Text should be clear and readable to effectively communicate essential information.
Choosing the right typeface matters; often, bold fonts for headers and simpler fonts for body text create a nice balance.
Important details, such as the event name and date, should stand out. Using a larger font size and contrasting color can achieve this.
Keeping the amount of text concise helps viewers quickly grasp the message.
Consider the hierarchy of information. Primary details should be at the top, with secondary information like sponsors and social media links below. This structure makes it easy to follow and understand.
Utilizing Images and Graphics
Images and graphics can significantly enhance a poster’s appeal. They should relate directly to the event theme. A striking image can evoke interest and inspire action.
Choose high-quality images to maintain professionalism. Using logos or icons can make the poster visually compelling while reinforcing branding.
It’s essential to consider the placement of these visual elements to ensure they complement the text.
Balancing images with whitespace keeps the design from feeling cluttered. This approach allows important information to shine through.
Visuals should draw the viewer in without overwhelming the core message of the charity event.
Creating Your Poster
Designing a custom charity event poster in Pixlr involves several important steps. This includes adding images, working with layers, and applying effects and filters to create a polished final product.
Adding and Editing Images
To start, users can add images by clicking on the “Add Image” button. They can upload their own photos or choose from Pixlr’s library. Once the images are on the canvas, resizing is simple. Just drag the corners to adjust the size.
For editing, Pixlr offers tools like crop, rotate, and adjust. Users can enhance colors or apply brightness and contrast settings.
To delete unwanted backgrounds, the “Cutout” tool is very useful. Properly placed images can make a poster more eye-catching.
Working with Layers
Layers are essential in Pixlr as they allow users to manage different elements separately. Each item added, like images or text, appears on its own layer.
To create a new layer, users can click on the “Add Layer” option. Rearranging layers is easy; simply drag them in the layer panel. This makes it simple to adjust the order of images and text.
Users can also change layer opacity. This is useful for blending effects or creating a shadow. Right-clicking on a layer opens a menu with options to lock, hide, or delete the layer for better organization.
Applying Effects and Filters
Effects and filters can add a unique touch to the poster. In Pixlr, users can explore a variety of options under the “Effects” menu.
For instance, a “Blur” effect can soften a background. This can make text more readable. The “Sharpen” effect highlights important details in images.
Filters allow for fun changes, like turning a photo into a sketch or a vintage-style image. Users should experiment with different effects to find the right look for their charity poster. Adding effects enhances creativity, making the poster stand out.
Finalizing and Sharing Your Poster
Before sharing the poster, it’s important to ensure that all details are perfect. The following points will help in fine-tuning the design, saving it in the right format, and effectively sharing it on social media.
Review and Adjust Design Details
Before finalizing the poster, take a moment to review all design elements.
Check the colors, fonts, and layout to make sure everything looks cohesive. It’s helpful to zoom in on the design to spot any small errors, like typos or misalignments.
Make sure the event details—such as date, time, and location—are clearly visible. Adjust text size or color if necessary.
If using images, ensure they are high quality and relevant to the charity event. This final review can make a significant difference in the professional look of the poster.
Saving and Exporting Your Work
Once everything looks good, it’s time to save the poster in the right format.
Pixlr allows saving in various formats such as JPEG, PNG, or PDF. Choose the format based on how the poster will be used.
For online sharing, JPEG or PNG is often best. For printing purposes, saving as a PDF can maintain quality.
Select “Export” in Pixlr, choose the quality level, and name the file for easy identification. Ensure to save a copy in the Pixlr workspace for any future edits.
Sharing on Social Media
Sharing the poster on social media is an effective way to raise awareness for the event.
Start by selecting a few platforms where the target audience is active. Facebook, Instagram, and Twitter are popular choices.
When sharing, include a catchy caption that highlights the event’s purpose.
Utilize relevant hashtags to reach a wider audience.
Consider scheduling posts for optimal times to gain maximum visibility.
Engaging with comments or questions can also help attract more attendees to the charity event.