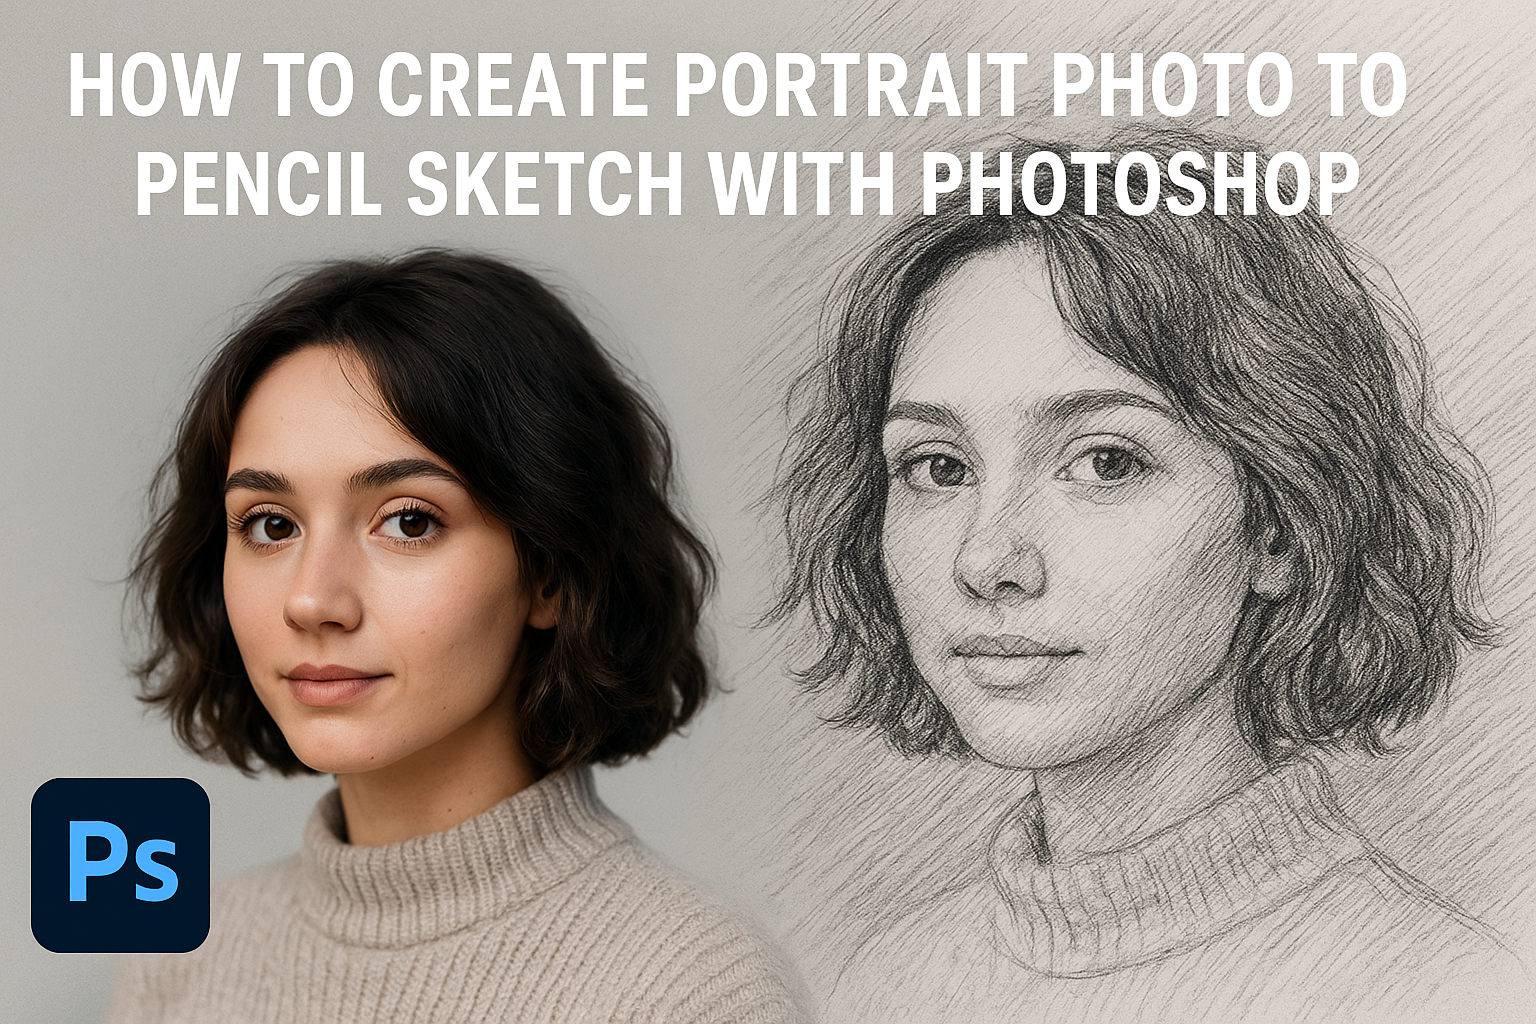
Turning a photo into a pencil sketch using Photoshop can bring a whole new artistic dimension to your images. With the right techniques, anyone can recreate the look of a pencil drawing, offering a unique way to showcase your favorite portraits.
This process invites creativity and allows for a personalized touch, whether it’s for a gift or a new piece of art for your home.
Using tools like Photoshop’s Smart Filters and Gaussian Blur, you can transform an image while keeping all changes editable for future tweaks.
This flexibility is key, especially if you’re exploring different sketch styles or working with various images.
There’s no need to be a Photoshop expert to start; with step-by-step guidance, even beginners can achieve beautiful results.
For those looking to explore these techniques, the internet is full of resources. For instance, detailed instructions on how to create a pencil sketch in Photoshop can be a valuable guide.
Dive in, and soon you’ll be creating stunning pencil sketches with ease.
Understanding the Basics of Photoshop
Photoshop is a powerful tool for editing and creating graphics. To get started, it’s important to understand the workspace, familiarize yourself with the tools, and learn how to work with layers effectively.
Workspace Overview
The Photoshop workspace is where all the magic happens. It consists of various panels and tools that allow users to edit images.
The menu bar at the top offers access to all commands and features. Below that, the toolbar on the left holds common tools like the Brush, Move, and Eraser. The Options bar changes based on the selected tool, providing additional settings.
On the right, the Panels such as Layers, Adjustments, and History help manage different aspects of the project.
Users can customize their workspace to better fit their needs. By going to Window > Workspace, they can choose from different layouts like Photography or Graphic and Web. Adjusting and saving their layout can simplify the workflow.
Tool Familiarization
Photoshop offers a range of tools to handle various tasks. The Move Tool is essential for positioning layers, while the Brush Tool allows for freehand drawing. The Eraser Tool is used to remove parts of an image.
Selecting a tool changes the settings in the Options bar. For example, when using the Lasso Tool, options for feathering and adding to the selection appear.
Mastering keyboard shortcuts can speed up the process. For instance, pressing B selects the Brush Tool, and E chooses the Eraser.
It’s beneficial to practice with each tool to understand its capabilities.
Working with Layers
Layers are the foundation of any Photoshop project. They act like transparent sheets stacked on top of each other.
The Layers panel shows all layers in the project and their order. Layer visibility can be toggled using the eye icon, making it easier to focus on specific parts.
Working with layers involves tasks such as creating new layers, changing their order, and setting opacity. Users can add effects through layer styles like drop shadows and bevels.
Understanding how to use layers proficiently allows for non-destructive editing, meaning changes can be made without permanently altering the original image. Layers offer flexibility and control, making them a crucial part of Photoshop.
Preparing Your Photo
Before turning a photo into a pencil sketch using Photoshop, it’s important to choose a suitable picture and make necessary adjustments. The right image selection and preparation will greatly influence the final outcome.
Selecting the Right Image
Choosing the right image is the first step in creating a stunning pencil sketch. A photo with high contrast and sharpness works best for this effect.
Portraits with clear outlines and minimal background distractions are ideal. Faces with unique features, such as strong jawlines or prominent eyes, add depth to the sketch.
Avoid images that are blurry or too dark because they can make it difficult to capture details. Think about choosing a photo with interesting lighting or shadows, as these can enhance the sketch effect.
Photo Adjustments
After selecting the image, initial adjustments can improve its suitability for sketch conversion.
Begin by enhancing brightness and contrast to make features stand out. Use Photoshop’s Levels or Curves tools to adjust these elements.
Sharpening the image can also help define edges better. Try to keep changes subtle to avoid unnatural effects.
Consider removing any unwanted elements or blemishes with the healing tools to ensure that only the desired details are highlighted.
Adjust colors cautiously; though the end result will be in grayscale, color balance affects the shading in the sketch.
Cropping and Composition
Proper cropping and composition will play a big role in focusing on the main subject.
Crop out unnecessary parts of the image to center attention where it is needed. Maintain the rule of thirds for balanced composition, placing key features along the grid lines or intersections.
Pay attention to the orientation of the photo — sometimes switching from landscape to portrait can be beneficial, depending on the subject.
Make sure the photo has enough space around the subject to give the sketch a natural, complete look. This step ensures that when transformed into a sketch, the portrait maintains focus and clarity.
Starting the Sketching Process
To begin turning a portrait photo into a sketch in Photoshop, it’s important to focus on desaturation and edge detection. These steps help make the image resemble a hand-drawn pencil sketch, giving it a more artistic and detailed look.
Desaturation Techniques
Desaturation is an essential step to remove colors and focus on the shades of the portrait.
In Photoshop, the user can desaturate the image using the “Hue/Saturation” adjustment. This can be done by selecting Image > Adjustments > Hue/Saturation, then dragging the Saturation slider all the way to the left.
This will remove all color from the image, creating a grayscale version.
Another method involves using the Black & White adjustment layer. This offers more control over the light and dark areas based on original color tones.
The user can adjust individual color sliders like red, green, and blue to change the appearance of the grayscale image. This approach allows for fine-tuning specific areas, enhancing the contrast where needed.
Whichever method is chosen, the goal is to transform the photo into a monochrome image with clear highlights and shadows. Doing this sets up a strong foundation for creating the sketch.
Edge Detection
Edge detection is crucial for highlighting the outlines and details within the photo. This step is critical for making the image look like a drawing.
One popular technique involves using the Find Edges filter. The user can access this filter by going to Filter > Stylize > Find Edges. This highlights the outlines and gives the picture a line-art look.
Alternatively, using the High Pass filter can also produce good results.
The user needs to duplicate the desaturated layer first, then apply the High Pass filter through Filter > Other > High Pass. A low radius setting, usually between 1 and 3 pixels, works well for edge detection.
This filter enhances the prominent edges without overpowering the image.
Combining both the Find Edges and High Pass techniques can provide an even better outcome. This step creates distinct outlines, necessary for a realistic sketch effect. Each method suits different types of portraits, and experimenting with both can help achieve the desired result.
Detailing Your Sketch
Detailing a pencil sketch in Photoshop involves enhancing elements that bring it closer to a realistic drawing. This includes refining lines using brushes, adding shading for depth, and applying textures for a traditional sketch feel.
Using Brushes
Using the right brush can make all the difference. Photoshop offers a variety of brushes that mimic real pencil strokes.
He can start by selecting a soft brush to outline key features. Adjusting the brush size allows for greater control over finer details like hair or fabric textures.
He should also experiment with brush opacity and flow settings. Lowering opacity is beneficial for layering strokes, creating a more organic look.
Using a hard brush is excellent for sharp edges. This technique is especially useful for emphasizing boundaries in the sketch, making the image pop.
Shading and Depth
To create realistic shading, she can work with different shades of gray.
Layer masks are a valuable tool here, helping to add shadows without affecting the entire image. Adjusting the brightness and contrast of layers can highlight these details.
Using the dodge and burn tools can sculpt features subtly. The dodge tool lightens specific areas, while the burn tool darkens them, giving the sketch a dynamic range.
Adding depth is not just about black and white. Incorporating mid-tones can make the transition between light and dark areas smoother.
Texture Application
Applying texture can transform a basic sketch.
Importing paper textures from online sources, like the link found in some tutorials, gives the sketch an authentic look.
They can adjust layer modes to blend the texture with the sketch. Overlay or multiply modes often yield the best results. Reducing the texture layer’s opacity blends it with the sketch naturally.
For a personalized touch, he might try creating custom textures. Photographs of different surfaces can be edited and applied, bringing unique characteristics to each project.
Applying Final Touches
When transforming a photo into a pencil sketch, adjusting both the contrast and brightness can enhance the details, while increasing sharpness improves clarity. These steps bring your artistic vision to life.
Contrast and Brightness
In Photoshop, adjusting the contrast and brightness is key to making your pencil sketch pop. To do this, navigate to the Image menu and select Adjustments, then choose Brightness/Contrast.
Increasing contrast can make the darker lines in the sketch stand out, providing depth to the image. Be careful not to overdo it, as excessive contrast can make the image look unrealistic.
Brightness adjustments help highlight softer areas of the sketch. Increasing brightness can give a lighter, cleaner look, but too much may wash out crucial details. Striking a balance is essential for a natural appearance, ensuring that the highlights and shadows complement each other.
Sharpness and Clarity
Enhancing sharpness in your pencil sketch brings out detail and texture, making the sketch appear more refined.
To improve sharpness, use the Filter menu, click on Sharpen, and then select Unsharp Mask.
Adjust the sliders to see the effect on your image. A small radius and higher percentage can sharpen lines without introducing too much noise. Preview changes as you adjust to ensure that the sketch maintains its authentic look.
Additionally, applying clarity adjustments in the Camera Raw filter can further enhance textures.
Boosting clarity intensifies the contrast in mid-tones, bringing depth to intricate lines and details. It’s a subtle change, but it can significantly elevate the overall impact of your pencil sketch.
Saving Your Work
When creating a pencil sketch from a portrait photo in Photoshop, it’s crucial to save your work properly. Understanding the right file formats and following best practices for exporting ensures your work is preserved in high quality.
File Formats Explained
Choosing the right file format can make a big difference.
JPEG is commonly used for online sharing due to its smaller file size. However, it can cause some quality loss due to compression.
For higher quality, TIFF and PSD are better choices. TIFF is great for print as it keeps all the details intact. PSD, Photoshop’s native format, is perfect for keeping all your layers and edit history.
It’s important to save in a format that suits your final use. Consider using PNG if you’re looking for a good balance between quality and file size without losing transparency options. This is especially useful if you’re planning to use the sketch in further designs or ads.
Best Practices for Export
To make sure your work remains intact, save progress frequently.
Use File > Save As to create different versions if experimenting with various effects. This way, you won’t lose earlier stages of your work.
When you’re ready to export the final version, adjust the resolution according to where it will be used.
For web, 72 DPI is usually enough. For print, choose 300 DPI to maintain detail and sharpness.
Always check the color mode; use RGB for web and CMYK for print to avoid color shifts.
Lastly, consider exporting your sketch in multiple formats. This gives you flexibility in using the image across different platforms and media.