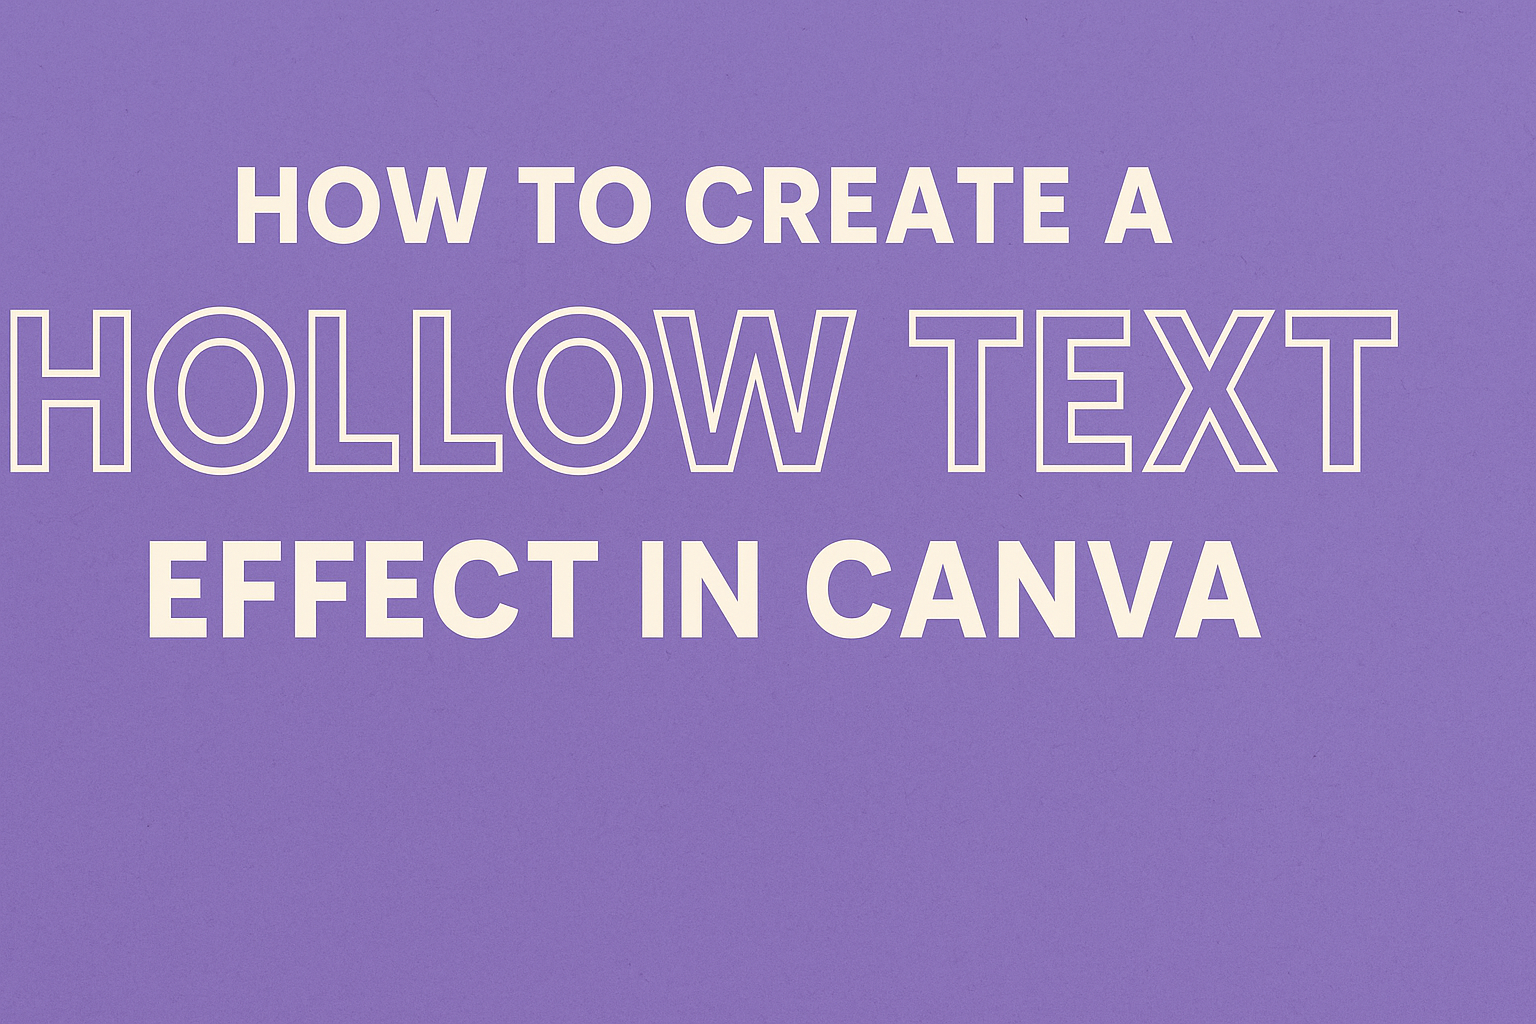
Creating eye-catching designs is essential for standing out in social media and marketing. Many people are looking for ways to make their text more attractive, and the hollow text effect is a simple and stylish choice.
This effect can add depth and interest to any text in Canva, making it a popular option for posters, graphics, and more.
In this article, readers will discover how to easily create a hollow text effect using Canva’s user-friendly tools. It’s perfect for anyone wanting to enhance their designs without needing advanced skills.
With just a few clicks, it can transform regular text into something visually striking.
Getting Started with Canva
Canva is a user-friendly online design tool that allows anyone to create stunning graphics. Getting familiar with its features and layout can help users maximize their design potential with ease.
Creating a New Design
To create a new design on Canva, users should start by signing in to their account.
Once logged in, they will find an option to create a design on the homepage.
Click on the “Create a Design” button, which is usually located at the top right corner.
A menu will pop up with various design dimensions and templates, such as social media posts, flyers, or presentations.
Users can choose one of the suggested sizes, or click on “Custom Size” to input specific dimensions.
This flexibility allows for tailored designs to meet various needs. Once a choice is made, Canva will open a blank canvas ready for creative input.
Navigating the Canva Interface
After starting a new design, users will be met with a clean and intuitive interface. The left sidebar provides access to different features, making navigation easy.
At the top, a toolbar shows options for text, images, and elements. Users can drag and drop these onto their canvas.
On the left, they can explore templates, photos, and elements like shapes, lines, and icons.
The “Text” tool in the sidebar offers options for adding titles, headings, and body text.
Additionally, the “Uploads” section allows users to import their images and logos. Understanding these key areas can make any design project more enjoyable and effective.
Designing with Text
Text is a key element in any design. It can attract attention and convey important information. Knowing how to add and customize text will enhance any project in Canva.
Adding Text to Your Design
To start, click the “Text” tool on the left side of the Canva interface. Users can choose from options like “Add a heading,” “Add a subheading,” or “Add a little bit of body text.”
Once selected, users can type their desired text.
They can also move the text box around the canvas to find the perfect placement.
Using the positioning tools, users can center their text or align it to the left or right.
Adding text is just the first step in creating engaging designs.
Customizing Fonts and Colors
After inserting text, customizing it is next. Users should click on the text box to access the editing toolbar. Here, they can change fonts, sizes, and colors.
Choosing the right font is important. Different fonts convey different moods.
Bright and bold colors can grab attention, while softer shades can feel calming.
Users can also adjust the spacing between letters and lines for a polished look.
Experimenting with these options can help create a unique design that reflects personal style.
Creating the Hollow Text Effect
Creating a hollow text effect in Canva involves a few important steps. Choosing the right font style, adjusting the text transparency, and utilizing shapes and lines are key elements that help achieve this eye-catching design.
Choosing the Right Font Style
The first step is to select a font that works well with the hollow effect.
Bold fonts tend to be the best option, as they provide enough weight for the hollow look to shine. Popular choices include Arial Black, Bebas Neue, and Impact.
When choosing a font, it’s essential to consider the overall design. The font should match the theme of the project.
After selecting, place the text on the canvas and adjust its size for visibility.
Using a larger font size helps enhance the hollow effect. This ensures that the inner part of the text is large enough to display the background or any design elements underneath.
Adjusting Text Transparency
Next, adjusting the text transparency adds depth to the hollow effect. This can be done by selecting the text box and finding the transparency option in the toolbar.
Lowering the opacity between 20% to 50% usually works well.
This adjustment allows the background or colors beneath to peek through the text. It creates a stunning visual that draws the viewer’s attention.
Experiment with different transparency levels until finding the right balance.
Remember that this step is crucial in making the text appear hollow instead of just faded. Keeping the outer edges bold while the center is lighter enhances the hollow effect’s overall appeal.
Utilizing Shapes and Lines
Finally, using shapes and lines around the text can elevate the design even further.
Start by selecting a shape from the elements section, like circles or rectangles. Position these shapes behind or around the text to create a frame.
Adjusting the color and transparency of these shapes can help them blend into the design. They should complement, not overshadow, the hollow text.
Additionally, using lines to underline or highlight the text adds an extra touch. This technique emphasizes the hollow effect and makes the design look polished and professional.
Finalizing and Sharing Your Design
Once the hollow text effect is complete, it is essential to preview the design for any last-minute changes. This step ensures that everything looks just right. After previewing, users can easily download or share their creations to showcase their work.
Previewing Your Work
Before finalizing the design, it is important to preview how it will appear. This feature allows users to see the text effect in context with the rest of their design.
- Zoom In/Out: Users can zoom in to check smaller details or zoom out for an overall view.
- Adjust Colors: It’s also a good time to adjust colors or opacity if needed.
Make sure to look for alignment and spacing to ensure everything is visually appealing. This careful review helps catch any errors before sharing the work.
Downloading and Exporting Options
After confirming that the design meets expectations, it is time to download or share it.
Canva offers several options to fit different needs.
- File Types: Users can download their design as PNG, JPG, or PDF.
PNG is best for high-quality images, while JPG is more suitable for sharing online.
- Social Media Sharing: Canva also allows direct sharing to various platforms like Facebook or Instagram.
This feature is convenient for quick feedback or promotion.
Choosing the right format ensures that the design looks great wherever it will be used.