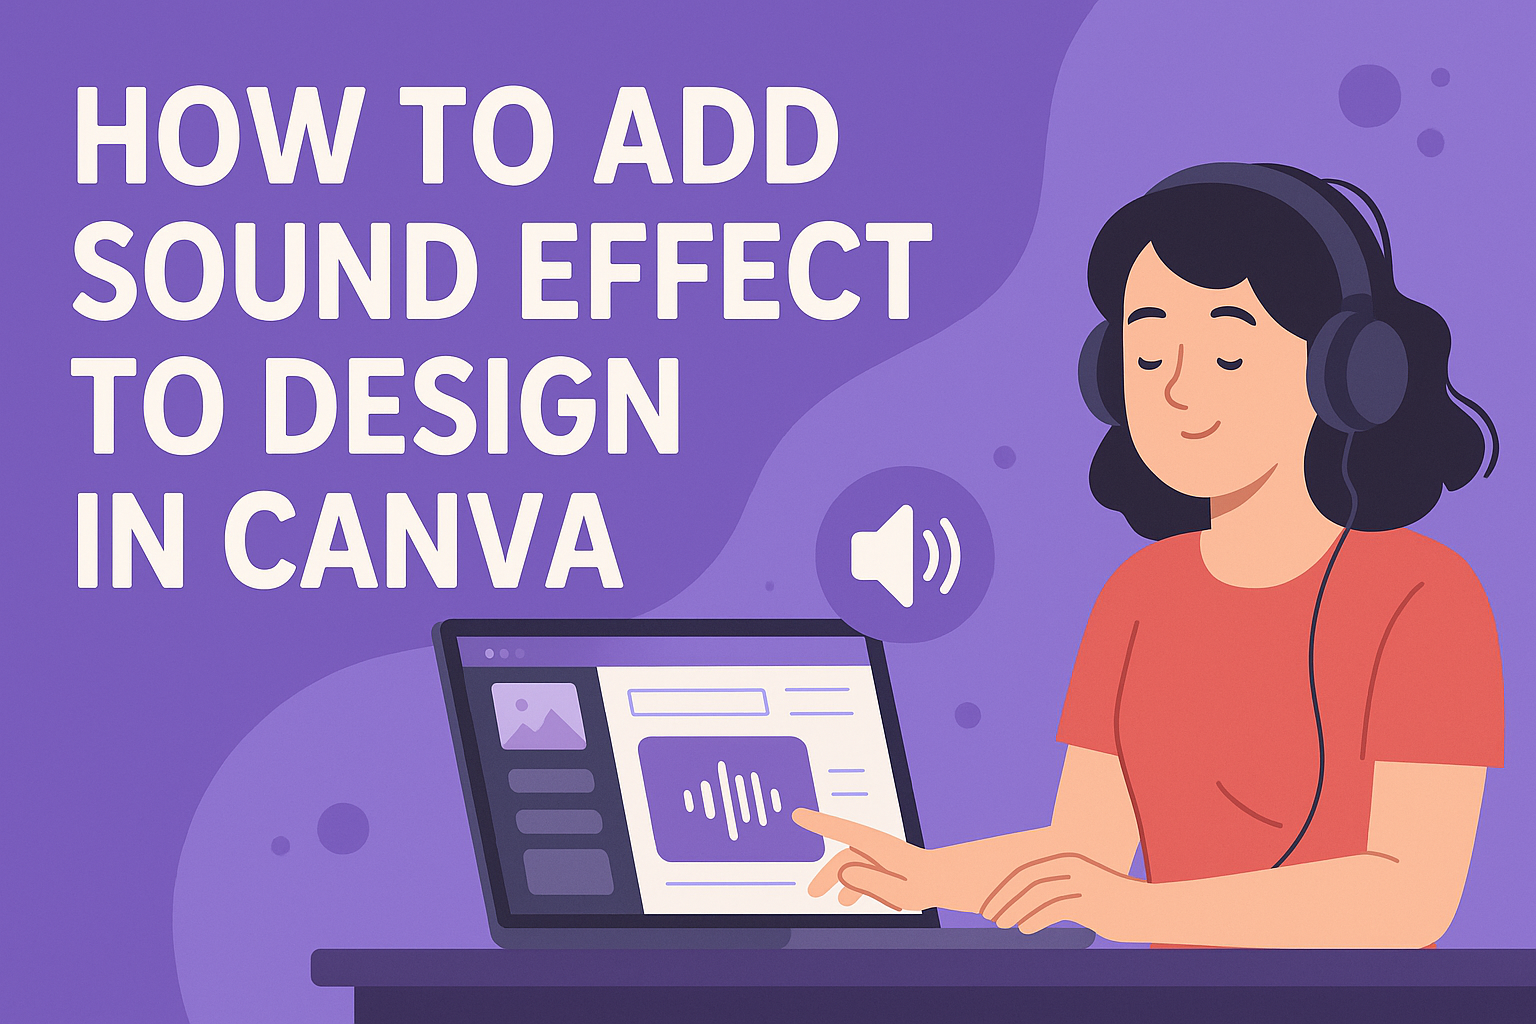
Adding sound effects to designs in Canva can elevate any project, capturing attention and enhancing viewer engagement. By incorporating audio, creators can bring their visuals to life and create a more immersive experience.
To add sound effects in Canva, users can easily select tracks from the Audio tab or upload their own audio files.
Whether for videos, presentations, or animations, sound effects play a critical role in making content memorable.
Canva offers a user-friendly interface that allows designers to layer multiple audio tracks, creating a rich tapestry of sound to complement their visuals. With the right audio choices, anyone can transform a basic design into something extraordinary.
Exploring the world of sound effects in Canva not only enhances creativity but also helps others connect with the content. The right sound can evoke emotions, set a mood, or even define a brand.
As they read on, they will discover practical steps to seamlessly integrate audio into their designs.
Getting Started with Canva
Canva is a user-friendly design platform that makes creating graphics easy for everyone. Users can dive right into their design projects with a few simple steps.
Creating a New Design
To start a new project in Canva, the user must first log in to their account. If they don’t have one, it’s free to sign up.
Once logged in, they can click on the “Create a Design” button, usually located at the top right corner. This opens a menu with various design types, such as presentations, social media posts, or custom dimensions.
They can choose a preset option or enter specific dimensions. After selecting the desired format, a new design canvas appears, ready for customization. This canvas is where all design elements will come together.
Navigating the Canva Interface
The Canva interface is designed to be intuitive. On the left side, users see a panel that provides access to different elements like Text, Photos, and Videos.
At the top, there are tools to undo or redo actions. The “Share” button allows users to invite others to collaborate on their project.
To add images or graphics, users can simply drag and drop them onto the canvas. Different templates are available for various needs, which makes finding the right starting point easy.
Understanding this layout helps users navigate quickly and efficiently, making their design process smoother.
Understanding Sound Effects
Sound effects play a crucial role in enhancing designs, especially in video content. They help to create specific moods, capture attention, and make a visual experience more engaging. Knowing about different types of sound effects and their importance can greatly impact the effectiveness of a design.
Importance of Sound in Design
Sound effects add depth and engagement to visual media. They can convey emotions that images alone might not express. For instance, a soft melody can create a calm atmosphere, while upbeat music may convey excitement.
In video designs, sound helps guide the viewer’s emotional response. It can draw attention to key moments or transitions, keeping the audience involved. Without sound, a video might feel flat or uninviting.
Proper use of sound can also enhance storytelling. It helps to set the scene and establish a connection with the audience. This connection can make the content more relatable and memorable.
Types of Sound Effects
There are various types of sound effects that designers can use. Here are some common categories:
-
Natural Sounds: This includes sounds from nature like birds chirping or rain falling. They help create an immersive environment.
-
Foley Sounds: These are sounds added in post-production, like footsteps or rustling clothes. They enhance realism in videos.
-
Musical Effects: These can be background music or specific musical phrases. They set the mood and tone of the design.
-
Humorous Effects: These sounds add a fun element to projects, like a comedic drumroll or a cartoonish pop. They work well in lighthearted content.
By choosing the right sound effects for each project, designers can influence how the audience perceives the message.
Adding Sound Effects in Canva
Canva makes it easy to enhance designs with sound effects. Users can select sound effects that match their project, access a variety of sounds from a library, or upload their own files to create a unique experience.
Selecting the Right Sound
Choosing the right sound effect is key to conveying the intended message of a design. Users should consider the mood they want to create. For example, a playful sound might suit a children’s project, while a suspenseful effect is perfect for a thriller.
To find the best fit, users can browse categories or use specific keywords in the search bar. Listening to previews can help in making a final decision. It is important to match the sound to the visuals, ensuring they complement each other well.
Using Canva’s Sound Library
Canva offers an extensive sound library filled with various effects and audio tracks. To access this, users can click on the Audio tab in the side panel.
They can then explore different categories or use keywords to quickly locate what they need. Each sound effect comes with a preview option, allowing users to hear how it sounds before adding it to their design.
This library is filled with options, catering to different moods and styles, ensuring that users find the perfect sound for their specific design project.
Uploading Custom Sounds
If existing options do not meet their needs, users can upload custom sounds. This feature allows for greater creativity and personal touch in their designs.
To upload a sound file, the user can go to the Audio tab and click on the Upload button. It is important to ensure that the sound complies with acceptable formats, like MP3 or WAV.
Once uploaded, these custom sounds can be layered and adjusted just like the built-in sounds, enabling seamless integration into the overall design. This flexibility enriches the user’s creative possibilities.
Editing Sound Effects
Editing sound effects in Canva enhances the audio experience in any design. Users can easily trim, loop, adjust volume, and set timings for their audio tracks to create a polished final product.
Trimming and Looping
When working with sound effects, trimming is essential for removing unwanted sections at the beginning or end of a track.
In Canva, users can click on the audio track in their project to reveal options. They can drag the ends of the waveforms to shorten the track.
Looping allows sound effects to repeat seamlessly. After trimming a sound effect, users can look for the loop option in the audio settings. This creates a continuous sound without gaps. Looping works best for background sounds, ensuring a consistent atmosphere throughout the design.
Adjusting Volume
Adjusting the volume of sound effects makes a significant impact on how they are perceived.
In Canva, users simply select the audio track to access volume controls. By moving the slider, they can increase or decrease the sound level.
It’s vital to balance audio levels so that sound effects complement the visuals. For instance, quieter sound effects may get lost in louder background music. A well-adjusted volume helps maintain a smooth flow and keeps the audience engaged.
Setting Sound Timings
Setting sound timings is important for synchronizing audio with visual elements.
Users can specify when a sound effect should start and end in their design.
In Canva, timing adjustments can be made by dragging the audio track along the timeline. This aligns the sound effect with specific video segments. Precise timings enhance the overall coherence of the project, creating a more immersive experience for the audience.
Integrating Sound with Visual Elements
Adding sound to visuals enhances the audience’s experience. By aligning sound effects with animations and incorporating sound during transitions, the design becomes more engaging.
Synchronizing Sound and Animation
When sound effects match animations, they create a more immersive viewing experience. For example, a sound explosion can enhance an animation of an object bursting.
To achieve this, the designer should:
- Choose Relevant Sounds: Selecting sounds that fit the actions helps maintain the audience’s attention.
- Adjust Timing: Align the sound effects with the start of the animation. This ensures a seamless experience.
In Canva, sounds can be layered over animations. This allows the designer to create a rich audio-visual layer. She can use the audio editing tools in Canva to fine-tune the timing. This synchronization draws viewers in and keeps them engaged.
Transition Effects with Sound
Transition effects enhance the flow of a design. Adding sound during these transitions can elevate the effect significantly. For instance, a whoosh sound can emphasize a slide transition.
To implement this effectively:
- Select Appropriate Sounds: The sound should match the type of transition. Soft sounds work for fades, while sharper sounds suit quick cuts.
- Use Volume Control: Adjusting the volume can make the transitions feel smoother. It can prevent sounds from overpowering the visuals.
In Canva, she can add sounds from the audio library during transitions. These sounds should be brief yet impactful. The right combination creates a memorable transition that captures the viewer’s attention.
Exporting Your Design
After adding sound effects to a design in Canva, the next step is exporting the final product. This process involves selecting the right file format and understanding the available download options, which are essential for ensuring that the design maintains its quality.
Choosing the Right File Format
Canva offers several file formats when exporting a design. The choice of format can affect how sound effects and visuals are preserved. Common options include:
- MP4: Ideal for video projects. This format supports audio and is great for sharing on platforms like social media.
- GIF: Good for simple animations without sound. Not suitable for sound effects.
- PNG: Best for images with no audio. It maintains high quality but does not support sound effects.
- JPG: Good for static images but lacks audio support.
It’s important to select the format that best meets the project’s needs. For video designs with sound, MP4 is typically the best option.
Download Options and Best Practices
Once the format is chosen, users can proceed to download their design. Canva offers straightforward download options.
After clicking the “Download” button:
- Select the File Type: Choose the previously discussed format.
- Choose Quality: For videos, select the quality (e.g., 720p, 1080p) that meets your needs.
Best practices include checking the downloaded file to ensure all elements work as intended.
It’s also wise to keep a copy of the original design within Canva. This way, edits can be made easily in the future if needed.