Creating Picture-in-Picture (PIP) effects in CapCut can greatly enhance videos, providing a unique way to show multiple viewpoints. With just a few simple steps, anyone can add this engaging effect to their projects, making the final product more dynamic and professional. This feature is perfect for tutorials, commentary, or just adding a fun twist to personal videos.
CapCut offers user-friendly tools that make it easy to manipulate video layers. Users can position and resize their videos to achieve the desired look without needing advanced skills. With helpful tutorials available, even beginners can quickly learn how to create standout content.
Whether for social media or personal projects, Picture-in-Picture effects can capture viewers’ attention and deliver a more immersive experience. By following the right steps, anyone can harness this feature to make their videos shine.
Understanding Picture-in-Picture Effects
Picture-in-Picture (PIP) effects are a popular way to enhance videos by layering images and videos. This technique allows for creative storytelling and effective communication in video projects.
Definition and Usage
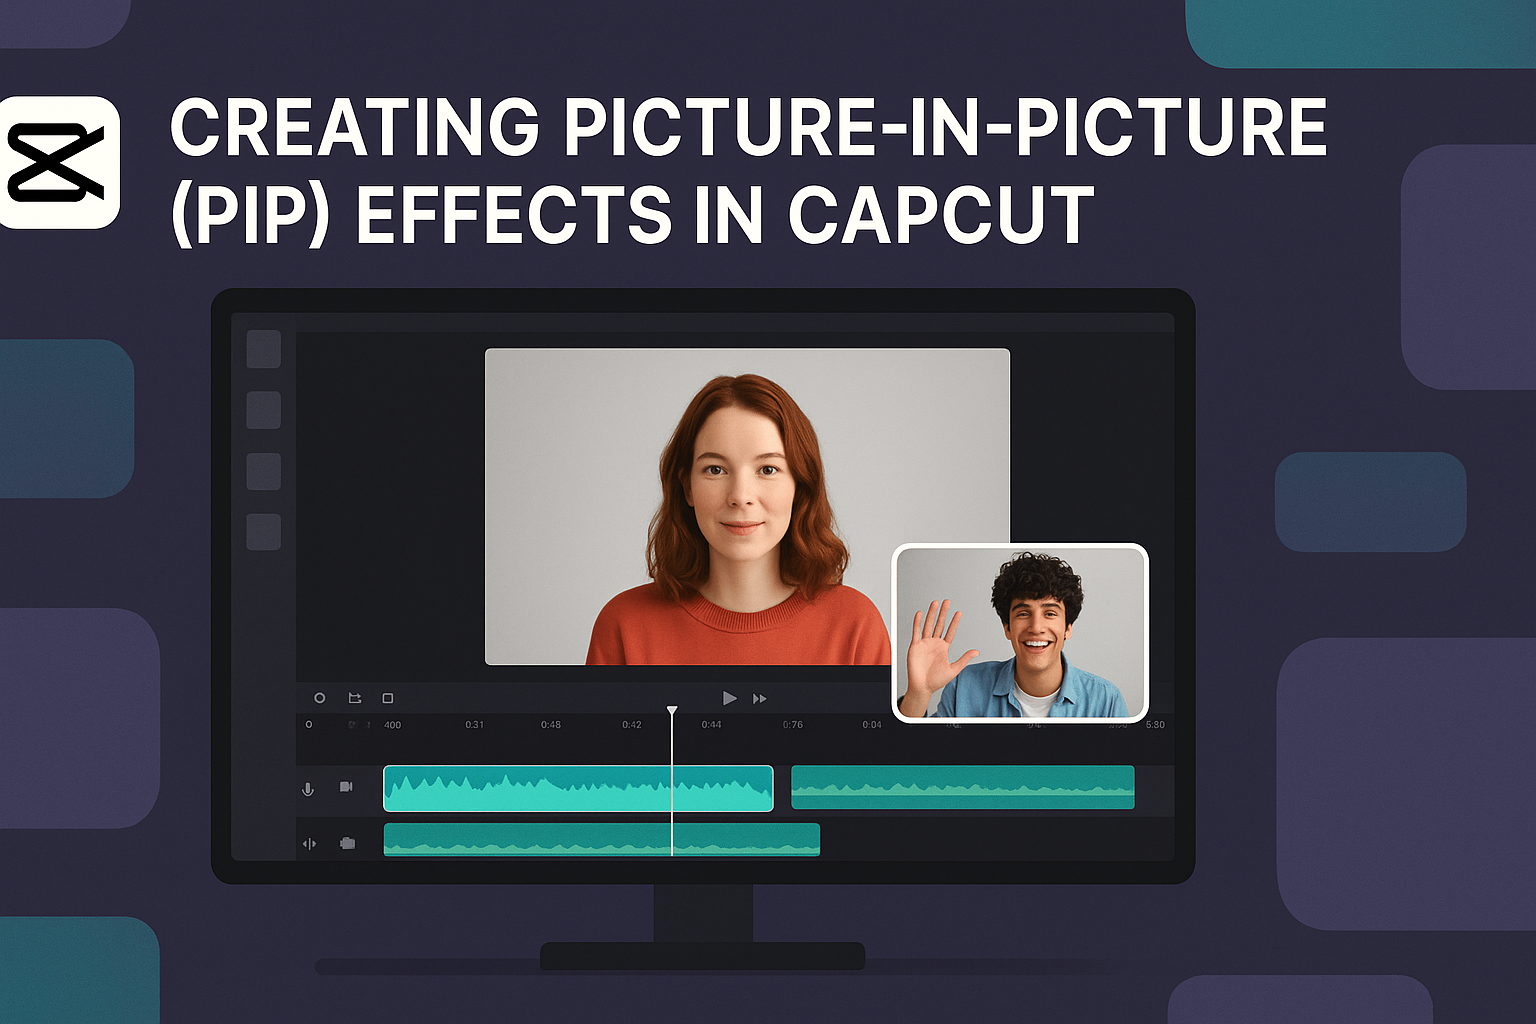
Picture-in-Picture (PIP) means placing one video or image over another. This overlay is usually smaller and positioned in a corner of the main video. He can use this effect to show reactions, additional information, or different perspectives simultaneously.
PIP is widely used in tutorials, live streams, and vlogs. For example, a cooking video may show the chef in one corner while demonstrating a recipe. This method keeps viewers engaged and informed.
Benefits of PIP in Video Editing
Using PIP offers numerous benefits in video editing. First, it enhances viewer interest. It captures attention by showing multiple visuals at once. This keeps the content dynamic and engaging.
Second, PIP allows for effective explanation. By displaying an example video next to instructions, understanding a complex process becomes easier. It creates a clear connection between visuals and narration or text.
Lastly, PIP helps with storytelling. By layering visuals, one can convey deeper emotions and context. This technique gives the audience more insight into the narrative, making videos more impactful.
Getting Started with CapCut
CapCut is a user-friendly video editing app that allows users to easily create stunning visual effects, including Picture-in-Picture (PIP). Familiarity with the basic requirements and interface will help users make the most of this powerful tool.
Basic Requirements
To use CapCut, users need a compatible device, such as a smartphone or tablet. CapCut is available on both iOS and Android platforms. They should download the app from the Apple App Store or Google Play Store.
A stable internet connection is recommended for updates and tutorials. Users also need enough storage space for installations and video files.
For optimal performance, it is advisable to keep the device’s software updated. This ensures smooth functionality and access to the latest features within CapCut.
Navigating the Interface
When users first open CapCut, they will see a welcoming interface designed for easy navigation. Key elements include the editing timeline, media library, and tools menu.
The editing timeline is where users arrange video clips and audio tracks. It allows for precise control over timing and layering.
The media library provides access to videos, images, and sounds. Users can import files or choose from CapCut’s extensive resources.
Tools are located at the bottom of the screen, including options for adding effects, text, and transitions. Each tool is straightforward, making it simple for users to experiment and create dynamic videos.
With a bit of exploration, users will quickly become comfortable with CapCut’s layout and features.
Creating Your First PIP Effect
Creating a Picture-in-Picture (PIP) effect in CapCut is fun and easy. The process involves importing media files, setting the primary video track, and then adding the PIP overlay. Each step is important for achieving a polished look.
Importing Media Files
First, the user needs to import the media files they want to work with. This can be done by tapping the “Import” button. They can choose videos or images from their device.
Steps to Import:
- Open CapCut and start a new project.
- Click on the “Import” button.
- Select the videos or images needed for the project.
Once they select the files, they will be ready to set the primary video track. It’s essential to have all media handy for a smooth editing experience.
Adding the Primary Video Track
Next, the primary video track needs to be added to the timeline. This will be the main video that plays in the background.
How to Add the Primary Video Track:
- After importing, the user drags the chosen primary video to the timeline.
- Ensure that this video is at the bottom layer in the timeline.
This video serves as the base, which supports the PIP overlay. Adjustments can be made to the primary video, like trimming or adding effects, to enhance the overall look.
Inserting the PIP Overlay
The final step involves inserting the PIP overlay. This is where the secondary video or image appears on top of the primary video.
Steps to Insert the PIP Overlay:
- Tap on the “Overlay” option.
- Select the video/image they want as the PIP.
- Position the overlay in the desired spot on the screen.
The user can resize and move it by dragging the corners. Making sure the overlay does not obscure important parts of the primary video is crucial for a balanced view.
Adjusting PIP Properties
When creating a Picture-in-Picture (PIP) effect, adjusting properties is essential for a polished look. Small changes in size, position, and style can significantly impact the final video. Here are some important aspects to consider.
Resizing and Positioning
To resize the PIP window, click on the box that represents the overlay. Drag the corners to make it larger or smaller. This allows for better integration with the main video content.
Positioning is equally important. Click and drag the overlay to move it to the desired spot on the screen. Placing it in corners or along the sides often works well, ensuring the main video remains the focal point.
CapCut lets users also snap the overlay to grid lines for precise placement. This feature helps ensure the PIP effect looks balanced.
Setting the Duration
Setting the duration of the PIP effect is crucial for timing. The PIP overlay should appear and disappear at key moments in the video. This keeps the viewer engaged and focused on the important parts.
To adjust the duration, select the overlay. A timeline will show up at the bottom. Drag the edges of the overlay bar to change when it appears and how long it lasts in the video.
It’s good practice to preview the video after making changes. This way, adjustments can be made if the timing feels off.
Applying Borders and Shadows
Borders add a nice touch to the PIP effect. They help separate the overlay from the background. To add a border, navigate to the styling options and choose a color and thickness that will complement the main video.
Shadows can create depth, making the overlay stand out. Users can apply shadows by selecting the shadow effect in the same styling menu. Adjust the opacity and distance settings to achieve the desired look.
Both borders and shadows enhance the video while maintaining focus on the content. Users can experiment with different styles to see what feels right for their project.
Enhancing PIP Effects
To elevate your Picture-in-Picture (PIP) effects in CapCut, it’s essential to explore transitions, effects, and animations. These elements can add depth and interest to videos, making them more engaging for viewers.
Using Transitions
Transitions are vital in smoothing the switch between your main video and the PIP content. CapCut offers several options, such as fades, slides, and wipes. To apply a transition:
- Select the clips: Choose the main video and the PIP layer.
- Go to the transition menu: Tap on the transitions icon.
- Choose a style: Pick a transition that fits the mood of your video.
Using transitions creatively can help maintain flow and visual appeal, avoiding abrupt changes that might distract viewers.
Adding Effects and Filters
Effects and filters can enhance the look of PIP elements. CapCut provides various filters to adjust color, brightness, and contrast. Applying these can help the PIP content blend seamlessly with the main video.
To add effects:
- Select the PIP layer: Tap on it to access editing options.
- Browse filters: Explore the available filters and effects.
- Apply your choice: Adjust intensity to achieve the desired look.
This creates a unified style, allowing the PIP to complement the main footage without overpowering it.
Animating the PIP Frame
Animating the PIP frame brings a dynamic touch to the video. CapCut allows users to add movement and keyframe animations, making the PIP more eye-catching.
To animate:
- Select the PIP frame: Click on the layer you want to animate.
- Use keyframes: Set points where you want the animation to start and end.
- Adjust the movement: You can move or resize the PIP at different points.
This adds excitement and keeps viewers focused on both the primary and secondary content.
Exporting Your PIP Video
After creating a Picture-in-Picture (PIP) effect in CapCut, the next step is to export the video. This process involves selecting the right settings and deciding how to save or share the final product.
Choosing Export Settings
When exporting a PIP video, the first thing to consider is the resolution. CapCut offers various options like 720p, 1080p, and even 4K. Higher resolutions enhance video quality but may lead to larger file sizes.
Next, the user can select the frame rate. Options typically range from 24 to 60 frames per second (fps). Choosing a higher frame rate can make the video smoother, which is particularly important for fast-paced scenes.
Lastly, CapCut allows users to adjust the bitrate. A higher bitrate results in better quality, but it also increases file size. Finding the right balance is key to a successful export.
Saving and Sharing Options
Once the export settings are finalized, users can choose how to save or share the video. CapCut provides options to save the video directly to the device or upload it to social media platforms like TikTok and Instagram.
The “Save to Device” option allows for offline access. Users can also utilize cloud storage for easy access across multiple devices.
For sharing, CapCut offers direct upload features. This makes it convenient for users to share their video with just a few taps, reaching friends or followers instantly. This process enhances user engagement and expands their audience.
Advanced PIP Techniques
To create eye-catching Picture-in-Picture (PIP) effects, one can employ several advanced techniques. These methods enhance the overall quality of the video and make it more engaging for the audience. Below are specific strategies to elevate PIP editing in CapCut.
Layering Multiple PIP Tracks
Layering multiple PIP tracks allows for creative visual storytelling. By adding more than one PIP element, the viewer can experience a richer narrative.
To do this, import your main video and additional clips. Drag these clips onto the timeline and position them over the main video.
Using layers, editors can adjust each clip’s size and position individually. It’s essential to keep an eye on how they interact.
Experiment with opacity to create interesting blends and focus on certain areas.
Using this technique carefully can lead to dynamic and captivating results.
Synchronizing Audio with PIP
Synchronizing audio is crucial for a seamless viewing experience. When adding PIP elements, it’s important that the audio matches the visual content correctly.
Start by ensuring that the main audio track is clear. Then, adjust the audio levels of the PIP tracks.
CapCut allows users to split audio and video clips easily. This function can help align sounds with actions happening on screen.
Consider adding background music or sound effects to enhance the viewer’s experience. Using audio cues helps maintain a strong connection between the visuals and sound.
This technique brings the PIP effect to life, making it feel more integrated.
Utilizing Keyframing for Motion
Keyframing is a powerful feature that brings motion to PIP effects. By setting keyframes, editors can control movement over time.
This can be done by selecting a PIP element on the timeline. Users can then adjust its position or scale at different points. CapCut lets them create smooth transitions between keyframes.
To start, place the first keyframe at the beginning of the motion. Then, move to the endpoint and adjust the position.
This technique allows for animations like zooming in or out, making the video more dynamic.
Combining this with other techniques can create professional-looking effects that capture attention.
Troubleshooting Common PIP Issues
Creating Picture-in-Picture (PIP) effects can sometimes lead to unexpected problems. Here are some common issues and helpful tips to resolve them.
1. PIP Window Doesn’t Open
If the PIP window won’t open, check if the video is supported. Some formats may not allow PIP effects. Restarting the app can also help reset the features.
2. PIP Window Closes Unexpectedly
Sometimes, the PIP window may close when switching apps or uploading files. This can happen in browsers like Microsoft Edge when a file upload is in progress. It might help to avoid multitasking during uploads.
3. No Sound in PIP Mode
When using PIP, users might experience sound issues. Make sure the audio is not muted. Checking volume settings in both the app and the device can solve many sound problems.
4. PIP Feature Missing
If the PIP option is missing, ensure that the app is updated to the latest version. Compatibility issues may arise with older versions. Users can also check the device settings to see if PIP is enabled for the app.