Creating engaging videos has never been easier, thanks to tools like Canva. Knowing how to add video transitions can elevate a simple video into a polished and professional-looking project.
Video transitions help to create smooth changes between clips, making the storytelling more dynamic and visually appealing.
With just a few clicks, anyone can enhance their videos by incorporating these transitions. They can add flair and keep the audience interested throughout the entire presentation.
This guide will walk through the steps to add video transitions in Canva, making it simple for anyone to follow.
Whether it’s for a social media post, a school project, or a professional presentation, learning to use video transitions will take any video to the next level. By mastering this skill, individuals can create content that captures attention and communicates effectively.
Getting Started with Canva
Canva is a user-friendly tool that helps anyone create stunning videos and graphics. To begin, users need to create a new video project and familiarize themselves with the Canva interface.
This knowledge lays the groundwork for adding effective video transitions.
Creating a New Video Project
To start a new video project in Canva, users should log into their account and click on the “Create a design” button. This option is usually located at the top right of the homepage.
From the dropdown menu, selecting “Video” will open a range of templates.
Users can also choose to start with a blank canvas. After selecting a template or layout, they can customize their project. This includes adding text, images, and video clips that fit their vision.
Saving work is important, so users should frequently click on the “Save” button. This ensures no valuable progress is lost. Users can also access their projects later from the “All your designs” section.
Understanding the Canva Interface
The Canva interface is designed for simplicity. Upon entering a project, users see a large editing area on the right side. On the left, there are several tools and options to enhance designs.
The toolbar includes options like Elements, Text, and Uploads. Each section provides various graphics, fonts, and uploaded files to choose from. Users can drag and drop elements onto the canvas easily.
If users need help, Canva offers tutorials and tips that can be found in the “Help” menu. Exploring these features will enhance their understanding and maximize their creativity in video editing.
Adding and Editing Video Clips
This section focuses on how to effectively upload video clips and make adjustments to ensure a polished look. Getting familiar with these tools can significantly enhance the quality of any video project.
Uploading Your Video Clips
To start, users can upload video clips directly to Canva. They can drag and drop files into the workspace or click on the “Uploads” tab on the left sidebar and select “Upload Media.”
Supported formats include MP4, MOV, and a few others. After uploading, the clips will appear in the “Uploads” section for easy access.
Once the clips are uploaded, drag them onto the timeline. This allows for a clearer organization of video segments. Users can also rearrange clips in the timeline by clicking and dragging them to the desired position.
Trimming and Adjusting Clips
After placing clips on the timeline, it’s important to adjust their lengths. Trimming helps ensure each clip fits the overall flow of the video.
To trim a clip, click on it in the timeline. Small handles will appear at the ends of the clip. Drag these handles left or right to shorten or lengthen the clip.
If needed, users can also adjust the clip’s position on the timeline. This makes it easy to create seamless transitions between clips. Fine-tuning these elements can make a big difference in the final product.
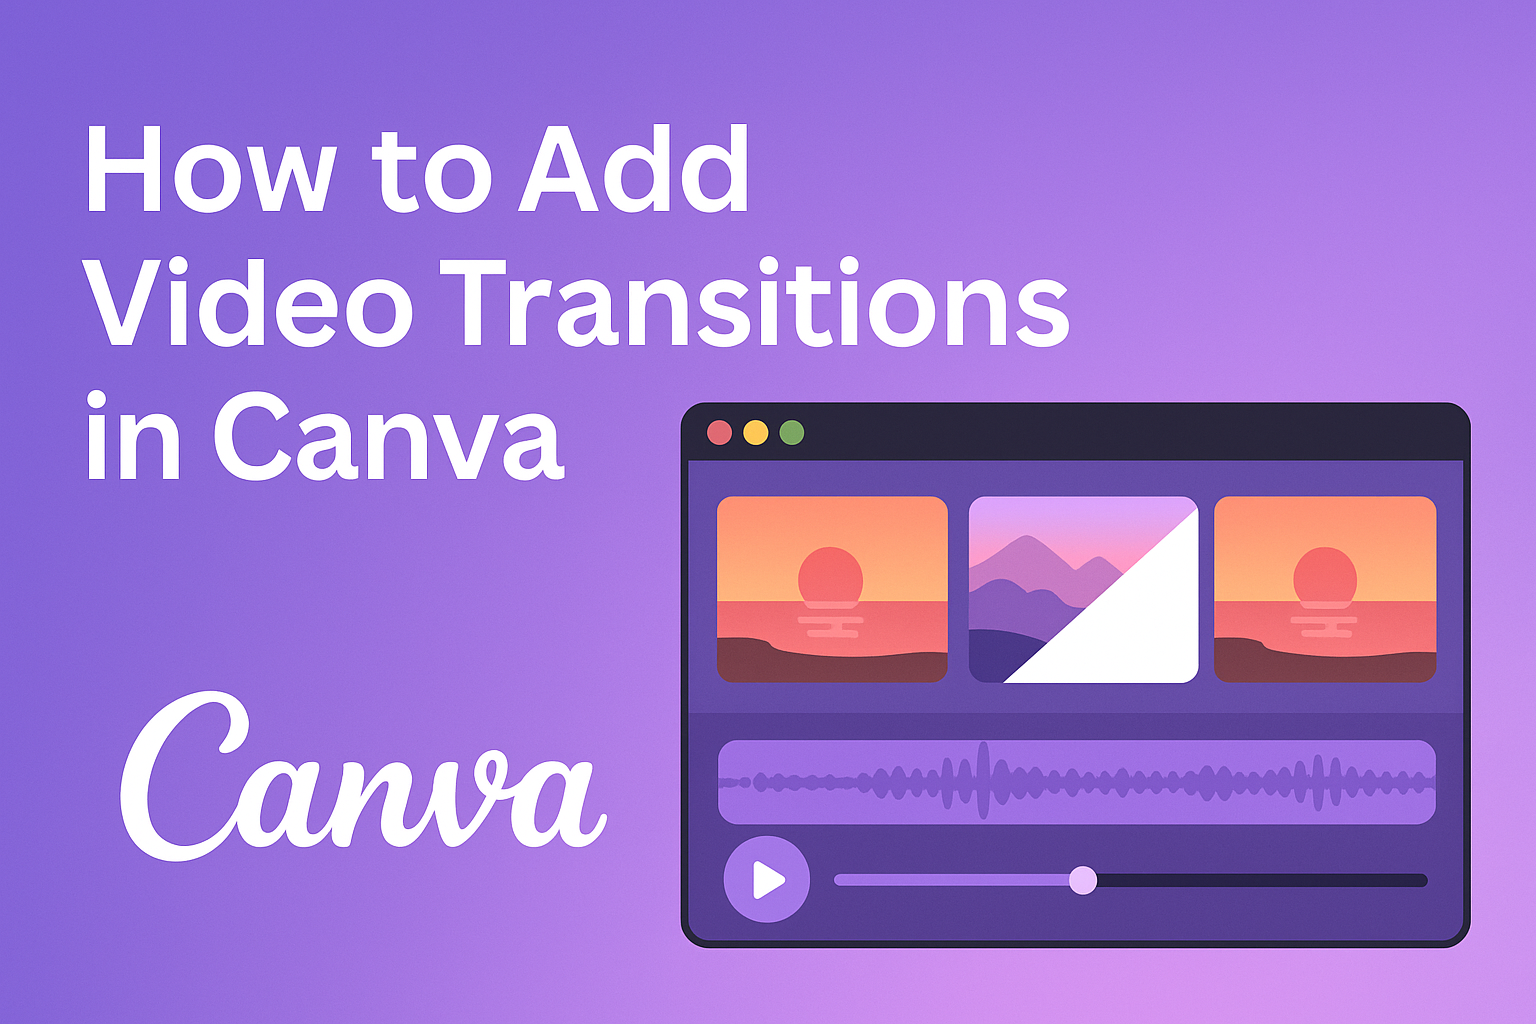
Applying Video Transitions
Adding video transitions can make a project look more polished and engaging. The right transition enhances storytelling and keeps viewers interested. Here are key steps for choosing and customizing these transitions effectively.
Choosing the Right Transition
Selecting the perfect transition is essential for setting the mood of a video. With Canva, there are several options to consider.
- Dissolves: These create a smooth fade from one scene to the next, providing an elegant touch.
- Slides: They add action by pushing one clip off the screen while sliding another in.
- Wipes: This transition moves one scene away while revealing another behind it, which can create excitement.
When deciding, consider the content. Match the transition type with the video’s tone. For a soft, emotional video, a dissolve may work best. For a fun, upbeat project, a slide might be more suitable.
Customizing Transitions
Once a transition is chosen, customizing it can enhance its impact. Canva provides options to change duration and direction.
- Duration: This controls how long the transition lasts. A shorter duration can add energy, while a longer one can evoke calm.
- Direction: Adjusting the direction changes how the clips enter the frame. For example, sliding from the left may be more dramatic than sliding from the bottom.
To customize transitions, users can simply click on the transition in the timeline. From there, a menu will appear, allowing adjustments. Experimenting with these features can provide unique looks tailored to any project.
Tips for Professional-Looking Transitions
Using the right transitions can make a video stand out. Here are some helpful tips for achieving a polished look.
Keep it Simple
It’s best to choose transitions that are smooth and unobtrusive.
Simple fades or slides often look more professional than flashy effects. They help maintain the focus on the content.
Match the Tone
The style of transitions should match the tone of the video.
For a serious topic, subtle transitions work best. For upbeat content, lively transitions can add energy.
Use Consistency
Consistent use of transition styles throughout a video creates a cohesive feel.
Avoid switching between too many different types. Stick to two or three that complement each other.
Timing Matters
Adjusting the duration of transitions can enhance the viewing experience.
A faster transition may work well for quick cuts, while slower transitions can build anticipation between important clips.
Preview Before Finalizing
Always preview transitions in playback mode.
This allows for adjustments before finalizing the video. It helps in ensuring that transitions flow naturally with the overall pacing.