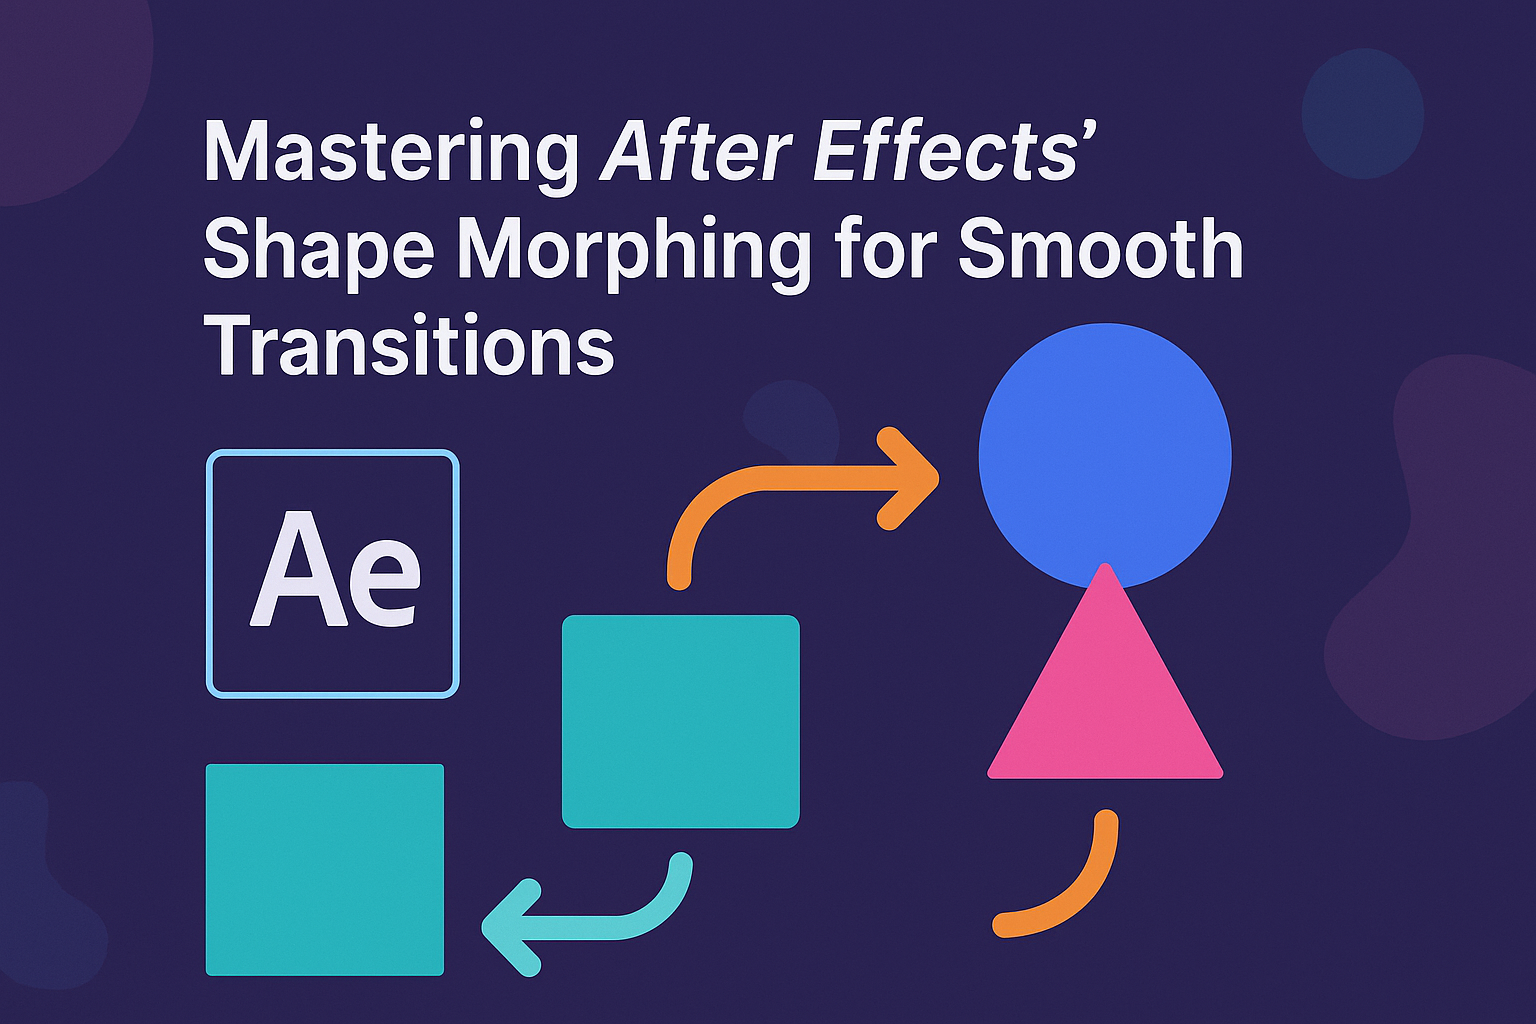
Adobe After Effects offers powerful tools for animators looking to create smooth transitions. Shape morphing is one technique that stands out for its ability to transform one shape into another seamlessly.
Learning shape morphing involves understanding how to use keyframes and bezier paths effectively. These techniques allow for precise control over the transformation, ensuring each transition looks intentional and fluid. With practice, animators can bring even complex ideas to life, enhancing their creative storytelling.
For those eager to excel, exploring shape layers is essential. These tools help achieve perfect morphs that elevate any project. As users gain confidence, they realize the vast potential of smooth shape transitions, making this skill a valuable asset for both beginners and seasoned animators.
Essentials of After Effects
After Effects is a powerful tool used for animations and visual effects. To get started, users need to familiarize themselves with its workspace and key features like shape layers and keyframing.
Understanding the Workspace
The workspace in After Effects consists of several panels arranged to help users create and edit animations. Key panels include the Timeline, where different layers and animation timings are managed, and the Composition panel, showing a preview of the project.
Other important panels are the Project panel, where imported assets are listed, and the Effects & Presets panel, offering a range of effects. Users can customize the layout by dragging panels to different positions or by selecting different workspace presets. This flexibility helps streamline workflows and improves efficiency.
Basics of Shape Layers
Shape layers are crucial for creating vector graphics directly within After Effects. These layers allow users to draw basic shapes like rectangles, ellipses, and more complex polygons. Users can use the Shape Tool to create and customize these layers via properties such as Fill, Stroke, and Transform.
Adding effects to shape layers can enhance animations. Users can animate properties such as position or color. This feature is essential for those looking to create intricate animations without needing external graphics software.
Keyframing Fundamentals
Keyframing is a core technique in After Effects that enables motion and changes over time. Users set keyframes at specific points to define start and end values for properties like position, scale, and opacity.
In the Timeline panel, keyframes are indicated by diamond icons. By adjusting these keyframes, users can create smooth transitions and dynamic animations. The graph editor is useful for refining the timing and speed of these animations by adjusting curves, offering more control over how animations play out.
Shape Morphing Techniques
Shape morphing in After Effects is a useful technique that can greatly enhance animation projects. By using various tools and methods, animators can achieve smooth transitions between shapes. Understanding key techniques like effectively using the Path Tool and employing interpolation tricks can make the process easier and more efficient.
Using the Path Tool
The Path Tool in After Effects is essential for creating shape morphing animations. To start, an animator must create two distinct shape layers representing the beginning and end shapes. By selecting these shapes, they can adjust the path points to align with the desired transformation. Adjusting anchor points carefully ensures that the shapes transition smoothly.
Using the Convert Vertex tool helps to smoothen or sharpen path points as needed. This tool is found in the toolbar and allows for better control over the shape’s edges. Applying these techniques leads to a clear and seamless morphing effect.
Interpolation Tricks for Smoother Morphs
Interpolation is about creating in-between frames to smooth out transitions. In After Effects, setting keyframes for the beginning and end of a morph is important. By default, transitions might feel abrupt, so tweaking the interpolation settings is crucial.
Using the Bezier interpolation method can help. This method allows curves to flow naturally and makes transitions more fluid. By adjusting handles on the Bezier keyframes, animators can refine motion. Another trick is to adjust the easing of the keyframes, ensuring a gradual start and stop to the movements. This approach helps in achieving more controlled and polished animations.
Mastering the Graph Editor for Refined Animation
The Graph Editor in After Effects is powerful for refining animations, especially shape morphing. By accessing it, animators can visualize and modify speed and value graphs of their movements. This tool provides precise control over the timing and smoothness of shape transitions.
In the Graph Editor, adjusting the Speed Graph allows animators to control acceleration and deceleration phases. By carefully adjusting this graph, they can create more natural and lifelike transitions. Movements that might seem jerky can be smoothed out by refining the graph curves, leading to fluid and professional-looking morphs. This tool is vital for those seeking to add depth and precision to their animations.
Advanced Animation Concepts
In animation, mastering advanced techniques can elevate your work from good to great. Two key techniques include exploiting masking for complex shapes and using expressions for more dynamic morphs.
Exploiting Masking for Complex Shapes
Masking is a great way to create complex shapes in After Effects. By using masks, animators can define specific areas of a layer to show or hide, allowing for intricate designs and transitions.
For example, using multiple masks can help in creating characters or objects that seem to transform seamlessly into one another. This technique relies on precise adjustments. Animators can layer masks or animate them over time to achieve fluid morphs.
Additionally, masks can be combined with other tools, like feathering or path adjustments, to enhance visual effects. Understanding how to manipulate masks effectively can unlock endless possibilities for creative projects.
Leveraging Expressions for Dynamic Morphs
Expressions enable animators to add complexity and variability to their morphs without manually adjusting each frame. They are snippets of code that can automate repetitive tasks and link different properties together.
For dynamic morphs, expressions can control timing, scale, or even color changes. By setting up these conditions, animations become more interactive and adaptable.
Using expressions can help harmonize animations when multiple elements need to move in a coordinated fashion. It also allows for real-time adjustments, which is a significant advantage during the creative process. With expressions, animations can react to variables, achieving a more polished and professional outcome.
Design Principles for Appealing Transitions
When crafting transitions in After Effects, there are a few key design principles to keep in mind to ensure they are visually appealing and smooth. Clarity is important, as the audience should easily follow the transition from one scene or element to another.
Consistency matters too. Keeping the style of transitions uniform throughout a project helps maintain a cohesive look. This can involve using similar shapes, colors, or speeds across different transitions to create a unified feel.
Timing plays a crucial role in how a transition is perceived. Adjusting the speed can impact the mood of the scene. Faster transitions create excitement, while slower ones can offer a sense of calmness.
Additionally, simplicity can enhance the effectiveness of transitions. Overcomplicated animations might distract the viewer rather than support the narrative. Simple, clean effects often work best in keeping the focus on the primary content.
Use of color can also influence transitions. Bold, bright colors can draw attention, while softer tones might provide a subtle transition. Aligning colors with the project’s theme can further enhance the visual storytelling.
Improvement comes with experimentation. Trying different styles and iterating on designs can lead to finding the most effective and appealing transitions. This approach allows creators to discover what best fits their specific project goals.
Workflow Optimization
Streamlining your workflow in After Effects can save time and improve project quality. Focusing on the efficient use of precomps and ways to minimize render times can greatly enhance productivity and keep animations smooth and seamless.
Effective Use of Precomps
Precompositions, or precomps, are like creating mini projects within your main project. They keep things organized and add flexibility. He or she can group related layers, making changes easier without affecting the entire composition.
To optimize workflow, ensure that the precomps are clearly named. This makes it simple to find and edit them later. For specific animations, like a shape morph, experimental changes within a precomp are practical. This helps test different transitions and effects without altering the main timeline.
Layer complexity affects performance, so simplifying within precomps is beneficial. For instance, reducing unnecessary layers or effects speeds up previews and renders. Using precomps effectively helps enhance project management by keeping the compositions neat and tidy, which boosts overall productivity.
Minimizing Render Times
Reducing render times ensures smoother project workflow, saving time and resources. One effective method is adjusting the preview settings. Lowering the resolution during initial previews helps speed up the process, ensuring quicker feedback on changes made.
He or she can also leverage features like the Disk Cache. This reduces rendering time by storing frequently used frames, making it easier to access them during playback. Another method is to minimize the use of heavy effects or use simpler alternatives where possible.
Using the render queue efficiently also plays a role. Adjusting settings like the render quality can have a big impact on render time and overall performance. By focusing on these aspects, the time taken to render can be significantly cut down, leading to faster production cycles.
Creative Uses of Shape Morphing
Shape morphing in After Effects transforms animations, offering versatile methods for bringing creative ideas to life. It can enhance character animations, make text transitions seamless, and add dynamic visual elements to backgrounds.
Character Animation with Shape Morphing
Shape morphing gives character animation a fluid and lively feel. By using shape morphing techniques, animators can change a character’s expressions or movement smoothly. This technique helps breathe life into characters by transitioning their shapes organically. Each transformation creates engaging character movements, making animations more relatable and expressive.
Animators often use it to transition facial expressions or modify limb movements. Morphing can make a character jump, dance, or even transform into another form. This versatility allows animators to experiment with storytelling through visual transformations. When combined with keyframing, these morphs look seamless and professional.
Integrating Text and Shape Transitions
Integrating text with shape morphing can enhance visual storytelling. This technique allows designers to animate text by changing its form into different shapes. These transitions can turn words into symbols, logos, or even characters, adding a unique flair to projects.
For example, a brand name could dissolve into its logo with seamless morphing. This adds visual interest and maintains audience engagement. Shape morphing in text transitions ensures each letter or word is dynamic and eye-catching. By creatively incorporating these effects, designers can make presentations and videos more engaging.
Abstract Visuals and Background Elements
Abstract visuals often use shape morphing to create dynamic and captivating backgrounds. This technique allows designers to shift shapes, patterns, and colors smoothly. It enhances visual interest without becoming disruptive.
Shape morphing can help create elements like moving backgrounds, shifting patterns, or dynamic overlays for video projects. These transitions bring depth and dynamism to otherwise static backgrounds, contributing to a more immersive experience. By experimenting with abstract elements, designers can produce captivating visuals that retain viewer attention.
Morphing backgrounds can add mood and style to any project, making them a valuable tool for creative expression in digital media.
Real-World Projects and Examples
Shape morphing in After Effects finds its place in a variety of creative projects. Animated logos are a popular use, where simple shapes transform to create a dynamic company logo. This kind of animation adds a touch of professionalism and creativity to marketing materials.
Another exciting use is in educational videos. Teachers and content creators can capture attention by morphing shapes to demonstrate concepts visually. This technique helps explain complex topics in subjects like biology, where cells might morph to show different phases.
In the world of music videos, shape morphing provides dynamic visuals that match the beat and mood of a song. Viewers enjoy transitions that are as fluid as the music itself, creating a more engaging experience. This technique adds a touch of artistry to visual storytelling, melding smoothly with audio elements.
Movie makers also incorporate shape morphing in visual effects. In sci-fi or fantasy films, transformations between characters or objects are made seamless with this technique. It helps convey changes in a captivating way, keeping the audience mesmerized.
For further details on shape morphing steps, the webdew guide offers practical tips. Alternatively, one might check out the Perfect Shape Morphs video tutorial for visual learning. These resources are valuable for anyone looking to add a creative edge to their projects.