Canva has become a go-to tool for creating stunning videos without needing advanced skills.
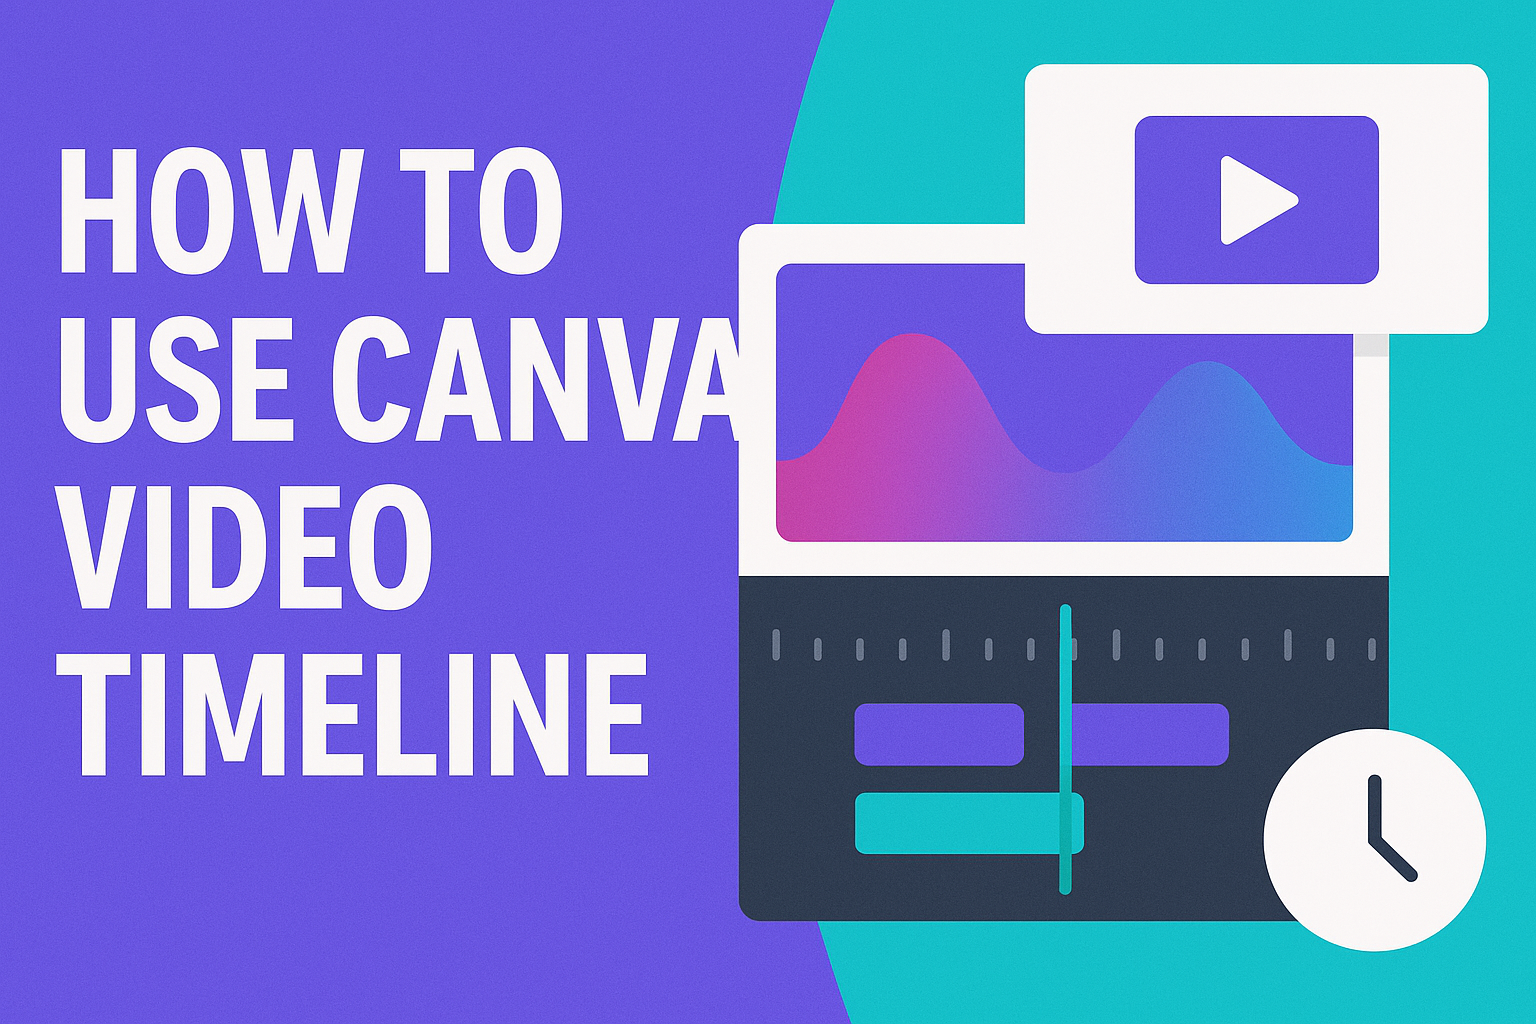
Using the Canva video timeline feature allows users to easily arrange video clips, add effects, and create a polished final product.
This simple yet powerful tool is perfect for anyone looking to enhance their video projects quickly.
Whether someone is making a promo video, a presentation, or just sharing memories, mastering the timeline can set their work apart.
Many find it helpful to understand how to trim clips, add transitions, and layer audio for a more engaging experience.
With the right techniques, anyone can produce eye-catching videos in no time.
By exploring the video timeline in Canva, users can unlock their creativity and produce content that truly stands out.
This blog will guide readers through using this feature effectively, ensuring they feel confident in their video-making journey.
Getting Started with Canva
Canva makes it easy for anyone to create stunning videos.
To begin, users need to set up an account, explore the dashboard, and choose the right video template.
Creating an Account
To start using Canva, a user must create an account. This can be done using an email address, Google account, or Facebook account.
After selecting a method, they simply fill out some basic information and agree to the terms of service.
Once registered, they receive a confirmation email. Clicking the link provided will activate the account. After that, users can log in and explore all the exciting features Canva has to offer.
Free and paid plans are available, giving users options based on their needs.
Navigating the Dashboard
The Canva dashboard is user-friendly and filled with various tools and options.
Upon logging in, users see the main menu on the left side. Here, they can find options for creating designs, accessing templates, or viewing their previous projects.
At the top, there’s a search bar to quickly find specific templates or elements.
Users can explore categories like “Video” to discover all the available options. The dashboard also displays any new features, tutorials, or tips that can help users make the most of their experience.
Selecting a Video Template
Choosing the right video template is crucial for a successful project.
In Canva, users can browse a wide range of video templates designed for various purposes, such as social media, presentations, or marketing.
Once they select the “Video” category, users can see different styles. Each template provides a preview, helping users decide which one fits their vision.
Clicking on a template opens it in the editor, where they can customize it to suit their needs. This ease of selection streamlines the video creation process, making it accessible for everyone.
Editing Your First Video
Editing a video in Canva is an enjoyable process that allows users to arrange clips, add text, and include transitions easily.
With the right tools, anyone can create engaging videos quickly.
Adding and Arranging Clips
To start editing, the user can add clips to the timeline. This is done by either uploading their videos or selecting from Canva’s library of stock videos.
Once uploaded, the user can drag and drop clips onto the timeline for arrangement.
It is crucial to organize clips in the desired sequence.
Users can click and hold a clip to move it along the timeline. Trimming clips is simple as well; by selecting a clip, they can drag the edges to mark the point where they want to cut.
Using Drag-and-Drop Features
Canva’s drag-and-drop features make editing straightforward.
Users can easily add multiple clips by dragging new footage directly onto the timeline. This method allows for quick adjustments and rearrangements without hassle.
In addition to clips, users can also drag in images, music, or other elements. This flexibility helps in creating a cohesive story flow. The smooth interface ensures that changes can be made with just a few clicks.
Adding Text and Transitions
Text can bring a video to life by providing context or highlighting key points.
Users can click on the “Text” tab to explore various font styles, sizes, and colors. After choosing the text, it can be dragged onto the timeline, where it will appear at the chosen moment.
Transitions are another way to enhance a video.
Users can select transitions between clips to create seamless shifts. With options like fades or slides, adding transitions helps to keep the audience engaged. Just drag the chosen transition icon between clips to apply it effortlessly.
Advanced Timeline Techniques
Using advanced techniques in the Canva video timeline can enhance the quality and impact of video projects. By mastering layering, synchronization, and timing adjustments, creators can produce more engaging content effectively.
Layering Multiple Tracks
Layering multiple tracks in Canva allows users to create richer visual stories. Each track can contain different types of media, such as video clips, images, and text.
To layer, simply add new elements by dragging them onto the timeline.
Tips for effective layering:
- Use consistent styles for text and graphics.
- Adjust the opacity of elements for depth.
- Organize layers in the timeline by grouping similar items.
This technique helps maintain visual clarity and keeps the audience focused on the main message.
Synchronizing Audio and Video
Synchronizing audio and video is vital for an engaging viewing experience.
Users can align soundtracks or voiceovers with video elements to enhance storytelling.
To sync, select the audio track and move it along the timeline until it matches with the corresponding video clip.
To help ensure proper timing, consider:
- Markers: Create visual markers in the timeline for important events.
- Trim: Don’t forget to trim excess audio or video for a tighter final product.
Great synchronization can significantly improve message delivery and audience connection.
Timing Adjustments and Splitting Clips
Adjusting the timing of clips is essential for creating a smooth video flow.
Canva allows users to extend or shorten clips directly on the timeline.
To split a clip, select it and drag the edges to adjust its length. This ensures that each scene fits perfectly within the larger timeline.
Other useful timing tips:
- Use shortcuts for quick adjustments.
- Check the preview regularly to ensure a cohesive transition between clips.
- Experiment with different timing to see what creates better pacing.
Effective timing adjustments help keep viewers engaged and enhance the narrative structure of any video.
Exporting and Sharing
After creating a video in Canva, the next steps involve exporting it and sharing it effectively. Users should consider the best formats and quality settings. Knowing how to share videos on social platforms and use them in presentations enhances collaboration and reach.
Choosing the Right Format and Quality
When exporting a video from Canva, selecting the right format is essential.
Common formats include MP4 and GIF, with MP4 being the preferred choice for most users. It provides good quality without large file sizes.
Canva allows users to select the video quality based on their needs. Options usually range from 720p to 1080p.
Choosing higher quality is ideal for professional use, while lower settings may work for quick social media sharing.
To export, click on the “Download” button and select the format and quality. This quick process ensures users can share their videos in a form that best suits their audience’s needs.
Sharing to Social Platforms
Canva makes it simple to share videos directly to various social media platforms.
Users can connect their social accounts through the platform settings. Once connected, sharing is just a click away.
When sharing, it’s helpful to tailor video captions and tags to fit the platform’s audience.
For example, Instagram might require more engaging captions, whereas LinkedIn might benefit from a professional tone.
Besides direct sharing, users can download videos first and then upload them manually. This approach is sometimes preferred for quality control, ensuring the video meets specific platform standards.
Using Videos in Presentations
For presentations, users can integrate their Canva videos seamlessly. After exporting the video, inserting it into presentation software like PowerPoint or Google Slides is straightforward.
Simply open the presentation file, and use the “Insert” menu to add videos.
This feature enhances presentations by providing visual engagement and reinforcing key points.
Remember to test the video playback before the actual presentation. This ensures everything runs smoothly and creates a professional impression on the audience.