CapCut’s masking feature opens up a world of creative editing possibilities. This tool allows users to add stunning effects and transitions, making their videos stand out in a crowded space. By masking clips, they can create unique scenes that capture attention and engage viewers.
Whether it’s highlighting a specific part of a video or crafting smooth transitions between clips, the masking tool is essential for any aspiring editor. Users can easily learn to manipulate shapes and sizes, enabling them to focus on what truly matters in their footage. With a little practice, skills in CapCut can elevate their video content.
In this post, readers will discover tips and tricks to master the masking feature. By implementing these techniques, they can transform ordinary videos into eye-catching pieces of art that impress friends and audiences alike.
Understanding CapCut’s Masking Feature
CapCut’s masking feature allows users to isolate parts of a video. This tool helps create stunning visuals by controlling what appears on screen. Knowing the basics of masking and when to apply it can enhance video editing skills significantly.
The Basics of Masking
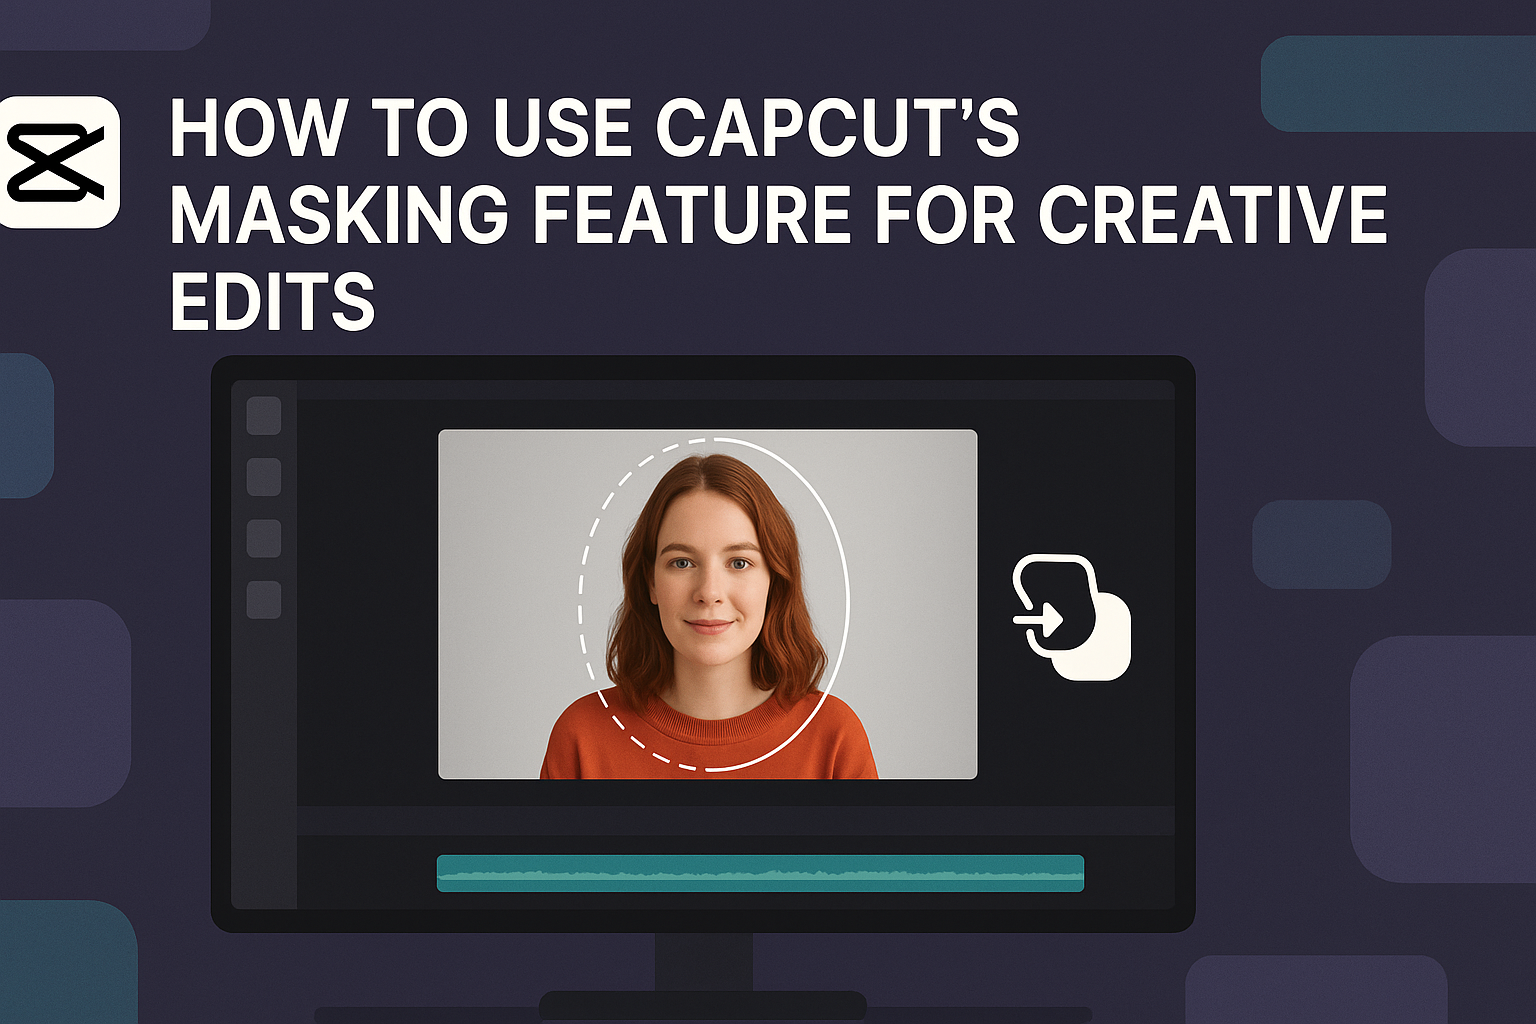
Masking in CapCut enables users to select specific areas of a video to modify. This can be done using various shapes or custom outlines.
To start, access the masking tool within the app. Users can draw a mask around the object or area they wish to isolate. There are options to refine edges and adjust the mask to achieve the desired look.
Once a mask is created, different effects can be applied. This includes filters, transitions, or animations that enhance the video. By experimenting with various masking techniques, users can create unique effects that stand out.
When to Use Masking in Your Edits
Masking can be particularly helpful in various editing scenarios. Users might choose to highlight a subject while blurring out the background. This draws attention to the focal point and adds depth to the video.
Another common use is to combine different video clips creatively. For instance, one could mask a shape to reveal another clip underneath. This technique allows for seamless transitions between scenes.
It’s also effective in storytelling, where a character’s actions are emphasized. By masking specific areas, editors can guide viewers’ attention and enhance the narrative.
Getting Started with CapCut
CapCut is a user-friendly video editing tool that makes it easy to unleash creativity. Getting started with CapCut involves downloading the app and familiarizing oneself with its intuitive interface.
Downloading and Installing CapCut
To use CapCut, the first step is to download and install the app. It is available for both Android and iOS devices.
-
For Android Users:
- Open the Google Play Store.
- Search for “CapCut.”
- Tap “Install” and wait for the download to finish.
-
For iOS Users:
- Launch the App Store.
- Search for “CapCut.”
- Tap the “Get” button to begin installation.
Once the installation is complete, open the app and allow it to access necessary features like photos and videos. This ensures smooth editing.
Navigating the CapCut Interface
Navigating the CapCut interface is straightforward. Upon opening the app, users will see the home screen with options to create new projects or edit existing ones.
- Main Features:
- New Project: Tap this to start editing a fresh video.
- Templates: Explore a range of ready-made templates for quick edits.
- Library: Access imported media such as photos and videos here.
Each tool is represented by easy-to-understand icons. As users tap through options, helpful hints and tips appear. This makes it simple to learn how to use various features, including the masking tool.
Creating Your First Mask
Getting started with masking in CapCut is a fun process that allows for creative video edits. From selecting the right clip to adjusting mask parameters, it helps achieve unique visual effects.
Choosing the Right Clip for Masking
When beginning, it’s important to choose a clip that will benefit from masking. Look for clips with distinct subjects or transitions, as these will create more engaging effects. For instance, a video with a person in front of a colorful background can showcase the mask effectively.
After selecting the clip, consider the story or emotion behind the video. This will guide how the mask is applied. A thoughtful choice in your clip can lead to impactful edits. Experimenting with different segments will help find the most suitable option for the desired effect.
Adding a Mask Layer
Once the clip is chosen, adding a mask layer is straightforward. Start by clicking on the clip in the timeline, then select the Mask option from the editing menu. Users can choose from various shapes, such as circles or rectangles, to suit the video’s needs.
After selecting a shape, it can be adjusted to fit the subject perfectly. It’s also possible to combine multiple masks for more complex effects. This step is crucial, as the mask’s position determines what part of the video will be visible or hidden.
Adjusting Mask Parameters
Adjusting mask parameters can greatly enhance the visuals. After creating the mask, users can fine-tune settings like feathering, size, position, and rotation. Feathering softens the edges, making transitions smoother.
To adjust these parameters, use sliders or input values directly. A slight change can dramatically alter the effect, so take time to play around with these settings. Previewing the video during adjustments ensures the mask looks just right in action. This attention to detail helps in achieving polished and professional-looking final edits.
Advanced Masking Techniques
Advanced masking techniques allow for creative video editing in CapCut. By using tools like keyframes and animation, users can create dynamic visuals that engage viewers and enhance storytelling.
Using Keyframes with Masks
Keyframes are a powerful way to control how masks change over time. By adding keyframes, editors can adjust the position, size, and shape of a mask throughout a clip.
To use keyframes effectively:
- Select the Mask: Choose the mask you want to animate.
- Add Keyframes: On the timeline, set your first keyframe at the start. Move to a later point and adjust the mask’s properties.
- Preview Changes: Always preview to see how the transitions look. Fine-tune as needed for smooth results.
This technique lets creators highlight specific actions or elements, making videos more engaging.
Animating Masks for Dynamic Effects
Animating masks can add layers of depth and creativity to videos. This involves changing the mask in a way that matches the clip’s motion or theme.
To animate a mask:
- Set Up the Mask: Place the mask over the desired area in the video.
- Adjust Timing: Use the timeline to sync mask movements with video actions, like a person’s movements or scene changes.
- Experiment with Shapes: Different shapes can create various effects, such as revealing or hiding elements smoothly.
This approach can make transitions visually appealing and enhance the overall storytelling.
Combining Masks with Other CapCut Features
Combining masks with other CapCut features can lead to impressive results. For instance, pairing masks with effects or audio can create a unified look and feel.
To combine features:
- Use Filters and Effects: Apply filters to masked areas for unique appearances. It can make a subject stand out or blend into the background.
- Layering Audio: Sync audio changes with masked movements. This helps reinforce the visuals and keeps viewers engaged.
- Adjust Speed: Combine speed changes with masking to emphasize certain clips. This adds drama and captivates your audience.
These combinations make editing flexible and exciting, allowing creators to explore their artistic vision.
Practical Masking Applications
Masking in CapCut opens up many creative possibilities. It allows users to enhance their videos by focusing attention on specific elements or adding stylish effects. Here are some practical applications of the masking feature.
Creating Text Reveals
Using masks to create text reveals is a fun way to add flair to any video. It involves overlaying text and masking it so that it appears as if it’s emerging from behind an image or video.
To start, the user positions the text where desired. Next, a shape mask is applied to the area behind the text. By adjusting the mask’s position and size, the text can appear dynamically.
A fade-in effect combined with the mask can make the reveal smoother. This technique grabs viewers’ attention and can make key messages stand out.
Blurring Backgrounds Selectively
Selective blurring is a great way to focus on the main subject while softening distracting backgrounds. This technique enhances video quality by drawing the viewer’s eye to where it’s needed.
To achieve this effect, the user first selects the subject they want to keep in focus. They apply a mask that outlines the subject and then adjust the background layer to create a blur effect.
Fine-tuning the mask with feathering options can create a more natural look. This approach is useful in interviews or instructional videos, ensuring the audience remains focused.
Highlighting Elements in a Scene
Highlighting specific elements in a scene can elevate a video. This is done by masking the element and applying an effect like color changes or brightness adjustments.
First, the user needs to identify the element to highlight. Next, a mask is applied to isolate it from the rest of the scene.
After this, they can adjust the brightness or apply a color filter to make the highlight pop. This method works well for enhancing products in promotional videos or drawing attention to important features in tutorials.
Tips for Masking like a Pro
To create standout edits using CapCut’s masking feature, attention to detail is key. Focusing on consistency and enhancing visuals can elevate the final product significantly.
Maintaining Consistency Across Masks
Consistency is crucial when using multiple masks in a project. When applying masks, it helps to use similar settings for each one. This includes adjusting the edges, feathering, and opacity levels. Keeping these settings uniform creates a seamless look among the different sections.
Additionally, pay attention to the timing of each mask. Ensure that they appear and disappear at the right moments to maintain a fluid flow. Going back to check each transition helps prevent awkward cuts. Finally, consider reusing styles from previous edits. This practice not only saves time but also builds a cohesive aesthetic in the video.
Enhancing Masks with Color Correction
Color correction can enhance the effectiveness of masks and make elements pop. After applying a mask, experiment with color adjustments specific to the masked area. For instance, increasing brightness or contrast can help isolate a subject.
Also, using tools like saturation can make colors more vibrant. This approach draws attention to the masked section, making it stand out even more.
It’s also beneficial to check for color balance. If the masked area looks too different from the rest of the video, consider adjusting its hue. The goal is to ensure that while the mask highlights a specific area, it still harmonizes with the overall scene.
Sharing Your Masked Creations
Once someone has completed their creative project using CapCut’s masking feature, sharing those edits becomes essential. This allows for showcasing their work while engaging with an audience. Here are some key steps to follow for effective sharing.
Exporting Your Project
To export a project in CapCut, the user should start by tapping on the export icon, usually found in the top right corner of the screen. The app will then provide options for video resolution and quality.
It’s important to select the right resolution to ensure a high-quality video. Common options include 720p and 1080p. After choosing the desired settings, the user can click “Export” to save the video to their device.
Once the export is complete, they can find the video in their gallery or camera roll. Having this ready allows for easy access when sharing on social media or other platforms.
Best Practices for Social Media Sharing
When sharing videos on social media, timing and platform matter. Each social media platform has its preferred video length and formatting.
For instance, TikTok favors shorter, engaging clips, while YouTube allows longer videos. Users should tailor their approach based on where they intend to share their creations.
Adding relevant hashtags can help increase visibility. They should also consider encouraging engagement by asking viewers to comment or share their thoughts.
Maintaining a consistent posting schedule could help in building an audience. Regular updates keep followers interested and engaged with the user’s content.