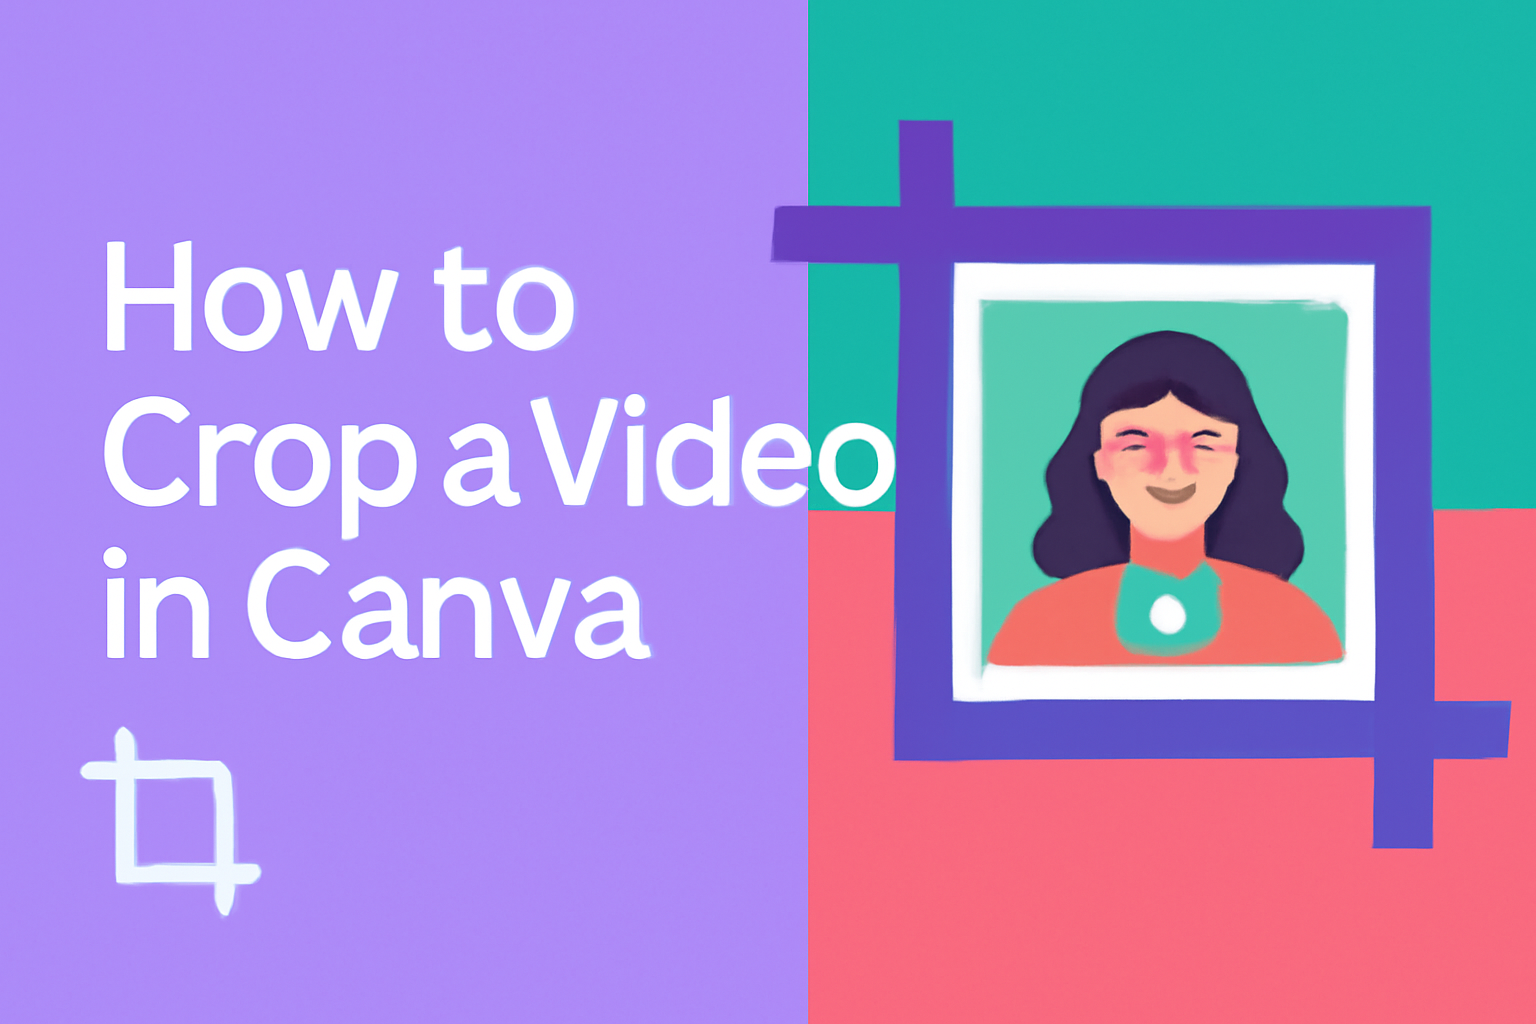
When it comes to editing videos easily, Canva is a top choice for many. With its user-friendly interface, cropping videos is a breeze for users of all skill levels.
To crop a video in Canva, simply upload your video, select it on the design interface, and use Canva’s video cropper tool to adjust the size and aspect ratio.
This tool is perfect for tailoring clips to fit any social media platform or just to get rid of unwanted parts of the screen.
It’s especially useful if you want to highlight specific moments without changing other parts of your project. Users can also trim or split clips, enhancing the storytelling flow of their video projects.
Getting Started with Canva
Using Canva begins with creating an account and familiarizing yourself with its interface. These initial steps are crucial for navigating and using the platform efficiently.
Signing Up for an Account
To start using Canva, go to the Canva website and click on the “Sign up” button.
Users can register using an email address or through Google, Facebook, or Apple. Choosing one of these options streamlines the process.
After choosing a sign-up method, follow the prompts to create a username and password. It’s a quick and simple process. Canva may also ask for interests to customize templates and suggestions.
Once registration is complete, users can access Canva’s array of design tools and templates.
A new account opens the door to creating and saving projects which can be accessed on any device.
Overview of Canva Interface
The Canva interface is designed to be easy to use.
At the top is the toolbar with options like “Templates,” “Elements,” and “Uploads.” These tools are used to add images, graphics, and text to designs.
The main design area is where all modifications happen. On the left side, users can find panels that help in selecting design elements and templates.
The top right contains the “Share” and “Download” buttons, enabling users to export and share their designs.
Becoming familiar with these features allows for quick and creative design development, helping to bring ideas to life effectively.
Preparing Your Video
Before cropping videos in Canva, users need to upload their content and pick a suitable template. These steps ensure that projects are organized and have the right layout and style. By doing this, users set the stage for a smoother editing process.
Uploading Your Video to Canva
To start, users must first upload their video files into Canva.
Begin by logging in to the Canva account and navigating to the main dashboard. There should be an option labeled “Uploads” on the left sidebar. Clicking it will lead to an area where files from the computer can be added.
Next, users can either drag the video file directly into the upload area or select the “Upload media” button to browse files.
Once uploaded, the video will appear in the media library, making it easy to access in future projects.
This process ensures that the video is readily available for any design work. A small tip is to name files clearly before uploading. This helps in identifying them quickly, especially if there are many projects being worked on in parallel.
Selecting the Right Video Template
After uploading, the next crucial step is selecting an appropriate video template.
Canva offers a wide range of templates designed for different types of projects. Users can find these templates by clicking on the “Templates” option in the left menu.
When choosing a template, it’s essential to consider the video’s purpose. For instance, a template designed for social media may have different dimensions compared to one meant for a presentation.
This choice influences the viewing experience and overall impact of the video.
Users should preview several templates to find one that suits their needs. This ensures the video will carry the right look and feel, aligning with the intended message or style. By choosing the right template, users set a solid foundation for effective video cropping and editing.
Cropping Your Video
Cropping a video in Canva is straightforward and allows users to focus on specific parts of their footage. The steps include accessing the crop tool, adjusting the crop area, and selecting different aspect ratios.
Accessing the Crop Tool
To begin cropping a video in Canva, users should first ensure they have their video uploaded and ready to edit.
Once the video is in the workspace, selecting the video will display editing options at the top of the screen.
The crop tool can be accessed by clicking the “Crop” button in the top-left corner. Alternatively, double-clicking the video also opens the crop settings.
Both methods allow users to start customizing their video to highlight the most important areas.
This initial step is crucial for refining the video to meet various creative or practical needs.
Adjusting Crop Area
After accessing the crop tool, users will see drag handles around the video. These handles are used to resize and reposition the highlighted area.
It’s important to drag these handles to include only the video parts that need focus, excluding any unnecessary sections.
The goal here is to frame the video in a way that aligns with the intended message or aesthetic.
Users can drag the corners of the crop box to resize evenly or the sides to adjust width or height individually.
By fine-tuning this area, the resulting video will be concise and visually compelling. Canva’s interface ensures that making these adjustments is quick and user-friendly.
Cropping to Different Aspect Ratios
Sometimes, videos need a specific aspect ratio for platforms or specific displays.
Canva makes it easy to crop videos to common aspect ratios like 16:9, 1:1, or custom dimensions.
To do this, users can select the crop tool and explore preset options available or manually adjust the crop area.
By choosing the right aspect ratio, they ensure the video fits different screens without distortion or important content being cut off.
This flexibility is particularly valuable for content creators who share videos across different platforms. Having control over aspect ratios helps maintain a consistent and polished presentation, regardless of where the video will be viewed.
Customizing Video Elements
Customizing video elements in Canva involves adding text or overlays and applying filters. These tools help enhance videos and make them more engaging for the audience.
Adding Text and Overlays
Adding text and overlays to a video can make it more informative and visually appealing.
In Canva, users can insert text by selecting the Text tool. They can choose from various fonts, sizes, and colors to match the video’s theme.
Overlays can include shapes or icons, which are found in the Elements section. Users can adjust their size and transparency to blend them seamlessly into the video.
This approach helps highlight important aspects or convey additional information without distracting from the main content.
Tips for using text and overlays:
- Use contrasting colors for visibility.
- Keep fonts large enough to be readable.
- Opt for simple overlays that complement the video.
Using Filters and Adjustments
Filters and adjustments can dramatically change the look and feel of a video.
Canva offers a range of filters that can be applied with a single click, altering the video’s mood.
Filters can make the video appear warmer, cooler, or more vibrant, depending on the desired effect.
For more control, the Adjust tool allows users to tweak brightness, contrast, saturation, and more.
These settings enable precise customization, ensuring the video looks just right.
Users can experiment with different adjustments to find the perfect balance.
Quick Tips for using filters and adjustments:
- Start with subtle changes.
- Compare before and after views.
- Consider the video’s purpose when selecting filters.
These tools are powerful ways to enhance the visual appeal of any video project.
Understanding Video File Formats
Choosing the correct file format is crucial.
Common formats like MP4 are widely used and compatible with most devices and platforms. MP4 provides a good balance between quality and file size.
If you’re working with specific platforms, verify the optimal format they support.
Some formats, like MOV, offer higher quality but come with bigger file sizes.
Consider where and how the video will be viewed to make the best choice.
Use MP4 for general purposes, but switch to something like AVI or MOV if a higher quality is needed.
Understanding these differences ensures your video is accessible and looks good everywhere it’s shared.