CapCut is an excellent tool for anyone looking to create dynamic music videos. With its Auto-Rhythm Tool, users can effortlessly sync their video clips to the beat of their chosen music. This feature simplifies the editing process, making it possible to produce engaging and professional-looking videos in no time.
The Auto-Rhythm Tool takes the guesswork out of editing by automatically detecting the beats in a soundtrack. This means that creators can focus more on their content instead of getting bogged down by manual syncing. By using this feature, they can enhance the overall appeal of their videos and keep their audience entertained.
Whether someone is a beginner or has some experience in video editing, CapCut makes the process enjoyable and efficient. With a few simple steps, anyone can turn a regular video into an exciting music journey that stands out on social media.
Exploring CapCut
CapCut is a user-friendly video editing tool that offers various features for creating engaging and dynamic content. Among its tools, the Auto-Rhythm feature stands out, making it easier to sync videos with music beats.
Overview of CapCut
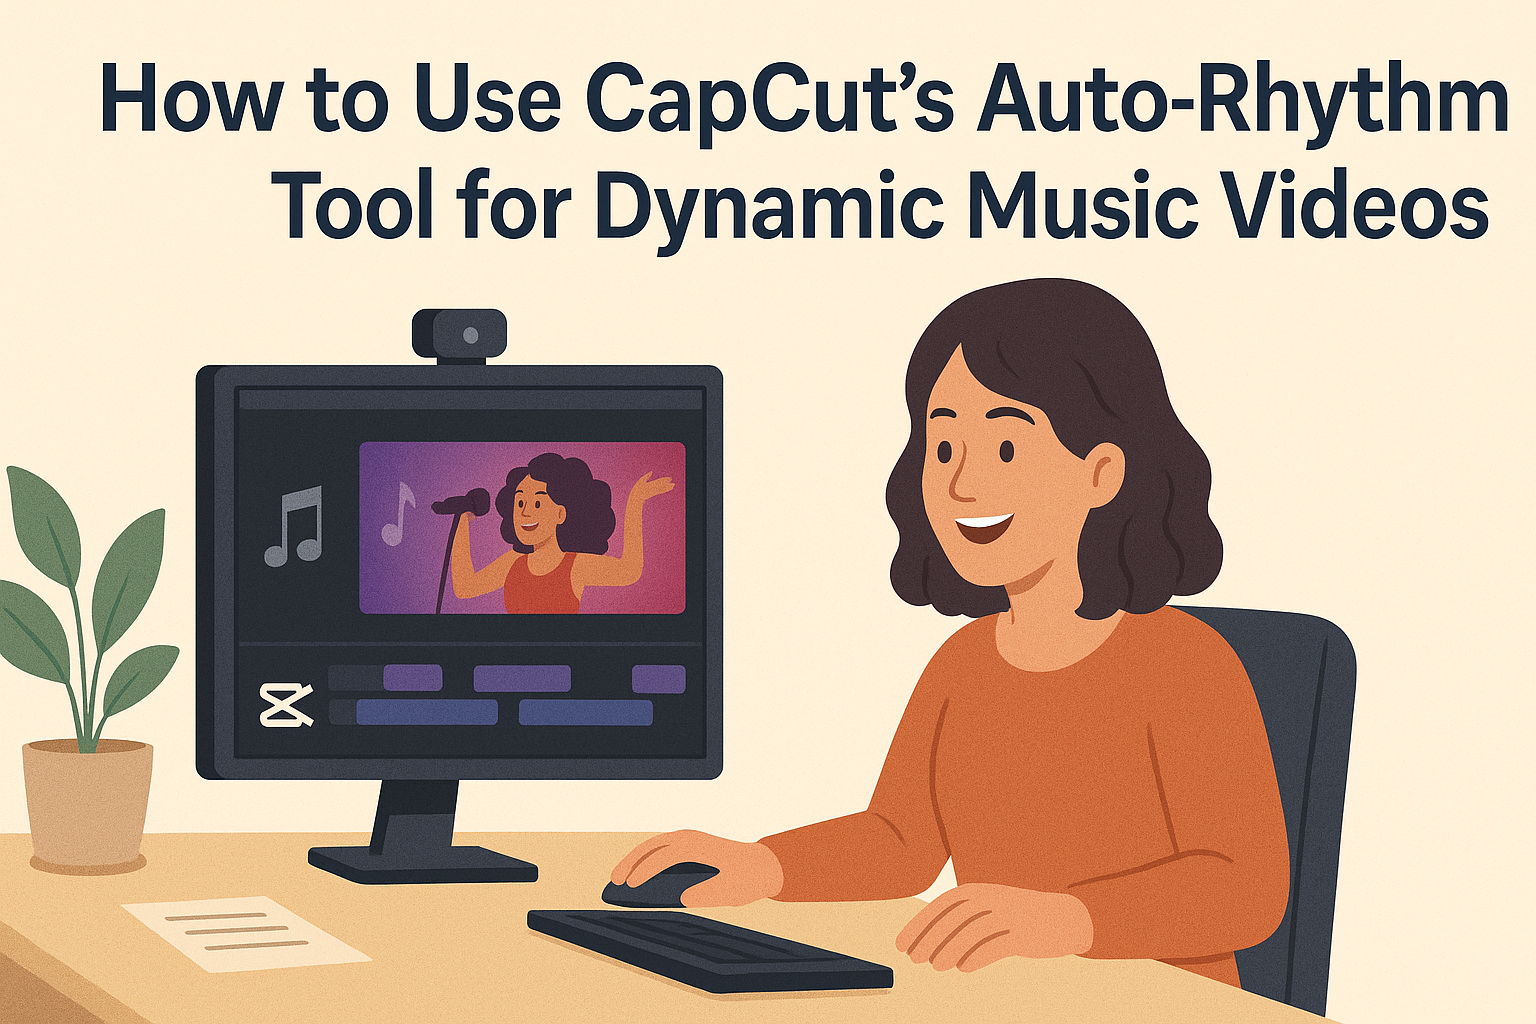
CapCut is a powerful video editing app designed for both beginners and experienced users. It provides a simple interface that allows users to edit videos quickly and intuitively.
Key features include:
- Text overlays: Add stylish text to videos.
- Effects and filters: Enhance visuals with a variety of effects.
- Trim and cut tools: Easily remove unwanted clips.
CapCut supports multiple formats, making it a great choice for Instagram, TikTok, and YouTube. With its features, users can create professional-quality videos right from their smartphones.
Benefits of Using Auto-Rhythm
The Auto-Rhythm tool in CapCut simplifies the editing process by automatically aligning video clips with the beat of the music. This feature allows for seamless transitions and a polished final product.
Benefits include:
- Time-saving: No need for manual syncing.
- Professional feel: Creates engaging and dynamic content.
- User-friendly: Suitable for all skill levels.
Using the Auto-Rhythm feature can elevate a video’s appeal, making it more enjoyable for viewers. By ensuring that visuals match the audio perfectly, CapCut users can create memorable and captivating music videos.
Getting Started with CapCut
CapCut is user-friendly software that makes video editing accessible for everyone. Knowing how to download, install, and navigate its main features is essential for creating dynamic music videos.
Downloading and Installing CapCut
To start using CapCut, the first step is to download the app. Users can find CapCut in the app stores on their devices. For PC users, it is available on the official CapCut website.
Once the download is complete, the installation process is simple. Users should follow the prompts on the screen. After successful installation, CapCut will be ready to launch and explore.
Navigating the Interface
Starting CapCut introduces users to a clean, intuitive interface. The main screen displays project options and accessible features. Users will see tabs for importing media, editing tools, and exporting videos prominently placed.
On the left side, the timeline is where users arrange clips. The right side contains editing options like text, effects, and audio.
Familiarizing oneself with these areas is important for smooth editing. Users can easily switch between media, audio, and editing sections without confusion.
Basic Editing Functions
CapCut offers a variety of basic editing functions that are essential for creating polished videos. Users can trim, cut, and split clips right on the timeline.
Functions include:
- Trim: Remove parts of a clip for a shorter video
- Split: Divide a clip into two, making it easier to rearrange footage
- Adjustments: Users can modify video speed, brightness, and contrast to enhance visuals
Using these basic functions efficiently helps users tell better stories through their videos. After editing, users can preview their project and make adjustments as needed, ensuring satisfaction before exporting.
Understanding Auto-Rhythm
The Auto-Rhythm tool in CapCut is designed to simplify the process of syncing video clips to music beats. It helps creators produce dynamic and engaging music videos, making the editing experience both enjoyable and efficient.
What Is the Auto-Rhythm Tool?
The Auto-Rhythm tool automatically detects beats in a chosen audio track. This feature allows users to align video clips seamlessly with the rhythm of the music. When a user imports a song, the tool analyzes it and marks key beats.
This function is beneficial when working on projects that require precise timing, such as dance videos or music performances. CapCut makes it easy to sync transitions and effects directly to the audio, enhancing the overall rhythm of the video. This tool is particularly helpful for beginners who may struggle with manual syncing.
How Auto-Rhythm Enhances Music Videos
Using the Auto-Rhythm feature greatly enhances the quality of music videos. By ensuring that visuals match the audio, creators can keep viewers engaged. When clips sync perfectly with the beat, the video flows much more naturally.
This tool also allows for more creative storytelling. Creators can emphasize specific beats, making certain moments pop. As a result, viewers are more likely to connect with the music and visuals. Overall, the Auto-Rhythm tool gives users the ability to craft professional-looking videos with ease, allowing more time for creativity and less time on tedious edits.
Preparing Your Project
To create dynamic music videos with CapCut’s Auto-Rhythm tool, it is important to ensure that your project is set up correctly. This includes carefully selecting the right music, arranging video clips, and preparing everything for the Auto-Rhythm feature.
Selecting the Right Music
Choosing the right music is essential for any video project. The music should match the mood and theme of the video. It helps to think about the pacing and energy levels.
When selecting a track, consider its tempo and rhythm. A faster song can create a lively atmosphere, while a slower one may convey calmness. Look for music that has clear beats, as this can enhance the syncing process.
CapCut offers a library of sounds. Users can browse these options to find tracks that fit their vision. They can also upload their own music if needed.
Arranging Video Clips
Once the music is selected, the next step is to arrange the video clips. This involves importing the clips into CapCut and placing them on the timeline.
It’s helpful to listen to the chosen music while reviewing the clips. She can note down the points where important beats occur. This way, she can plan where video transitions or key scenes will happen, making the final product more engaging.
Users should consider the length of the clips, ensuring they fit well with the song. A good practice is to trim any excess footage for smoother transitions.
Setting Up for Auto-Rhythm
Setting up for Auto-Rhythm in CapCut is an easy process. First, ensure all video clips are on the timeline and the selected music track is added.
Next, it’s important to adjust the clips to align with the music’s beats. CapCut’s features allow users to modify the speed and timing of clips quickly. They should look for the Auto-Rhythm tool in the menu.
Once ready, applying the Auto-Rhythm feature helps synchronize the video clips to the music. This makes editing more efficient, allowing the final video to flow beautifully with the chosen track.
Using the Auto-Rhythm Tool
CapCut’s Auto-Rhythm Tool helps users create lively music videos by automatically syncing clips to the beat of the chosen music. This feature enhances the flow of video edits and makes the final product more engaging.
Accessing Auto-Rhythm in CapCut
To access the Auto-Rhythm Tool, first open CapCut and start a new project. After importing the video clips, users should go to the audio section to select background music. Once the music is added to the timeline, the Auto-Rhythm feature will become available. Look for the option labeled “Auto Sync” or “Auto-Rhythm” in the settings. Tapping this will open the tool and prepare it for use. It’s easy to find and set up, making it accessible for users at any experience level.
Configuring Auto-Rhythm Settings
Configuring the Auto-Rhythm settings is essential for achieving the desired effect. Users can adjust the sync speed and rhythm style in the settings menu. This includes options like “Fast,” “Medium,” or “Slow” sync, allowing for customization based on the video’s pace. Users should also consider the strength of the beat detection, which can be set to high or low sensitivity. Experimenting with these settings can help find the right balance for the specific clips being used.
Applying Auto-Rhythm to Clips
Once the settings are configured, it’s time to apply Auto-Rhythm to the clips. Select the clips on the timeline that need syncing. When ready, tap the “Apply” button to activate the syncing process. CapCut will analyze the music beat and adjust the clips accordingly. Users may want to preview the video to ensure everything aligns correctly. If adjustments are needed, they can fine-tune the clips manually for the best results. This method saves time and enhances the overall visual appeal of the project.
Fine-Tuning Edits
Making precise adjustments in CapCut can greatly improve the quality of a music video. Fine-tuning edits helps in achieving a smoother flow and enhances the viewing experience.
Adjusting Clip Duration
To make a video dynamic, adjusting clip duration is essential. He can do this by selecting a clip and dragging its edges to shorten or lengthen it. This helps in creating a rhythm that matches the music.
He should listen to the beat while adjusting. If a clip feels too long or too short, he can quickly trim it. A good practice is to cut at points where natural transitions occur, like pauses in the music.
Using the “Split” tool also aids in segmenting clips into smaller parts. This allows him to rearrange segments easily for better timing.
Synchronizing with the Beat
Synchronizing clips with the beat is crucial for the vibe of the video. He can use CapCut’s AI Auto Sync for this task. With just a few clicks, the clips can align perfectly with the chosen music beat.
He should pay attention to visual cues in the video. Adjusting clips to match strong beats or changes in rhythm enhances the impact of the visuals. Adding motion or effects can also heighten this effect, making the video more engaging.
Manually adjusting a few clips might still be necessary. Finding that perfect sync can make a huge difference in how the audience perceives the video.
Enhancing Transitions
Smooth transitions can elevate a video’s overall quality. He can choose from various transition effects in CapCut, like fades or slides. These effects should ideally align with the music for a seamless experience.
He may consider the mood of the music when selecting transitions. Soft music might call for gentle fades, while fast beats may be better with sharp cuts. Each transition should feel natural and not disrupt the rhythm.
Testing different transitions between clips allows him to find the best fit. A well-timed transition can create excitement and keep viewers engaged.
Adding Final Touches
Finishing a video can take it to the next level. By adding visual effects, adjusting colors, and properly exporting, creators can ensure their music videos stand out.
Incorporating Visual Effects
Visual effects can enhance the viewer’s experience and add a professional touch. These effects can range from simple transitions to animated graphics.
CapCut offers a variety of built-in effects that are easy to use. Creators can choose effects like zoom, fade, or glitch to match the rhythm of the music.
To add effects, select the clip in the timeline, then browse through the options. Adjust settings for timing and intensity to fit the style of the video.
Visual effects should complement the music and not distract from it. This balance is key to maintaining viewer engagement. Use effects sparingly for the best results.
Color Correction and Grading
Color correction helps fix any lighting issues and ensures consistent colors throughout the video. It can make scenes look more appealing and professional.
CapCut provides tools for adjusting brightness, contrast, and saturation. Creators can enhance the mood by applying color filters that fit the music’s vibe.
Once the basic corrections are done, color grading allows for a more artistic touch. This involves selecting a color palette that matches the brand or theme of the video.
Be mindful of how colors affect feelings. Warm colors can energize, while cool colors may create calmness. Finding the right balance is essential for the video’s impact.
Exporting the Final Video
After adding all the final touches, it’s time to export the video. CapCut makes this process straightforward.
Before exporting, review the video in full screen to ensure everything looks right. Creators should check for any last-minute adjustments needed in audio and visuals.
When ready, select the export settings that best suit the platform where the video will be shared. Options may include resolution and format, such as MP4 or MOV.
Click the export button and let CapCut do its work. Once exported, it’s important to test the video on the intended platform to ensure quality.