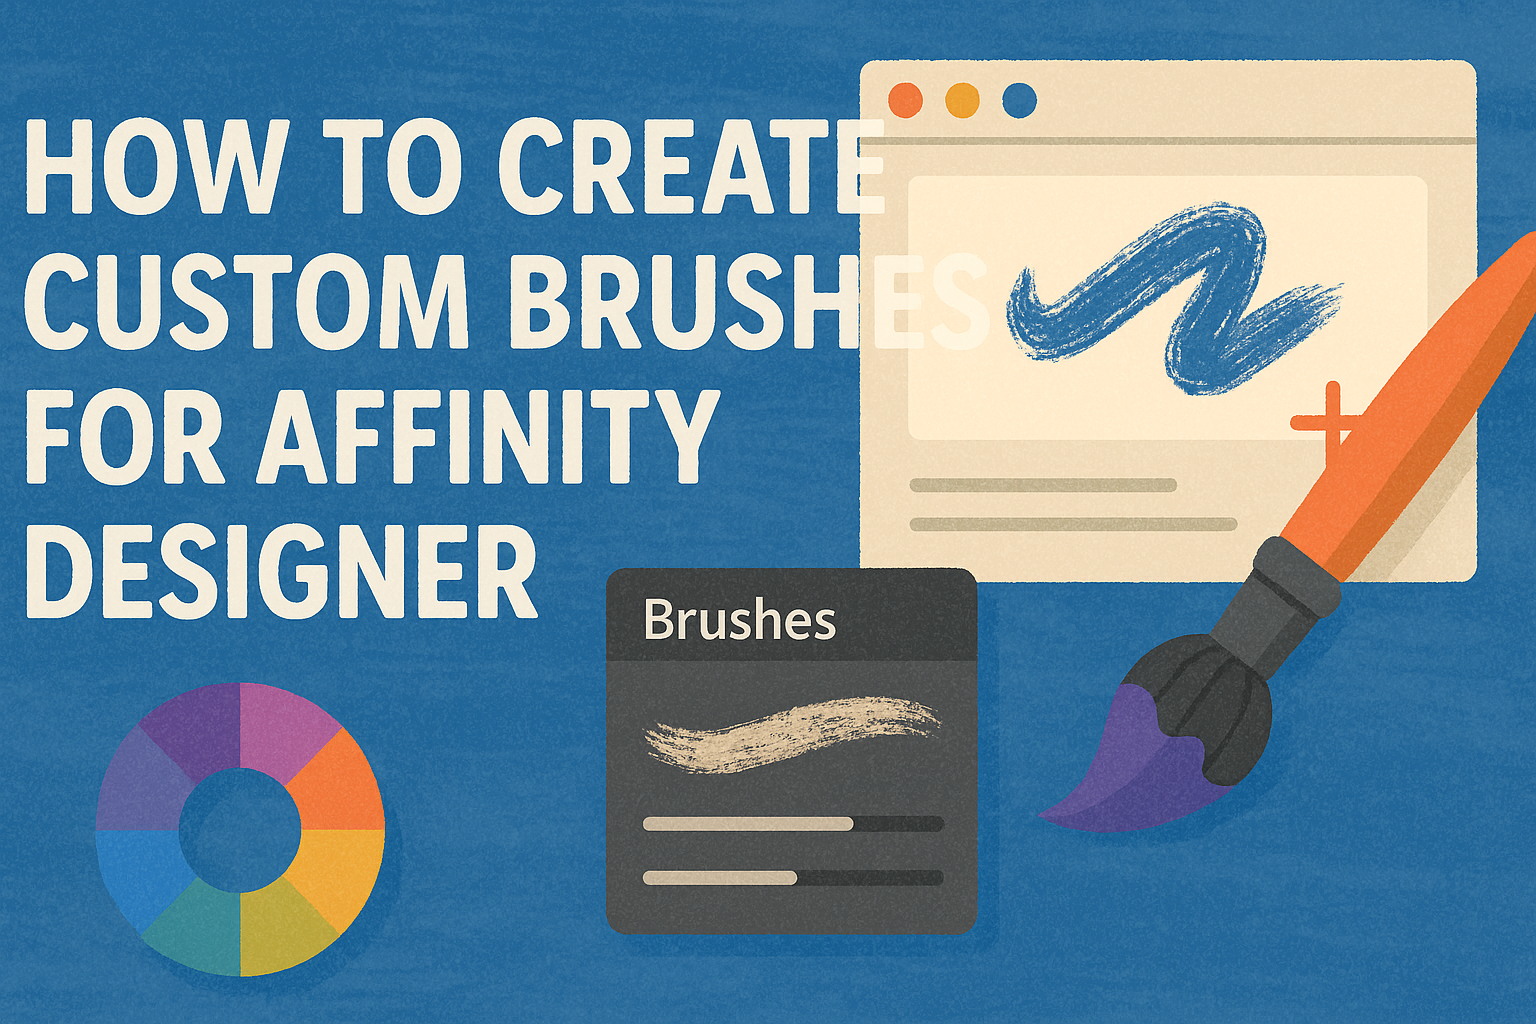
Creating custom brushes in Affinity Designer can be a fun and rewarding way to enhance digital artwork.
To make brushes, start by exporting a design as a PNG image, and then use the Brushes tab to create a new textured image brush. This process allows artists to bring their unique flair to any project.
Understanding the steps involved can help streamline the creative process. Custom brushes not only save time but also open up a world of possibilities for unique textures and designs.
With a few simple steps, anyone can personalize their brush collection.
Many tutorials and resources are available to support those looking to dive deeper into brush creation. Exploring these options can lead to discovering new techniques that inspire creativity. Custom brushes can truly transform digital artwork into something special.
Getting Started with Affinity Designer
Affinity Designer is a powerful tool for creating custom brushes. Understanding its key features is essential for effective brush creation.
Understanding Vector and Pixel Personas
Affinity Designer has two main workspaces: Vector Persona and Pixel Persona.
The Vector Persona is designed for creating clean, scalable graphics. It includes tools for shapes, lines, and design elements that need precision.
The Pixel Persona, on the other hand, is for raster images and allows for edits that involve pixels. This is where artists can paint, create textures, or manipulate images.
Switching between these two personas is easy and allows for flexibility in projects.
Both personas serve distinct purposes, catering to different styles of artwork. Knowing when to use each can enhance creativity.
Exploring the Brush Panel
The Brush Panel is a vital feature in Affinity Designer. It provides access to various types of brushes, including vector and pixel brushes. Users can find this panel in the top-right corner of the workspace.
Within the panel, there are options to create new brushes and manage existing ones. Brushes can be categorized for easy access. Users can also adjust brush settings, such as size, opacity, and shape dynamics.
Experimenting with different brushes helps users find the right style for their projects. Creating custom brushes from personal designs is an exciting feature that allows for unique artwork.
Setting Up Your Workspace for Brush Creation
Setting up the workspace for brush creation is straightforward.
First, choose a comfortable layout that suits individual needs. Users can arrange panels, including the Brush Panel, Layers, and Tools, for easy access.
Next, make sure to select either the Vector or Pixel Persona, depending on the desired output. Customizing shortcuts for frequently used tools can speed up the workflow.
Furthermore, keeping a reference panel handy can help when designing. This setup allows for quick changes and adjustments while creating brushes, making the process smoother and more enjoyable.
Creating Your First Custom Brush
Creating custom brushes in Affinity Designer can be a fun and rewarding experience. This section will guide you through selecting the right brush type, designing the perfect brush tip, and defining the brush properties to suit your needs.
Choosing a Brush Type
The first step in making a custom brush is to choose the brush type. Affinity Designer offers different types of brushes, such as texture brushes, intensity brushes, and vector brushes. Each type serves a distinct purpose.
For instance, texture brushes add depth with images, while intensity brushes adjust based on color opacity.
To select a type, open the Brushes panel, click on the menu icon, and choose “New textured image brush” or “New intensity brush.” This choice sets the foundation for your custom brush’s functionality.
Designing the Brush Tip
Next, the design of the brush tip is crucial. A well-designed brush tip determines how the brush will appear on the canvas.
Start by creating a shape or image in a separate document. Once the design is ready, export it as a PNG file.
Go back to the Brushes panel and select the brush type you chose earlier. When prompted, choose the saved PNG file as your brush tip. This simple action is what makes your brush unique.
Defining Brush Properties
Once the brush type and tip are in place, defining the brush properties is important. This step allows customization of how the brush interacts with the canvas.
In the Brushes panel, you can adjust settings like size, spacing, and opacity.
For instance, increasing the size will create broader strokes, while changing spacing will affect how close the brush marks are together.
Experiment with these properties to see how they alter the brush’s behavior. This experimentation helps in tailoring the brush for specific projects.
Advanced Brush Techniques
Creating custom brushes in Affinity Designer can be enhanced by using advanced techniques. These techniques allow for more creativity and versatility in design projects. Below are some effective methods to elevate brush creation.
Incorporating Textures into Your Brushes
Textures can add depth and interest to brushes. Users can import images or patterns to use as brushes.
- Select a Texture: Choose an image that has the texture you want.
- Create a New Brush: In the brushes panel, select “New Textured Image Brush.”
- Adjust Settings: Modify properties like spacing, size, and angle to get the desired effect.
Textures can transform simple strokes into dynamic visual elements. By experimenting with different textures, designers can achieve unique brush effects.
Using the Dynamics Function for Realistic Strokes
The Dynamics feature allows the brush to react to pressure and speed. This makes strokes look more natural.
- Access Dynamics Settings: Open your brush settings and find the Dynamics section.
- Adjust Pressure and Size: Set parameters for how pressure affects size or opacity.
- Test the Brush: Use a stylus to see how adjustments impact the stroke.
This function is especially useful for digital painting and calligraphy. It helps capture the fluidity of traditional media with digital tools.
Creating and Managing Brush Libraries
Organizing brushes in libraries can streamline creativity.
Designers can create custom libraries for different projects or styles.
- Create a New Library: Go to the brushes panel and select “New Brush Library.”
- Add Brushes: Drag and drop custom brushes into the new library.
- Label and Sort: Name your brushes clearly for easy access.
A well-organized library saves time when working on various projects. It allows for quick selection and consistent style across designs.