Creating custom brushes in GIMP allows artists to express their unique art styles. GIMP’s brush creation process lets users convert images into brushes, offering endless possibilities for creativity. Whether you’re painting, designing, or editing, using custom brushes can enhance your artwork’s texture and detail.
Artists can experiment with different brush types to achieve distinct effects. From textured designs to animated brushes, there’s something for every creative need. Learning to create these custom brushes empowers artists to take full control over their digital artwork.
For those eager to dive into the world of custom brushes, GIMP provides a user-friendly experience. By exploring methods like using layers or exporting multiple images, artists can expand their skill set. This guide promises valuable tips for anyone looking to enhance their digital creations with personalized tools.
Exploring the Basics of GIMP
GIMP, a powerful open-source image editor, offers a wide range of tools for creating unique art styles. From understanding its user-friendly interface to getting started with brushes, users can fully explore their potential in digital art.
Understanding the Interface
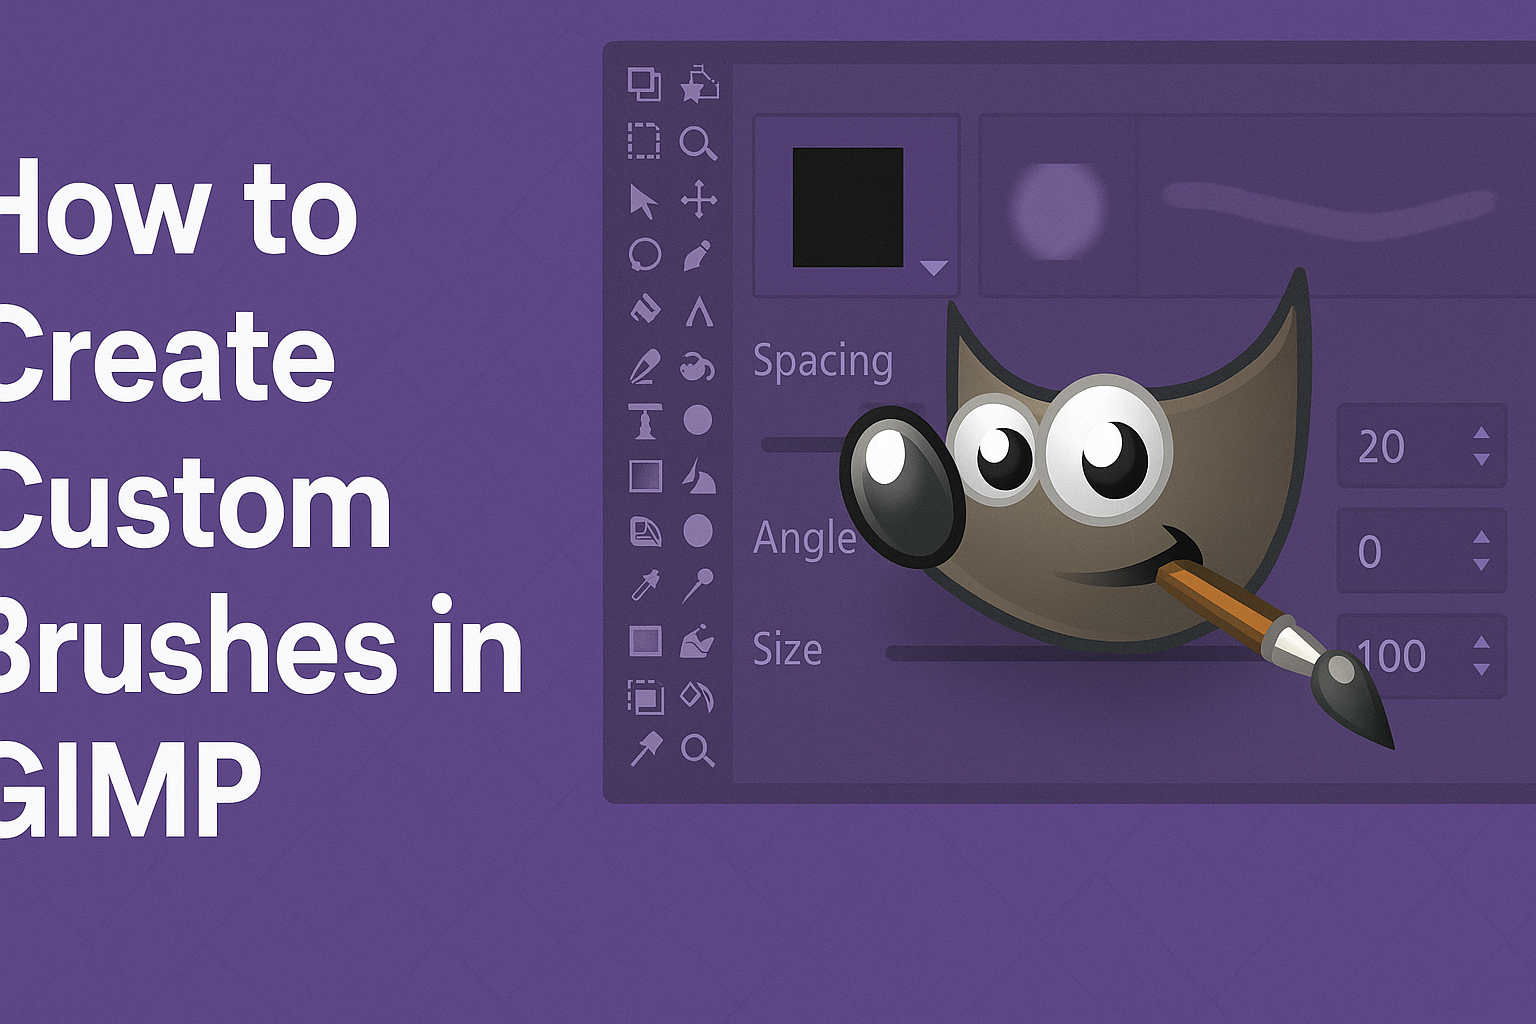
GIMP’s interface is designed to be intuitive. When users open GIMP, they are greeted by a flexible layout that can be customized. The main window includes a toolbox, which houses essential tools like move, brush, and eraser. Floating panels allow users to adjust specific settings, such as layers and brushes.
Panels can be docked or left floating, based on preference. To personalize the interface, users can drag and drop panels to different locations. They can also access different menu items for additional tools. For example, the “File” menu offers options to open, create, and save projects. Understanding these elements from the start helps in navigating GIMP more efficiently.
Getting Started with Brushes
Brushes in GIMP are essential for drawing and painting. Users can find the brush tool in the toolbox. By selecting it, they can add various textures and effects to their artwork. GIMP includes a set of pre-installed brushes, ranging from simple circles to complex textures.
To create custom brushes, users can import images or draw new shapes directly. The process involves selecting the brush editor and adjusting parameters like size, shape, and spacing. Users interested in more detailed steps can refer to the guide on creating custom brushes at The GIMP Tutorials.
Experimenting with different brushes and settings allows users to develop distinct art styles.
Preparing for Custom Brush Creation
Creating custom brushes in GIMP involves setting up an efficient workspace and selecting the right tools. These steps ensure a smooth and creative process, essential for unique art styles.
Setting Up Your Workspace
A well-organized workspace in GIMP enhances creativity. Start by arranging your tool panels for easy access. Keep frequently used tools like the brush, eraser, and color palette visible. This saves time when switching between them.
Adjust the canvas size to fit the brush you want to create. A larger canvas allows for more detail and precision in your design. Also, check the resolution for clarity. High resolution helps capture fine details in your brush design.
It’s also important to regularly save your progress. This protects your work from unexpected shutdowns and keeps your designs intact. Use descriptive file names, so you can easily find them later.
Choosing the Right Tools
Selecting appropriate tools in GIMP is crucial for brush creation. Start with the Brush Tool as your base. For more complex designs, combine it with the shape tool or pen tool.
If texture is essential, explore the Clone Tool or Pattern Tool. These help in adding intricate designs. For making a brush from an image, use the Selection Tool to isolate the desired part.
Incorporate layers to experiment with different elements. Each layer can have unique effects, giving you flexibility in design. Using transparency helps blend different textures seamlessly, enhancing the final brush outcome.
Lastly, familiarize yourself with different brush settings. Settings like size, angle, and hardness impact how your brush will look and work.
Creating Your First Custom Brush
Creating a custom brush in GIMP can enhance your artwork. To start, focus on designing the shape and then set the dynamics to match your artistic needs. This allows for more personalized and expressive strokes in your projects.
Designing the Brush Shape
To design a custom brush shape, begin by opening GIMP and selecting a new document. The document’s size will determine your brush’s dimensions. For simpler brushes, use shapes and lines available in GIMP’s toolbox.
For more intricate designs, draw freehand or import an image. It’s important to convert the image to grayscale because GIMP recognizes brush designs based on this format. Save the image using the .gbr format, which ensures it becomes recognizable as a brush file. You can then load this brush into GIMP’s brush palette.
Defining Brush Dynamics
Brush dynamics define how a brush behaves while painting. Open the Brush Dynamics window in GIMP to start. Here, users can set parameters like Opacity, Size, and Angle based on tablet pressure.
Assigning dynamics can make your brush reactive, giving varied stroke effects. Experiment with these settings to see their impact on your custom brush. Save your settings as Dynamics Presets to keep your brushes easily accessible for future projects.
Adjusting these settings can significantly enhance how a brush interacts with digital canvases, allowing for smoother transitions and realistic textures in digital art.
Saving and Managing Your Brushes
When creating custom brushes in GIMP, it’s vital to know how to save them properly and keep them well-organized. This ensures that these creative tools are always ready for use in your projects.
Exporting the Brush File
To start, save your brush in a format that GIMP can read. Typically, GIMP brushes are saved as .gbr, .gih, or .vbr files. To do this, first finalize your brush design. Then, navigate to File > Export As. Choose the desired brush format. Ensure that you select a proper name for easy identification later.
Once saved, your brush file should be placed in GIMP’s brush folder. On most systems, this path is within the GIMP directory, often located in a folder named brushes. Be sure that the file is saved in the correct location for GIMP to detect it next time it is opened.
After filing and saving your brush, using the Refresh Brushes button in GIMP can quickly load your new brush without restarting.
Organizing Brushes in GIMP
Maintaining an organized brush collection is key. GIMP allows users to group brushes based on their design or purpose. To do so, simply create folders within GIMP’s brush directory to categorize your brushes.
For example, create separate folders for Basic Shapes, Textures, or Grunge Art. By placing corresponding brush files in each folder, you streamline the selection process when you start a new project.
Naming each brush and folder descriptively aids in quick identification. Moreover, regularly tidying the brushes folder helps keep things in order and prevents unwanted clutter.
Advanced Brush Techniques
In GIMP, creating custom brushes can elevate your artwork by adding textures and complexity. By integrating textures and using multiple brushes, artists can expand their creative possibilities.
Incorporating Textures
Incorporating textures into custom brushes allows for more realistic art styles. Brushes with textures can be created by using grayscale images that have unique patterns. These images are saved as .gbr files, which can then be loaded into GIMP.
Textures can be drawn manually or derived from photographs. For example, a tree bark texture can add depth to painted backgrounds. When applying textures, layering can create a sense of depth. It’s also crucial to adjust the size and opacity for better blending with existing elements. Brush settings in GIMP, like jitter and size variance, can be tweaked to achieve the desired effect, offering precision and variety in texture application.
Using Multiple Brushes for Complexity
Using multiple brushes in a single project can enhance complexity and detail. GIMP allows the switching and blending of different brushes, encouraging diverse textures and patterns. This method can be crucial for projects requiring distinct detail, like character designs or landscapes.
Artists can start with a broad brush to lay down the base colors and switch to finer brushes for intricate details. Combining textured brushes with simple shapes can add layers to your work, making it more engaging. Fine-tuning brush dynamics such as pressure sensitivity can further amplify this technique. This approach not only enriches the visual impact but also imbues the artwork with a unique style.
Applying Custom Brushes to Art Projects
Custom brushes in GIMP allow artists to explore unique techniques in digital art. They enable users to add varied textures and patterns, enhancing the visual richness of their projects.
Techniques for Digital Painting
Using custom brushes, artists can create more realistic textures. For instance, a brush simulating pencil strokes can help mimic traditional sketching styles. Similarly, brushes designed to look like paint splatters can add a dynamic, energetic feel to a composition.
Layering different brushes enhances complexity in digital paintings. By adjusting opacity and flow settings, artists can achieve subtle transitions in color and texture. Blending modes can be used to merge brush strokes seamlessly, giving depth and vibrancy to their work.
Experimenting with scale and rotation helps artists customize how brushes apply to specific areas. This adaptability is crucial when refining details, whether adding softness to clouds or roughness to rocks. Such versatility allows digital painters to personalize their approach, resulting in distinct and imaginative artworks.
Creating Effects and Patterns
Custom brushes enable the creation of unique effects. For instance, a brush with star shapes can quickly populate a night sky with twinkling elements. Brushes that imitate smoke or fog can add mysterious or atmospheric touches to landscapes.
Patterns can be effortlessly repeated using custom brushes. By defining a repeating pattern, artists can fill large areas with consistent designs, like tiled floors or fabrics. This method saves time and maintains uniformity, which is especially useful in projects requiring intricate details.
Custom brushes also support layered patterning. Artists can layer multiple patterns to create interesting overlays. By varying brush settings like pressure and jitter, the resulting designs convey complexity and depth. These tools enable artists to infuse their work with originality, making each project stand out.
Sharing and Collaborating
Creating custom brushes in GIMP can be a great way to develop unique art styles, but sharing and collaborating with others can expand possibilities even further. This part covers how to export your brushes for others to use and how to incorporate brushes from the art community into your own projects.
Incorporating Brushes from the Community
GIMP has a rich community of artists who love to share their creative tools. To incorporate their brushes into your workflow, start by downloading the brush files from trusted sources. It’s essential to ensure the files are compatible with your version of GIMP.
After downloading, place the files in the appropriate directory. In GIMP, you can find your brush folder under Edit > Preferences > Folders > Brushes. This makes them accessible whenever you open GIMP.
Exploring community-made brushes can introduce you to new styles and techniques. By experimenting with these brushes, artists can broaden their creative skills and find inspiration in the work of others.